
Harley Davidson Wallpaper
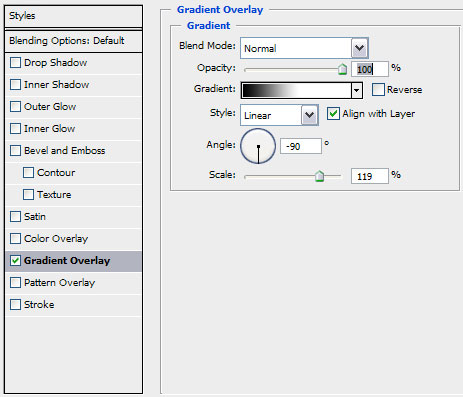
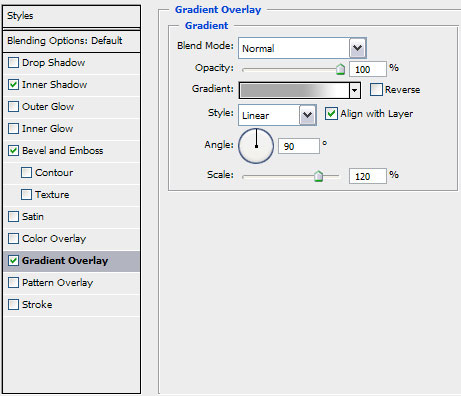
Click on Add a layer style icon from bottom part of the Layers panel and select Gradient Overlay.
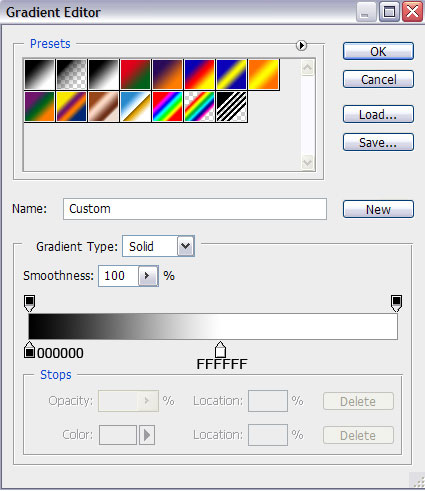
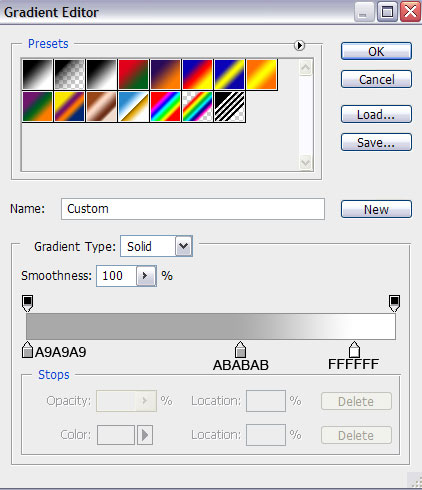
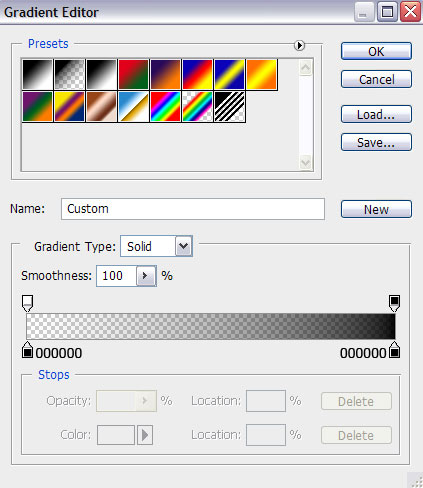
Click in the color bar to open the Gradient Editor and set the color stops as shown. Click OK to close the Gradient Editor dialog box.
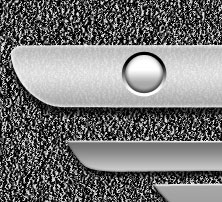
We’ve got the next result:
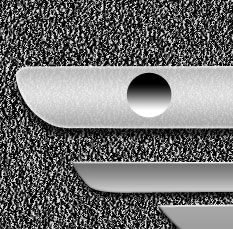
Using the same tool, try to make the rivet itself.

Click on Add a layer style icon from bottom part of the Layers panel and select Inner Shadow.

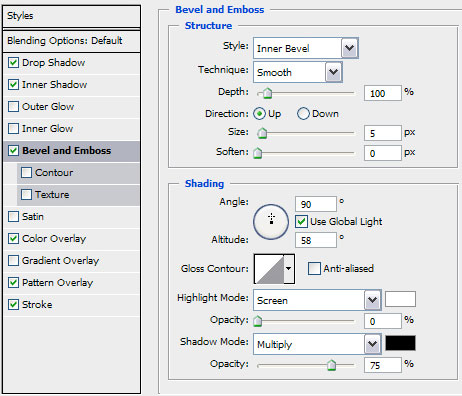
Add Bevel and Emboss:

Apply Gradient Overlay:
Click in the color bar to open the Gradient Editor and set the color stops as shown. Click OK to close the Gradient Editor dialog box.
We’ve got the next result:
Getting a better result is possible if combining together in a group both layers composing the rivet (hold Ctrl button to select the corresponding layers and hold on the left mouse’s button while dragging them on Create a new group icon from bottom part of the Layers panel). Make a copy of the represented group and select Free Transform (Ctrl+T) command to place the copy the way demonstrated below:

Create a new layer which must be placed above the Curves adjustment layer, but under the logotype’s layers. Using the Pen Tool (P) try to make the bottom part of the logotype.

Make a copy of this layer and select the Free Transform (Ctrl+T) command to turn over the copy, placing it as below. The copy’s layer must be situated above the previous layer:

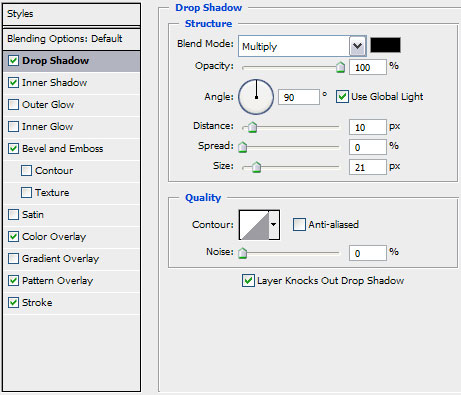
Put together both layers of the logotype’s basis into a rasterized layer (hold Ctrl button and select the corresponding layers and finally press Ctrl+E). Click on Add a layer style icon from bottom part of the Layers panel and select Drop Shadow.
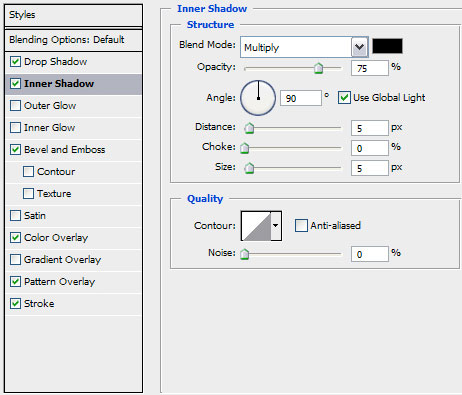
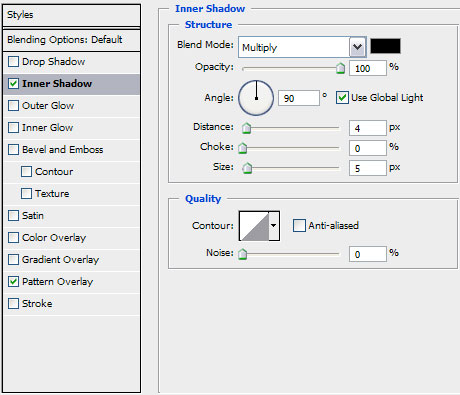
Add Inner Shadow:
Set Bevel and Emboss:
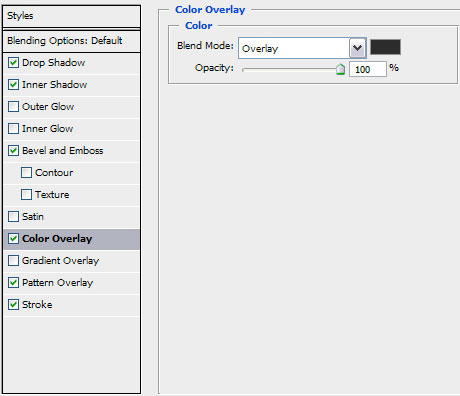
Apply Color Overlay:
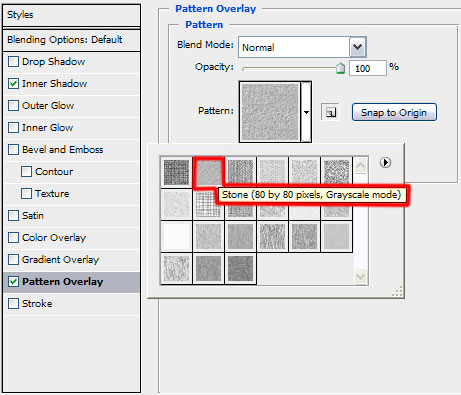
Add Pattern Overlay, select the next pattern from Patterns II set.

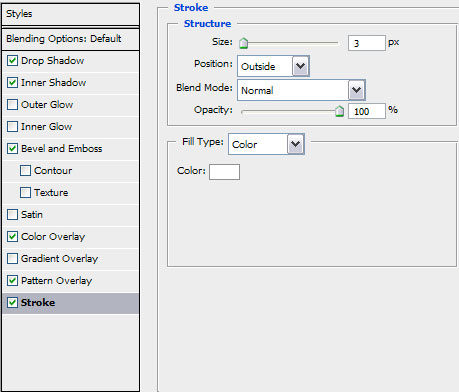
Apply Stroke
We’ve got the next result:

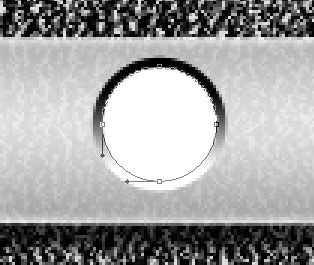
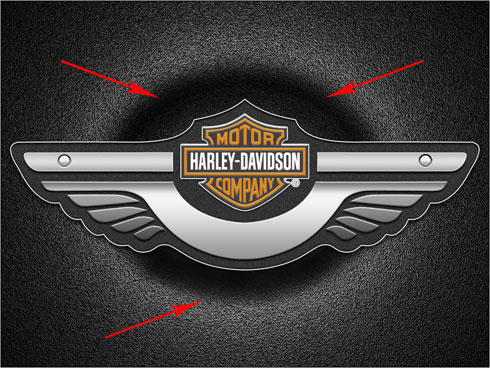
Make a kind of deepening under the logotype. Create a new layer above the Curves adjustment layer on which we’ll make a selection using Elliptical Marquee Tool (M).
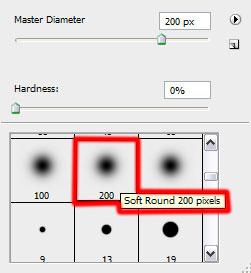
The top part of the selection should be painted with Soft Round brush of black color and the lowest part – with the white color.

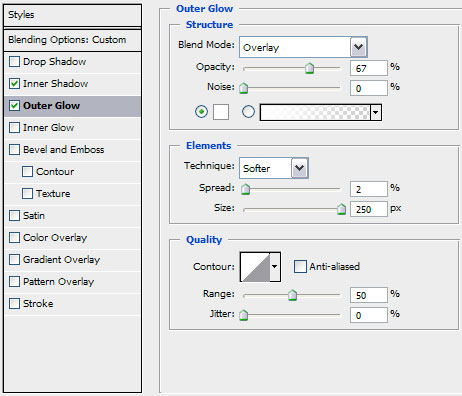
Remove the selection by pressing Ctrl+D. Set Fill to 53% for this layer and click on Add a layer style icon from bottom part of the Layers panel to select Inner Shadow.

Add Outer Glow:
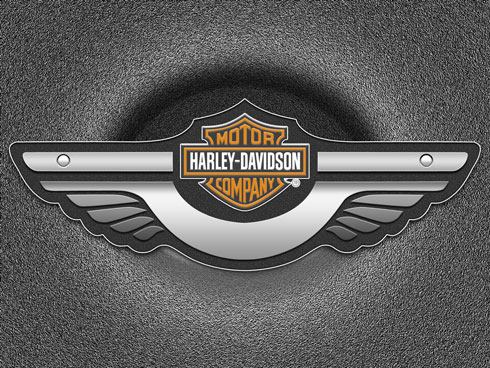
We’ve got the next result:
Now it’s time to represent the layer above the previous made one to dark out a little the background. Take the Rectangle Tool (U) and draw a rectangle on the whole canvas.
Set Fill to 0% for this layer and click on Add a layer style icon from bottom part of the Layers panel to select Gradient Overlay.
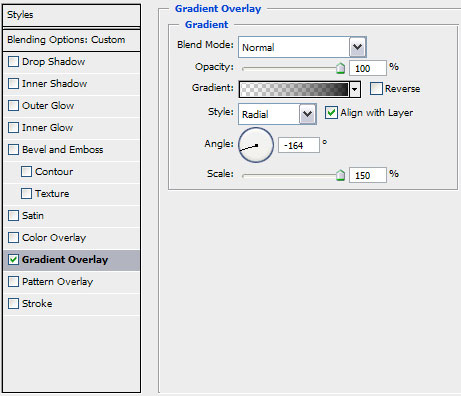
Click in the color bar to open the Gradient Editor and set the color stops as shown. Click OK to close the Gradient Editor dialog box.
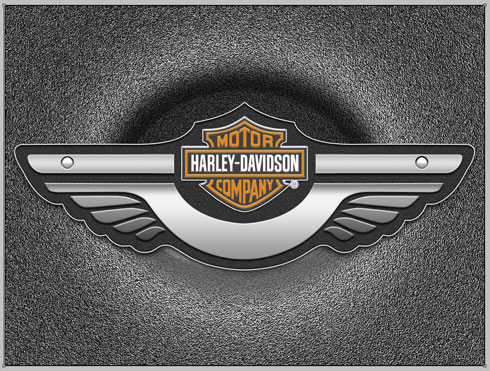
We’ve got the next result:

Create a new layer and choose Soft Round brush ( set Opacity to 20% in Options bar).
Use this brush to dark out the top and bottom parts of the made deepening.
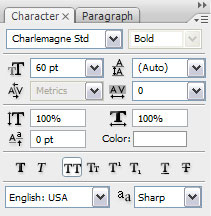
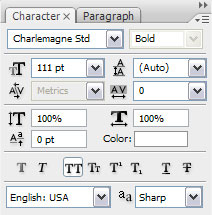
On the last stage, we’ll just introduce the necessary text we want to have on the logotype. Select the Horizontal Type tool (T). Select a font, size and color in the Character panel. Click in the canvas and type your text. Press Enter to apply the text.
We’ve got the next result:
Click on Add a layer style icon from bottom part of the Layers panel and select Inner Shadow.
Add Pattern Overlay
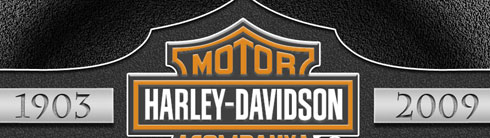
We’ve got the next result:
Add the next text:
Select Create warped text option from Options bar for our text:

Apply the next settings:

We’ve got the next result:

Copy out the text’s layers’ styles from 2009 by making a mouse click on Copy Layer Style and Paste Layer Style on the layer containing the 106 text.
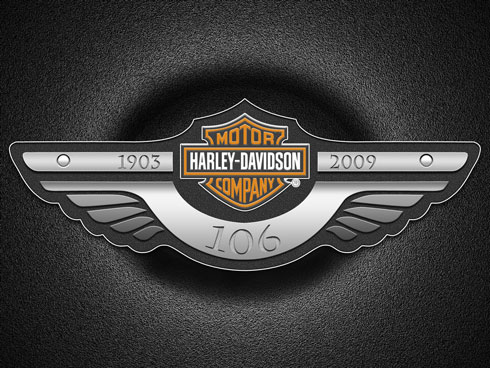
It’s finished!
View full size here.
Download free Layered PSD file.
Page: 1 2
Comments