
Halloween Pumpkin Icon
Now we’ll select the Pen Tool (P) and represent a triangle, then the Convert Point Tool will be used for adjusting the elements’ tops. Press ALT button while getting a circle with the Ellipse Tool (U).

Make a copy of the made eye (Ctrl+J) and turn it over with the Free Transform option (Ctrl+T). Then make a circle and select the Rectangle Tool (U) to cut out small rectangles, getting this way the teeth.

The nose can be made with the Pen Tool (P). We’ve got a kind of mug:


All the elements need the parameters demonstrated next table:
This is the result we must get on this stage:

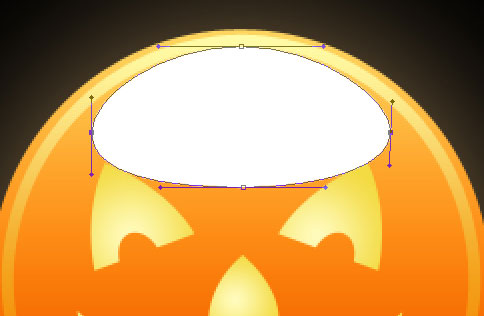
Try to make now a new circle, adjusting it with the Direct Selection Tool (A).
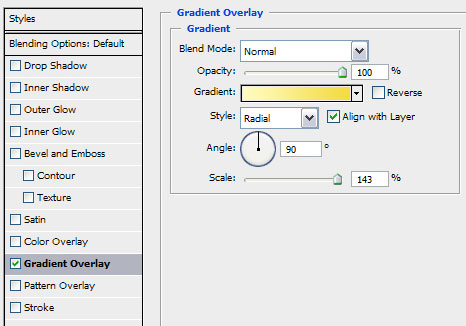
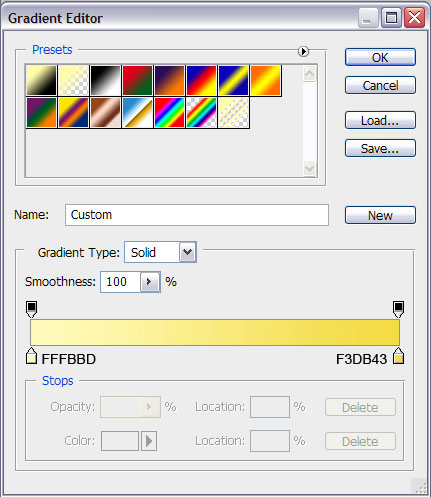
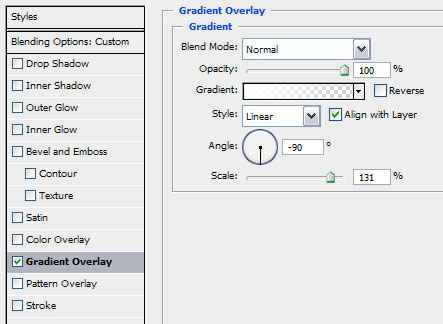
Fill 0% for the layer and set the appropriate gradient shown next table:
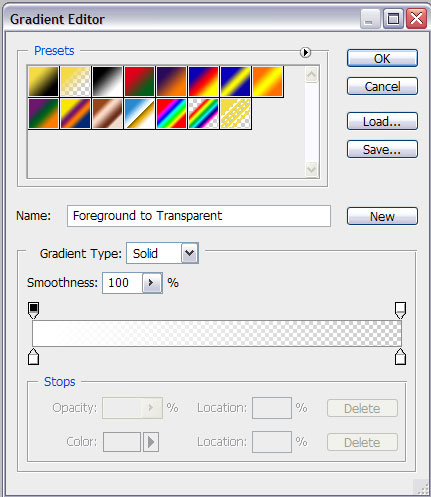
We’ve got a highlight:

Make copies of all the layers, except the one belonging to the background, press Ctrl button to mark out the necessary layers and put them together by pressing Ctrl+E. Turn around the new layer that we’ve got and erase it the same way shown next picture, applying the Eraser Tool (E).

Finished!
View full size here.
Page: 1 2
Comments