
Halftone Pattern Filter
May 21, 2006 | 0 comments
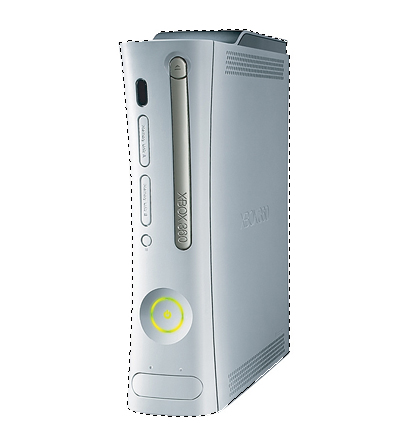
- For this first halftone effect, start by selecting the object.
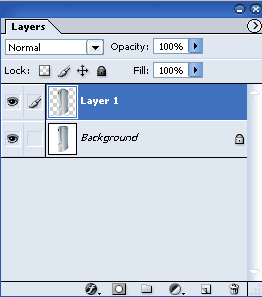
- Than dupliate the layer by pressing CTRL + J.
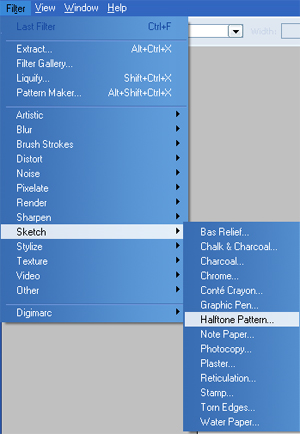
- Go to Filter -> Sketch -> Halftone Pattern.
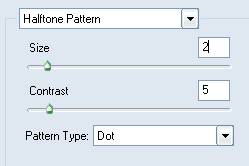
- Adjust the settings to – Size: 2, Contrast: Dot, Pattern Type: Dot.
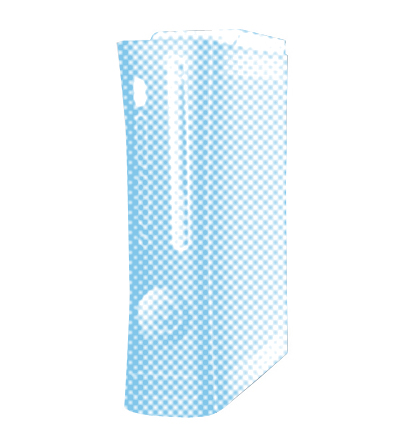
- Here is the final result, color will vary depending on your foreground color.
Color Halftone Filter
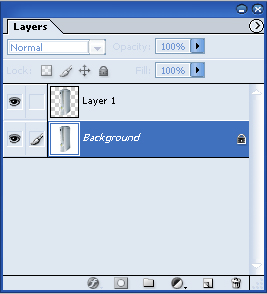
- Start with your original layer and than the layer with the object extracted.

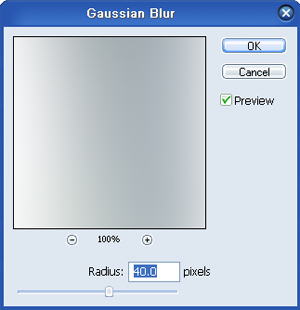
- Select the original layer, go to Filter -> Blur -> Gaussian Blur and set the Radius to 40.0 pixels.
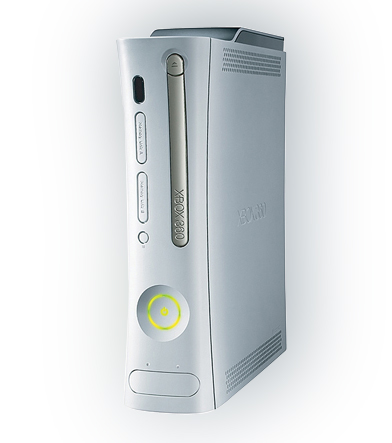
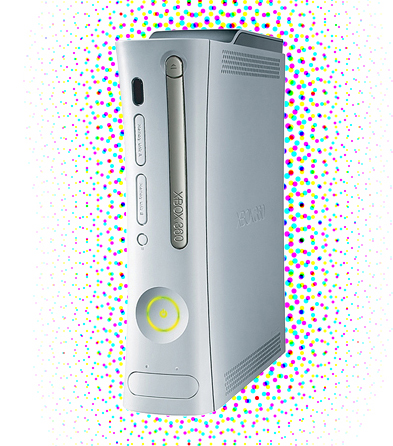
- This is how the image should look now..
- Now go to Filter -> Pixelate -> Color Halftone, I left the settings on default but you are free to change them until satisified with the effect. Here is the final result.
Halftone Magazine Effect
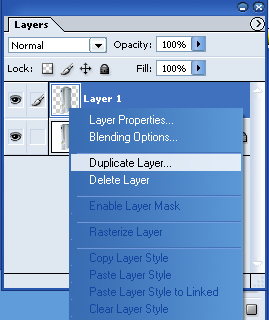
- Select the object than duplicate the layer by pressing CTRL + J. Right click on the new layer and select Duplicate Layer.
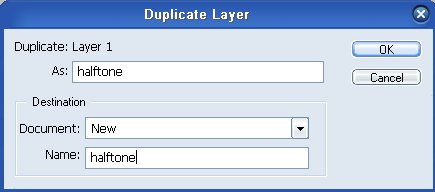
- At the dialog make sure that the Destination for the document is set to New.
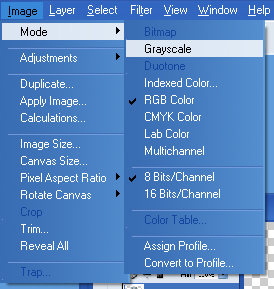
- In the new document, go to Image -> Mode -> Grayscale, click ok to the the box that pops us asking if you want to remove all color information.
- Than go to Filter -> Blur -> Gaussian Blur and set the Radius to 40.0 pixels.
- This is how it should look after that last step.

- Next, go to Image -> Mode -> Bitmap.
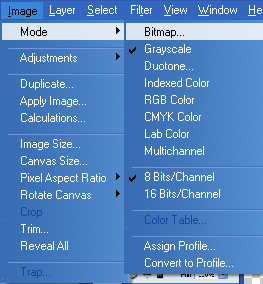
- At the Bitmap dialog, change the Method to Scree..
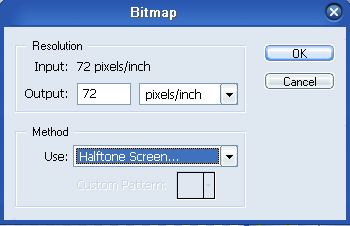
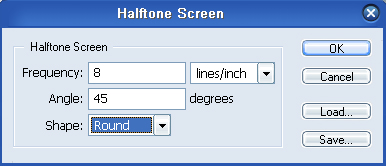
- When the next dialog pops up, change the Frequencey to 8 and the Shape to Round.
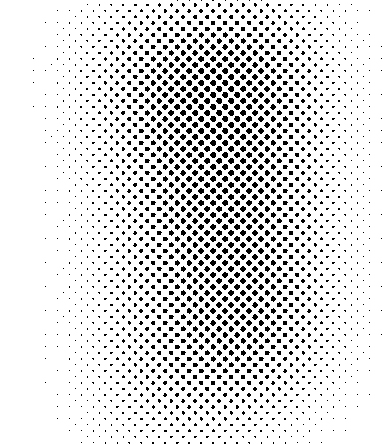
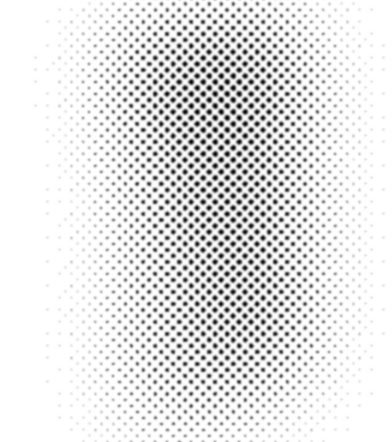
- This is how the object should look now.
- Once those steps are completed, go back to Image -> Mode -> Grayscale again (for size ratio, just leave it at 1). Than go to Filter -> Blur -> Gaussian Blur and set it to 1.0 pixel to slightly smoothen out the edges.
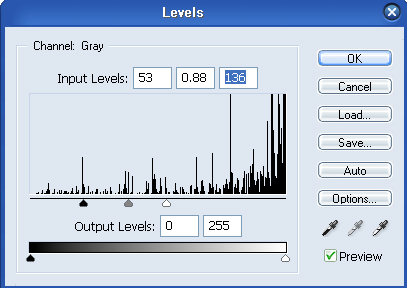
- Bring up the Levels dialog by pressing CTRL + L and just drag the sliders together to sharpen the dots.
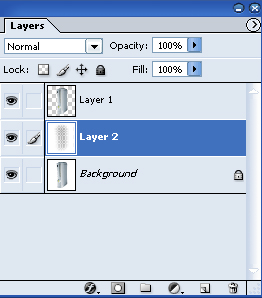
- Drag the new document back in to the original and place it underneath the top layer.
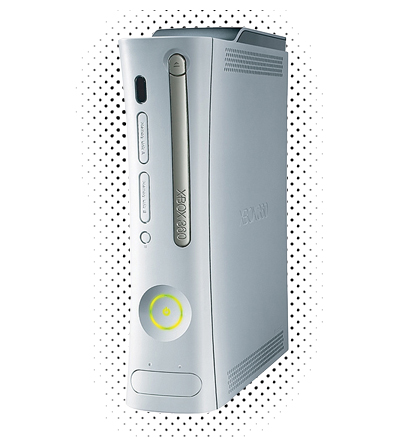
- Here is the final result.
Comments