
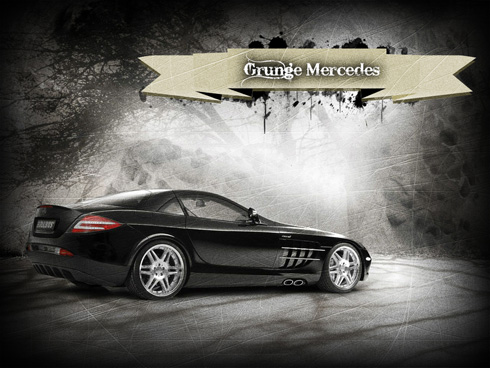
Grunge Mercedes Wallpaper
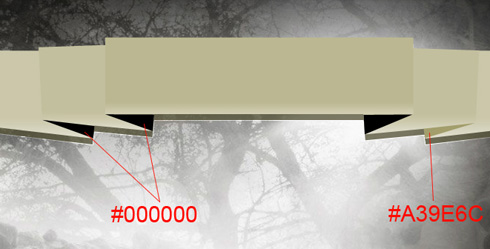
Using the Pen Tool (P), try to represent a shadow of the ribbon’s bend. The color will be black in this case.
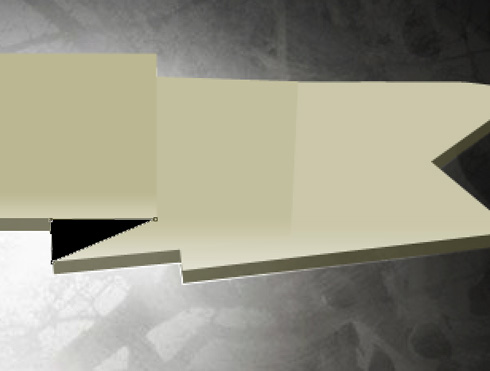
This way we need to represent three more shadows.
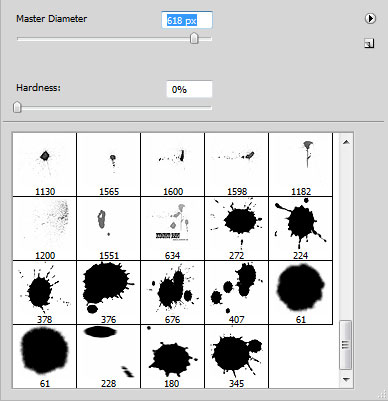
Now we’ll download a set of ready to use brushes for Adobe Photoshop, named blood_brush__by_anaRasha and Blood_Brush_by_kabocha
Create a new layer to use here the above mentioned brushes on your choice. The brushes must have black color. This layer needs to be situated lower than the layers containing the elements of the ribbon:

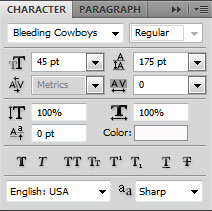
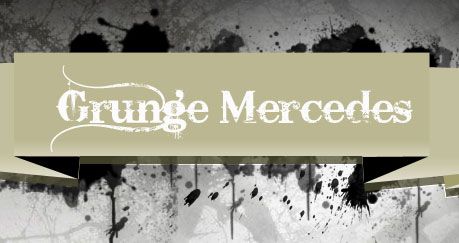
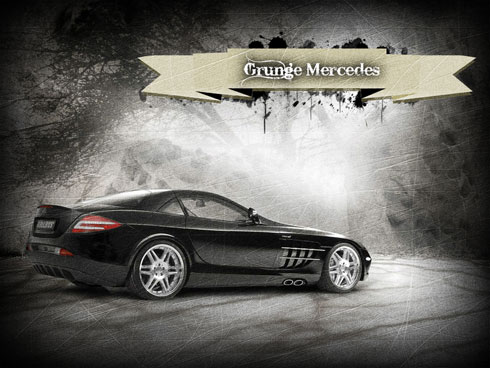
On the ribbon we’ll insert the text we need now (I used this font from dafont.com):
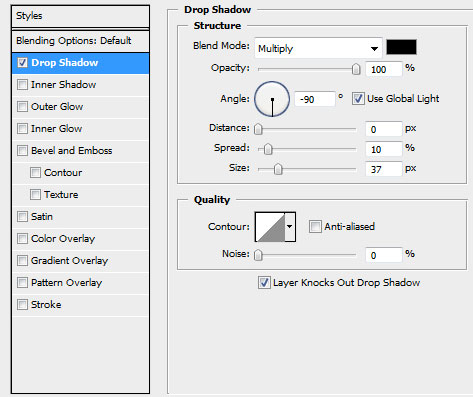
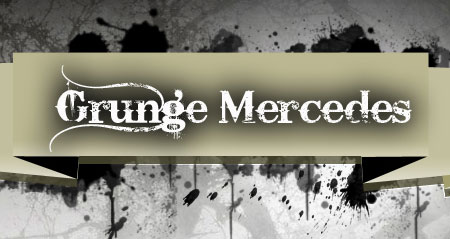
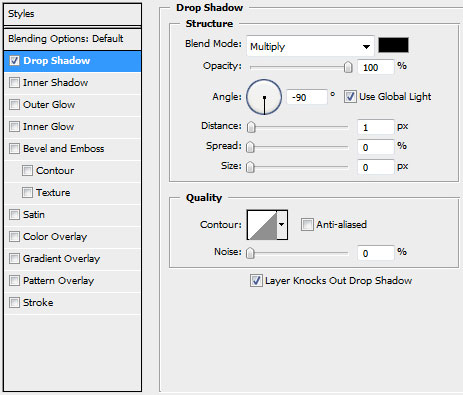
The layer’s parameters: Blending Options>Drop Shadow
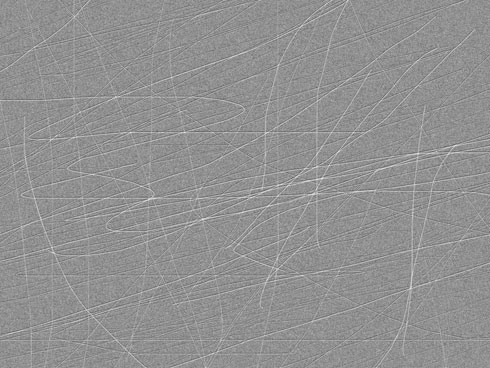
Create a new layer which must be filled with the color #909090, applying the Paint Bucket Tool (G).

Select for this layer Filter>Noise>Add Noise 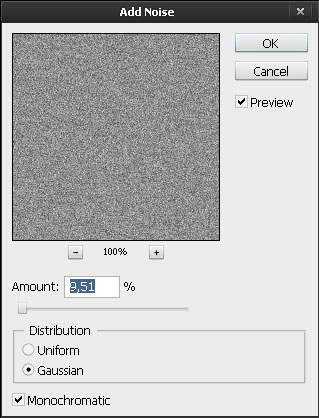

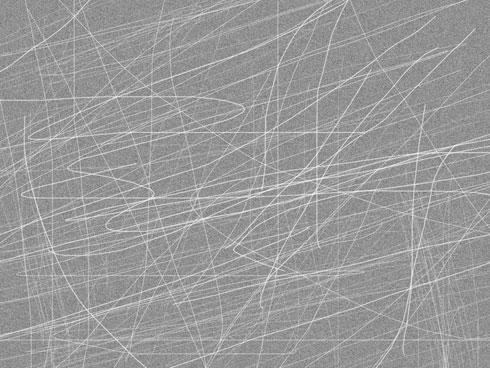
On the new layer (Create new layer) select the Pencil Tool (B) (brush 1 px) to represent a lot of scratches of white color.
The layer’s parameters: Blending Options>Drop Shadow
Create a new layer above the last made layer and mark out both of them by pressing Ctrl button. Press CTRL+E.
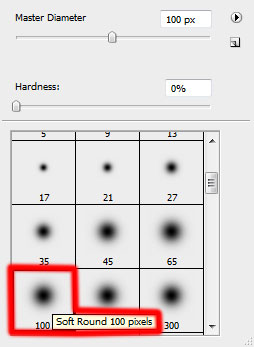
Next step includes clicking on the new layer we’ve got on the bottom part of the layers’ panel on Add a Mask option and choose a standard brush of black color (Opacity – 10%) to clean out the scratches, giving them a natural aspect.
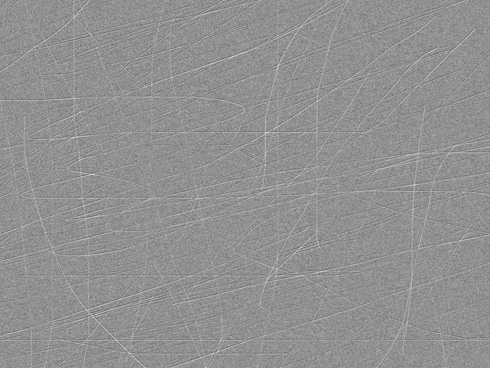
Put together the layer with the noises on the gray background and the layer containing the scratches (press Ctrl button to mark out the layers and press CTRL+E finally). Set the next option for the layer: Blending mode-Overlay
Make a copy of the new layer we’ve got and choose Free Transform option to turn over the copy by vertical position, applying on the layer the next solution: Blending mode-Soft Light
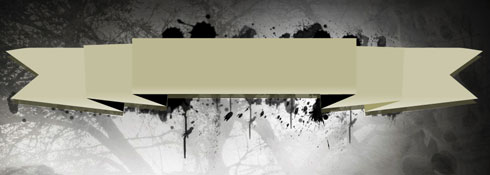
Finished!
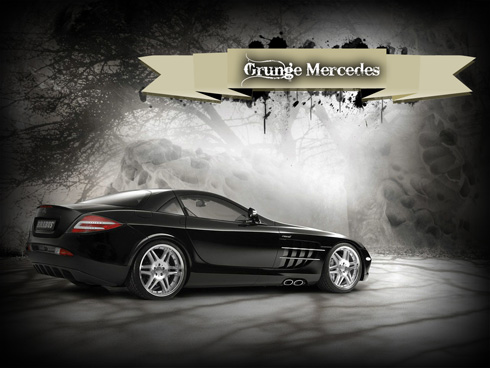
View full size here.
Page: 1 2
Comments