
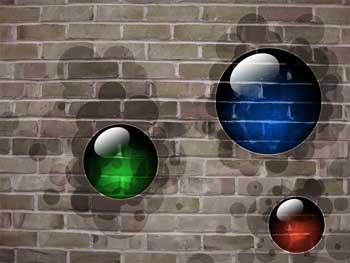
Graffiti Art With Balls
We have to combine in a group all the layers composing the sphere and its flare (pressing the Ctrl button, mark out the layers, holding up the mouse and stretching down the marked layers on Create a new group on the layer’s panel).
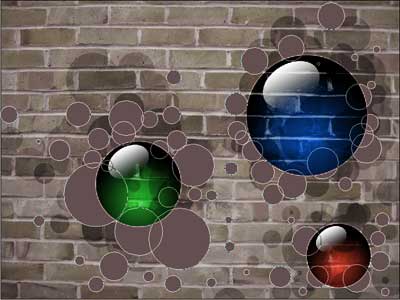
Make two copies of the new made group (marking the group, holding up the mouse and stretching the image to the bottom on Create a new layer option). Place everything out the way it is indicated on the picture.
Change the parameters of each copy (flare’s parameters and the sphere’s Stroke are the same and don’t need to be changed). The size of the copies groups may be changed with Free Transform option.
The parameters of the green sphere:
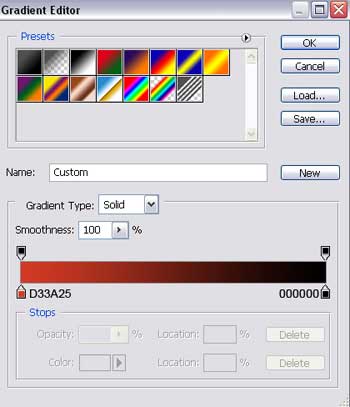
Blending Options>Gradient Overlay
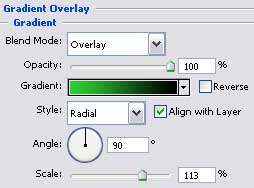
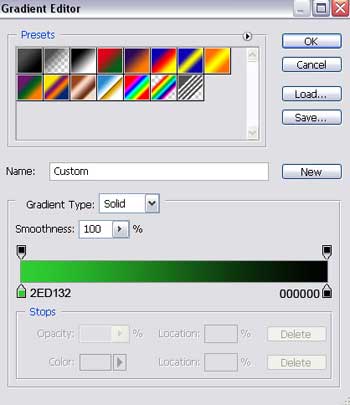
Gradient’s parameters:

The parameters of the red sphere:
Blending Options>Gradient Overlay
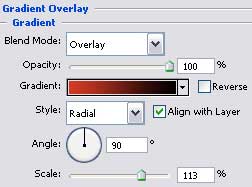
Gradient’s parameters:
Add several smaller circles near the borders of the already made ones. They should have the color 634F4F. Place the small circles’ layers under the old spheres’ layers.
Comments