
Google Chrome Logo Design
Make a copy of the mask’s layer where we’ve used those three colors to paint the top layer of the logotype. Choose for this layer the Burn Tool (O) and the Dodge Tool (O) to draw several highlights and shadows on the logotype.
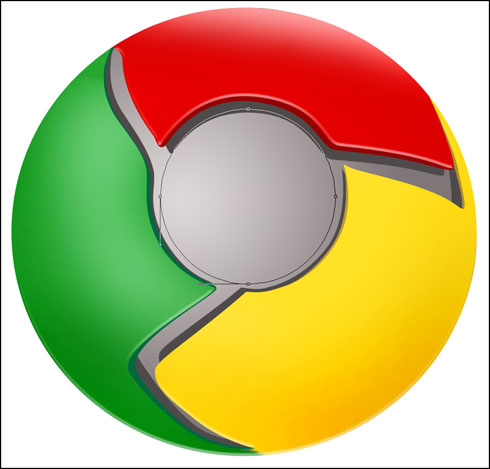
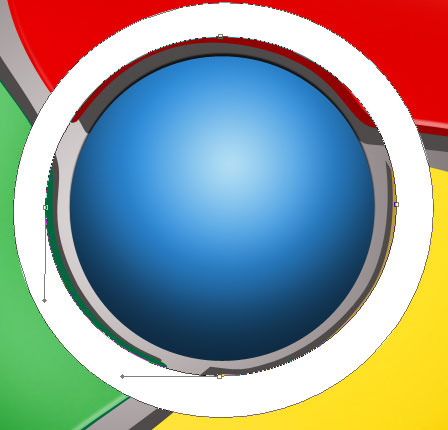
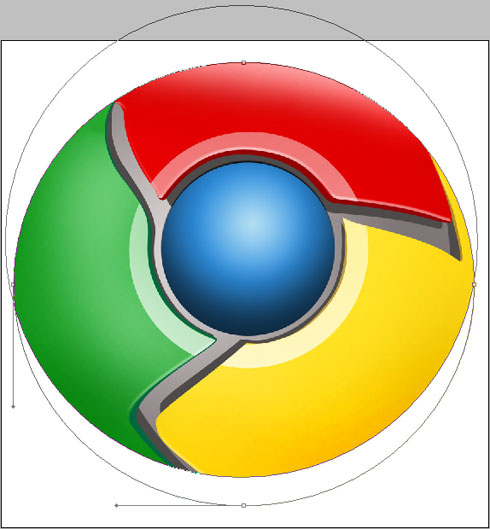
Using the Ellipse Tool (U), try to represent the central element of the logotype. Place its layer lower than the top layer of the logotype.
The layer’s parameters: Fill 0%
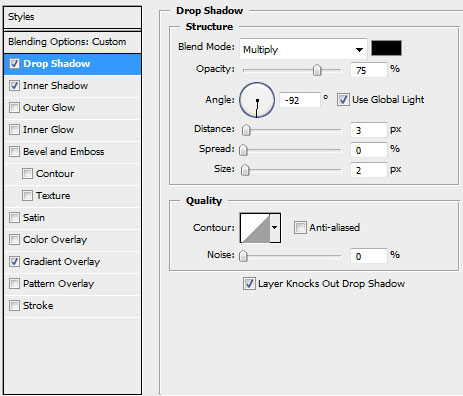
Blending Options>Drop Shadow

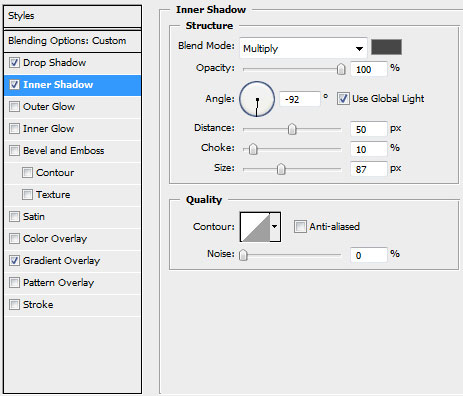
Blending Options>Inner Shadow
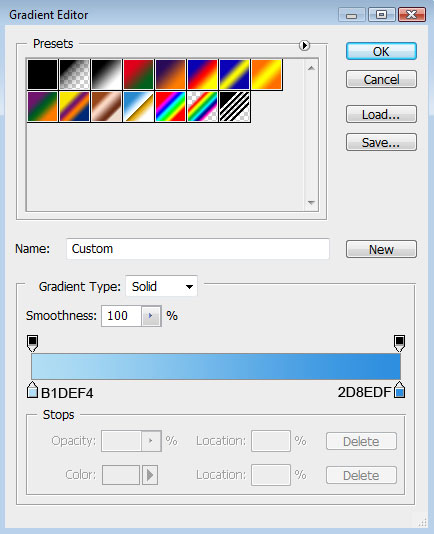
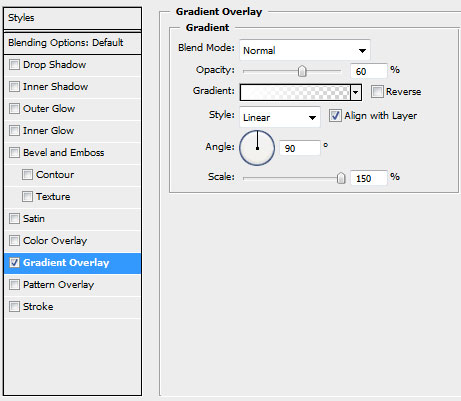
Blending Options>Gradient Overlay
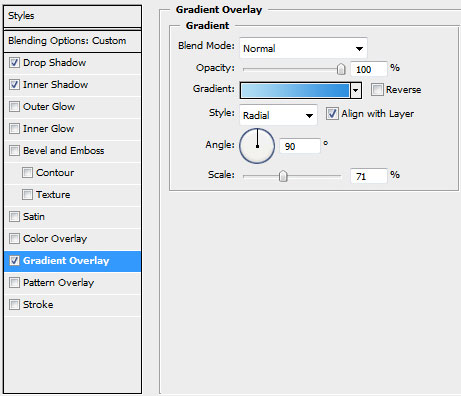
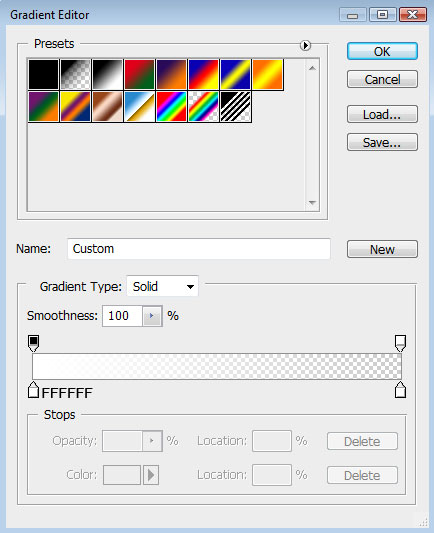
Gradient’s parameters:

Try to represent the highlight’s ring around the logotype’s central part. For the beginning apply the Ellipse Tool (U) to represent the outside borders and then press Alt button while using the same tool to cut out an opening.
The layer’s parameters: Fill 40%
Blending Options>Gradient Overlay
Gradient’s parameters:

Press Alt button and make a mouse click between the ring’s layer of the highlight and the previous layer:

On this stage we need to represent a highlight on the lowest part of the logotype. Select the Ellipse Tool (U) and represent the outside edges of the highlight along the bottom edge of the same logotype. Press the Alt button, while using the same tool, to erase the unnecessary elements of the picture. The layer’s color in this case is white.
The layer’s parameters: Fill 25%
Blending mode-Lighter Color

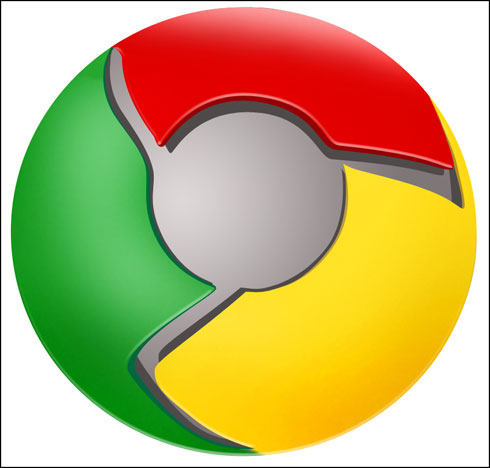
The logotype is finished!
View full size here.
Page: 1 2
Comments