
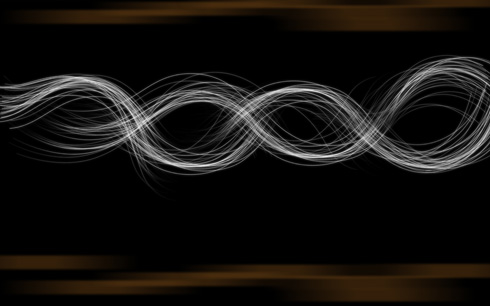
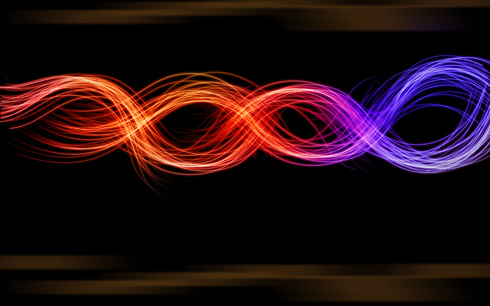
Glowing Neon Effects
Using the Free Transform option, it’s possible to turn over the copies the same way demonstrated below:
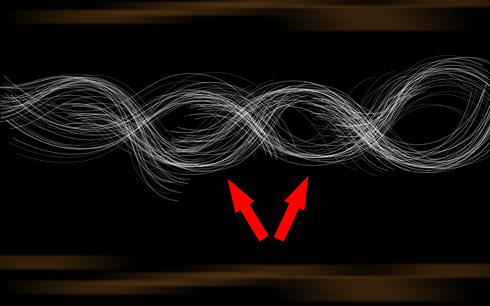
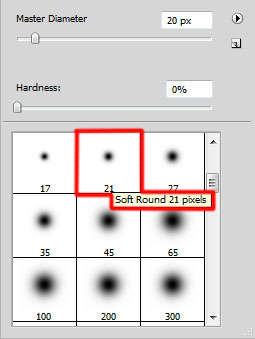
Click on the bottom part of the layers’ panel on each group containing by one line’s copies on Add a Mask selection and choose a standard brush of black color to erase the ends of the lines
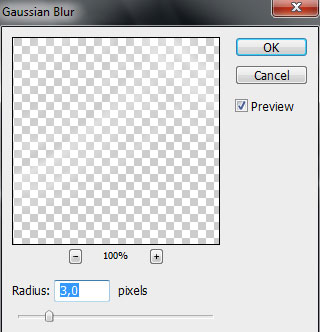
Put together all the lines’ groups to have a rasterized layer (press Ctrl button, mark out the necessary layers and finally press CTRL+E). Next we’ll make a copy of the rasterized layer, applying on it Filter>Blur>Gaussian blur

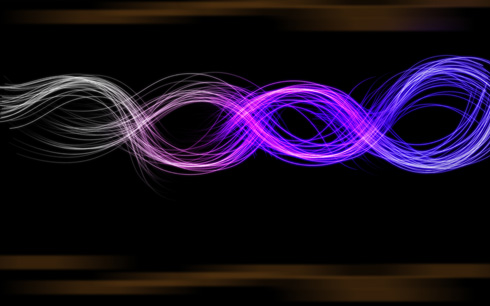
Create a new layer and apply here a standard brush to paint the lines. The brush is of the color #4118F2 (Opacity 40%)

The layer’s parameters: Blending mode-Color
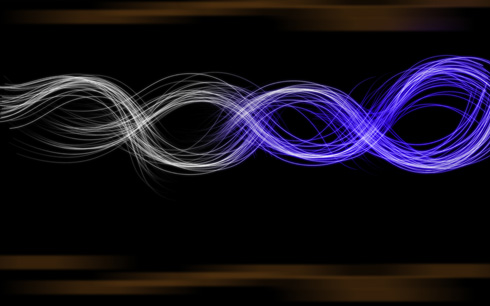
On the next layer we’ll use the same standard brush applied before with a different color this time – #BA00BA (Opacity 40%).
The layer’s parameters: Blending mode-Overlay
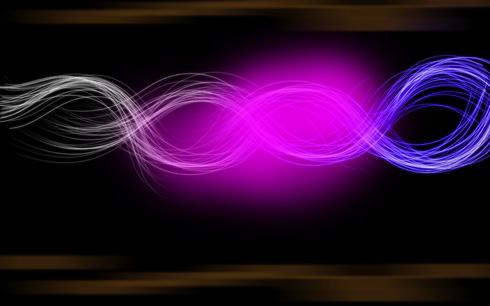
On the next new layer we’ll apply again the same standard brush with the color #E50101 (Opacity 40%).
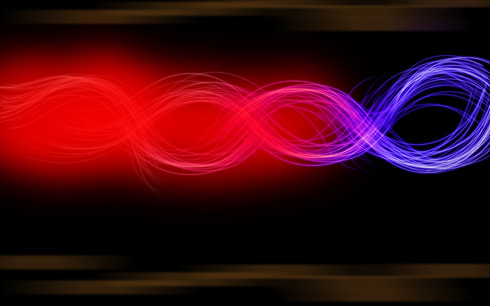
The layer’s parameters: Blending mode-Color
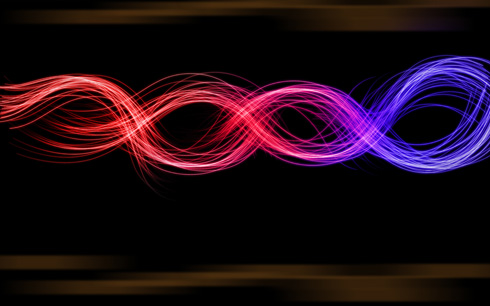
Create a new layer and select here again the standard brush to paint the lines with the color #FFFD03
The layer’s parameters: Blending mode-Soft Light
Create a new layer and select the standard brush of white color. Change its diameter to represent several white dots on the lines of the ornament.
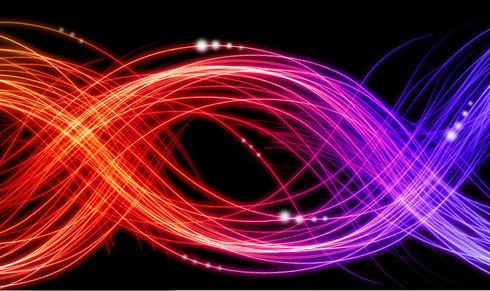

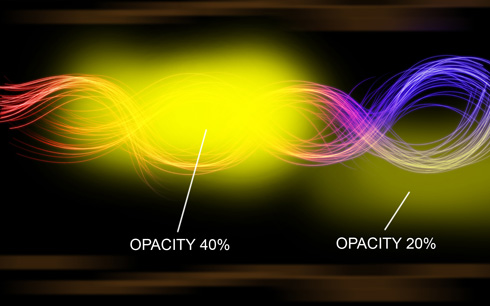
On the last stage we’ll create a new layer, using here the same standard brush of the color #FFFD03 (Opacity 15%) to give some volume to the lines.

The layer’s parameters: Blending mode-Overlay
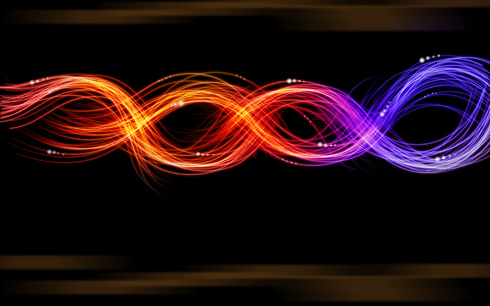
The final result!
View full size here.
Download free Layered PSD file.
Page: 1 2
Comments