
Galactic nebula
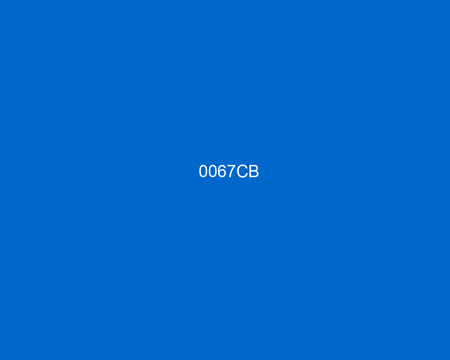
Next we should create a new layer again and fill it with blue color which code is indicated below:
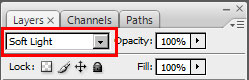
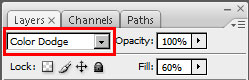
Apply on this layer the option shown next table out of the Blending Mode selection.
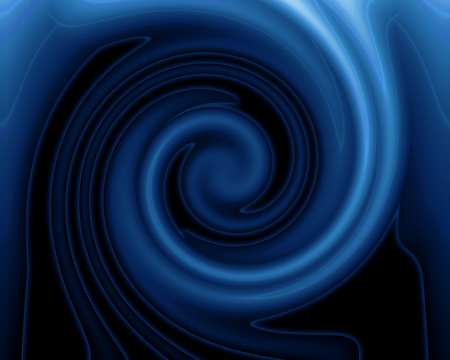
Now we’ve got the entire picture colored with blue.

Create a new layer and select on it the Brush Tool (B) to paint the unnecessary parts with black color, as in the picture from below:

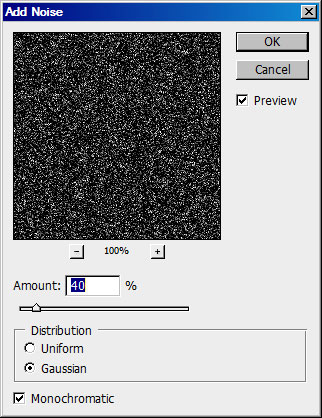
Next create another layer and paint it with white color. Press D,X buttons and apply the Filter>Noise>Add Noise, following the parameters indicated next table:
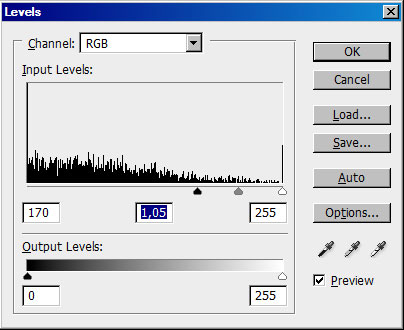
Now it’s time to set the contrast level and the brightness of this layer (Ctrl+L)
Change the Blending mode.
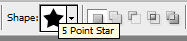
Next choose the Custom Shape Tool (U) and select the star shape from below:
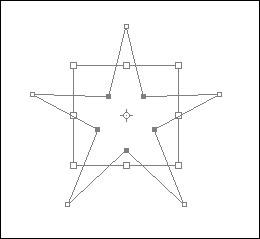
Create the small star and select after that the Direct Selection Tool (A) and the Free Transform option to mark out the inside star’s tops, transforming them by making them smaller. This way we’ll change a little the star’s shape.
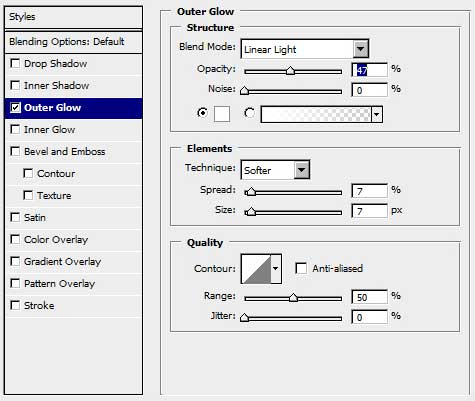
Choose the Blending Options>Outer Glow selection for the star.
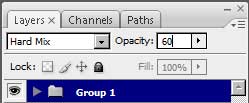
Copying and turning over arbitrary our stars, it’s possible to get a composition. After that mark out all the stars on the layers’ palette and place them in a group Ctrl+G. Set the next parameters for the group that we’ve got.
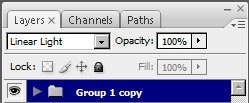
Make a copy of the whole group, transform it up, turn it around and change its’ parameters with those demonstrated below:
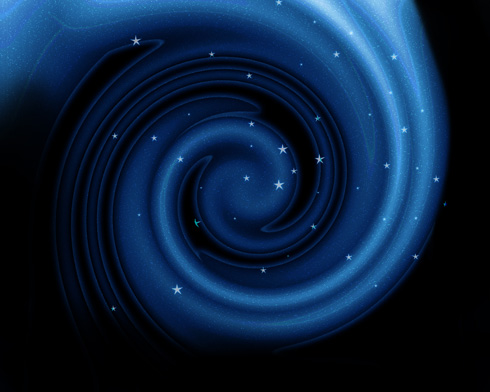
It’s the picture we should get on the final stage:
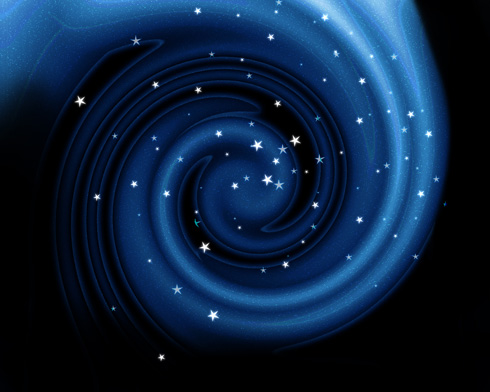
Finished!
View full size here.
Page: 1 2
Comments