
Futuristc Desktop Wallpaper
Place the next layer, reserved for the inside buttons’ ornaments on the surface of the recently made rectangles, applying the Ellipse Tool (U).
The layer’s parameters:
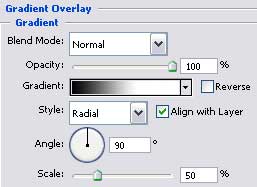
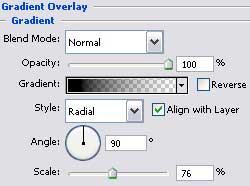
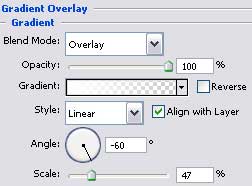
Blending Options>Gradient Overlay
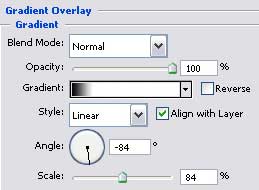
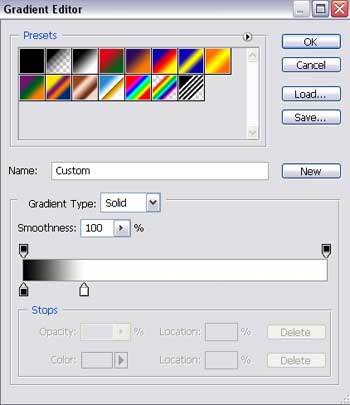
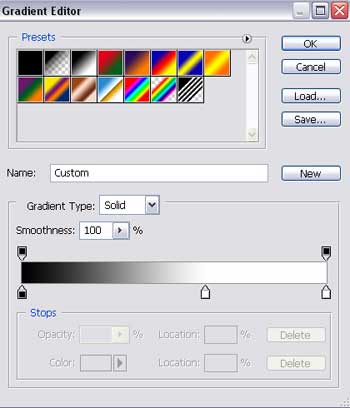
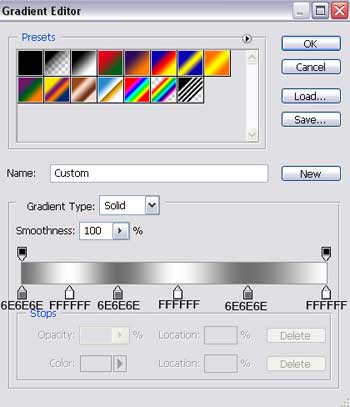
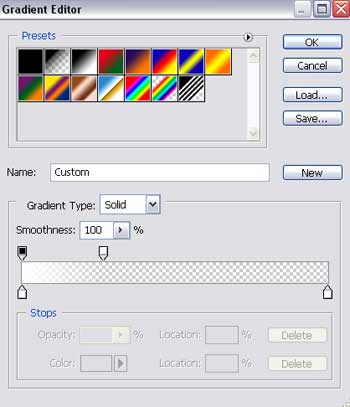
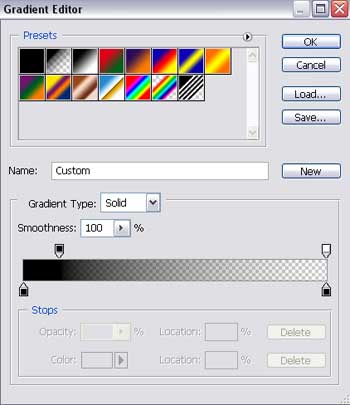
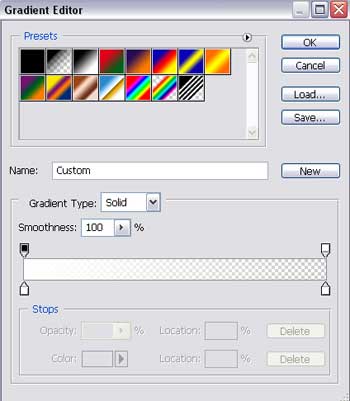
Gradient’s parameters:

Make a copy of the last made layer and select Free Transform option to minimize the copy a little. Change the parameters and place the copy the same way you may see below.
 The layer’s parameters:
Blending Options>Gradient Overlay
Gradient’s parameters:
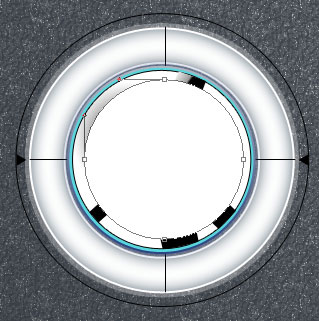
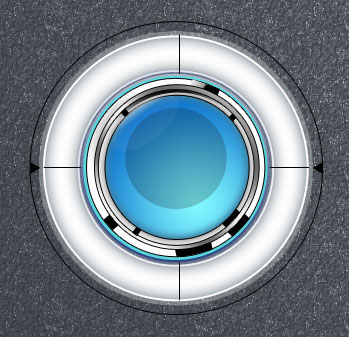
The next layer supposes making one more circle. Firstly we need to apply the Ellipse Tool (U) to represent the outside edges and then press Alt button to cut out the inside part, applying the last instrument too.
The layer’s parameters:
Blending Options>Gradient Overlay
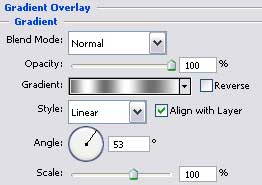
Gradient’s parameters:
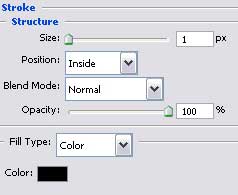
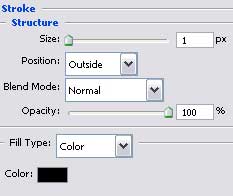
Blending Options>Stroke
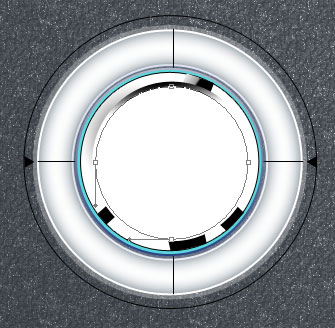
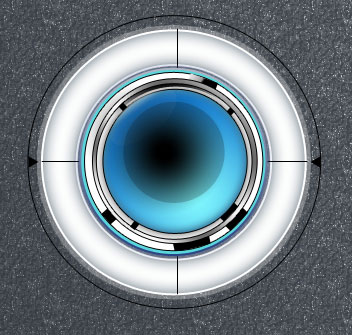
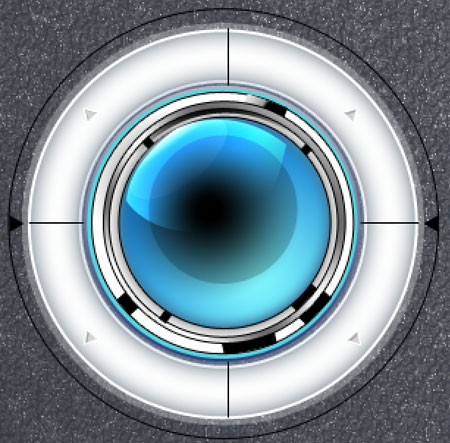
Using the Rectangle Tool (U), represent four black rectangles the way described earlier on the inside circumference of the grey circle.
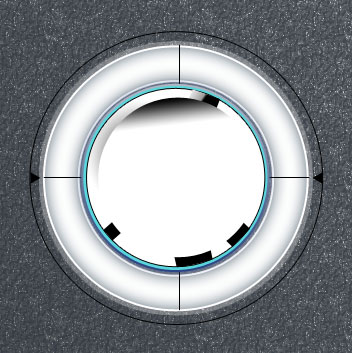
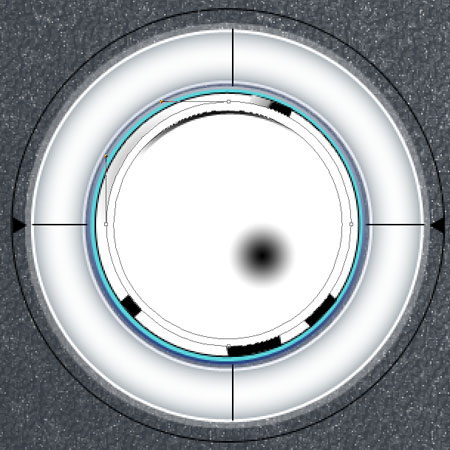
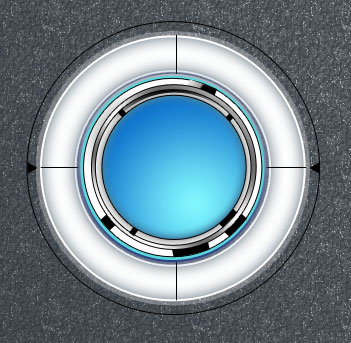
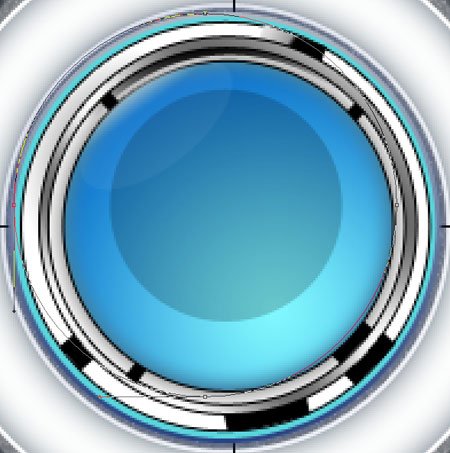
Select the Ellipse Tool (U) to represent the next layer containing a voluminous circle on the central buttons’ part.
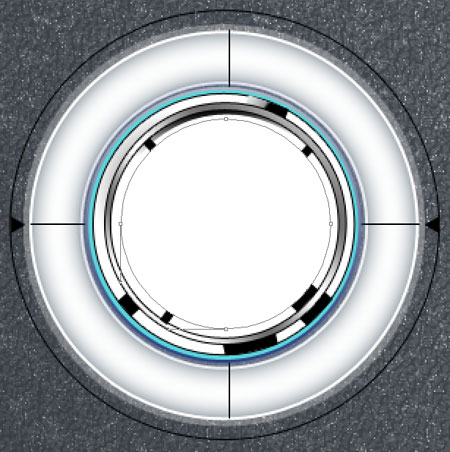
The layer’s parameters:
Blending Options>Drop Shadow
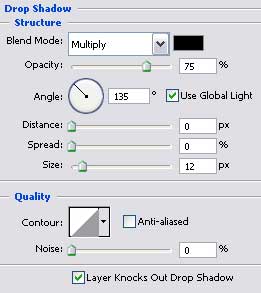
Blending Options>Inner Glow
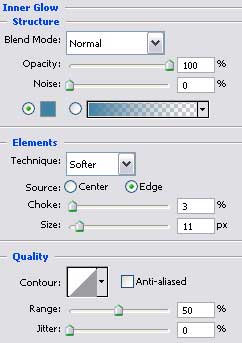
Blending Options>Gradient Overlay
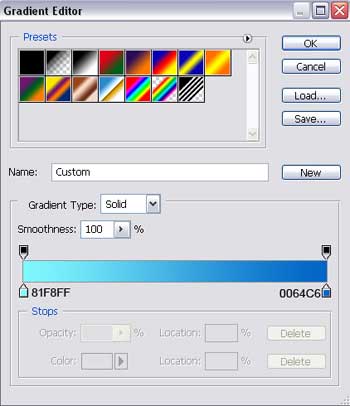
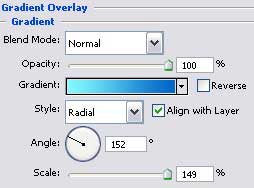 Gradient’s parameters:
Blending Options>Stroke
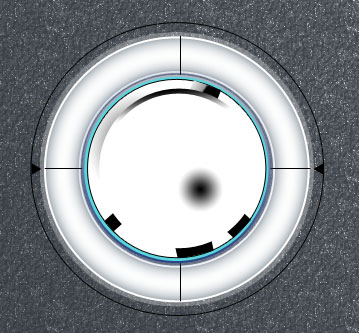
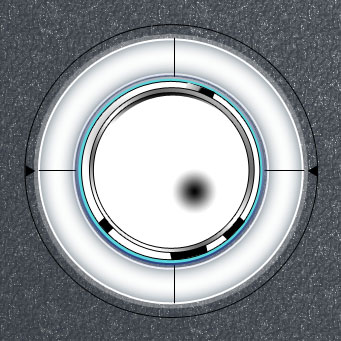
Select the same tool to draw a kind of darkening on the picture’s surface that would have black color.
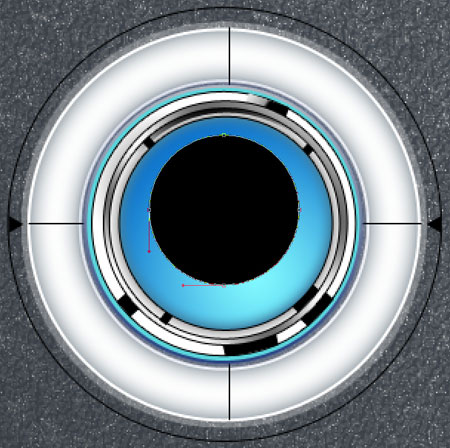
The layer’s parameters:
Fill 20% on the layers.
Draw a highlight now, choosing the same Ellipse Tool (U).
The layer’s parameters:
Fill 5% on the layers.
Blending Options>Gradient Overlay
 Gradient’s parameters:
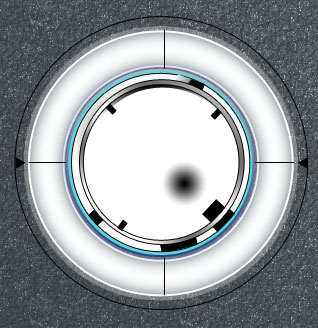
Select the same instrument to create a rounded shadow on the central part of the buttons.
The layer’s parameters:
Fill 0% on the layers.
Blending Options>Gradient Overlay
Gradient’s parameters:
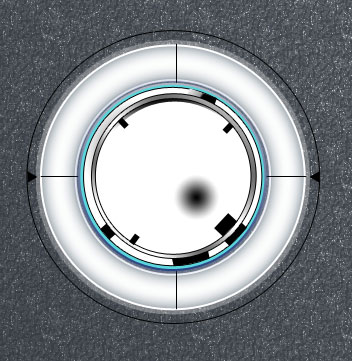
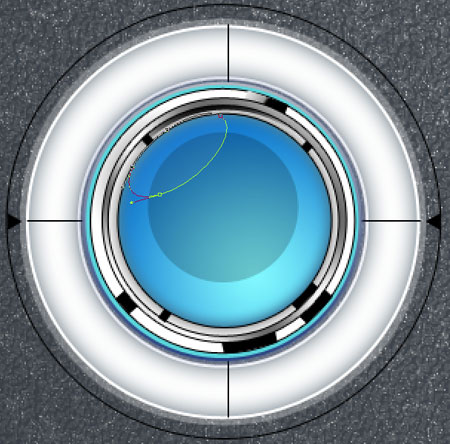
Draw one more highlight on the central part of the buttons, selecting the Ellipse Tool (U). The highlight’s shapes may be corrected with Convert Point Tool.
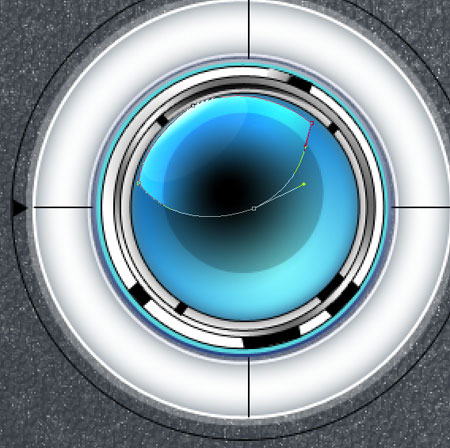 The layer’s parameters:
Fill 0% on the layers.
Blending Options>Gradient Overlay
Gradient’s parameters:
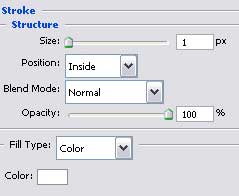
Using the Pen Tool (P), picture out on the buttons’ surface a pointer colored with #D3D3D3
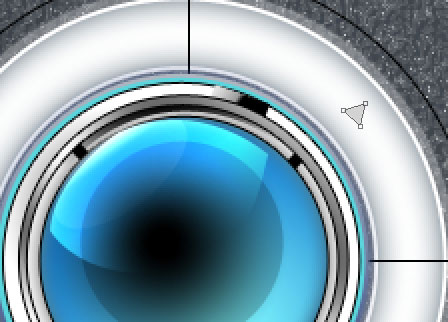
The layer’s parameters:
Blending Options>Inner Shadow
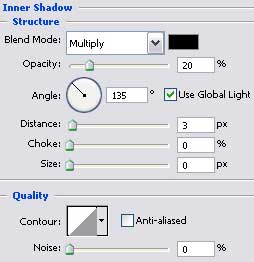 Blending Options>Stroke
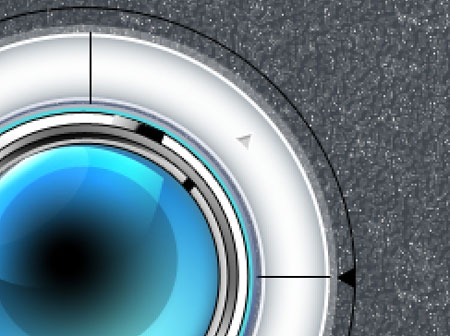
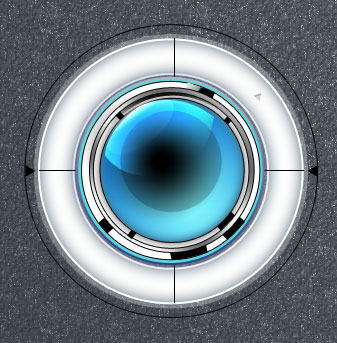
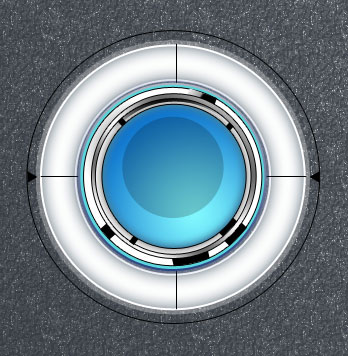
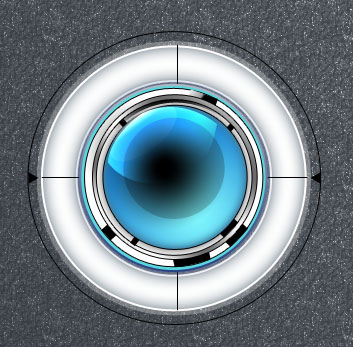
Make three copies of the last made layer and choose the Free Transform option to turn the copies over and place them in the same way it is demonstrated on the next picture.
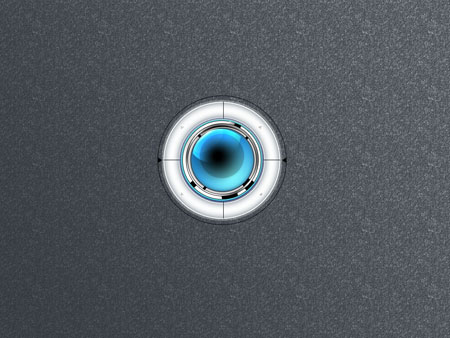
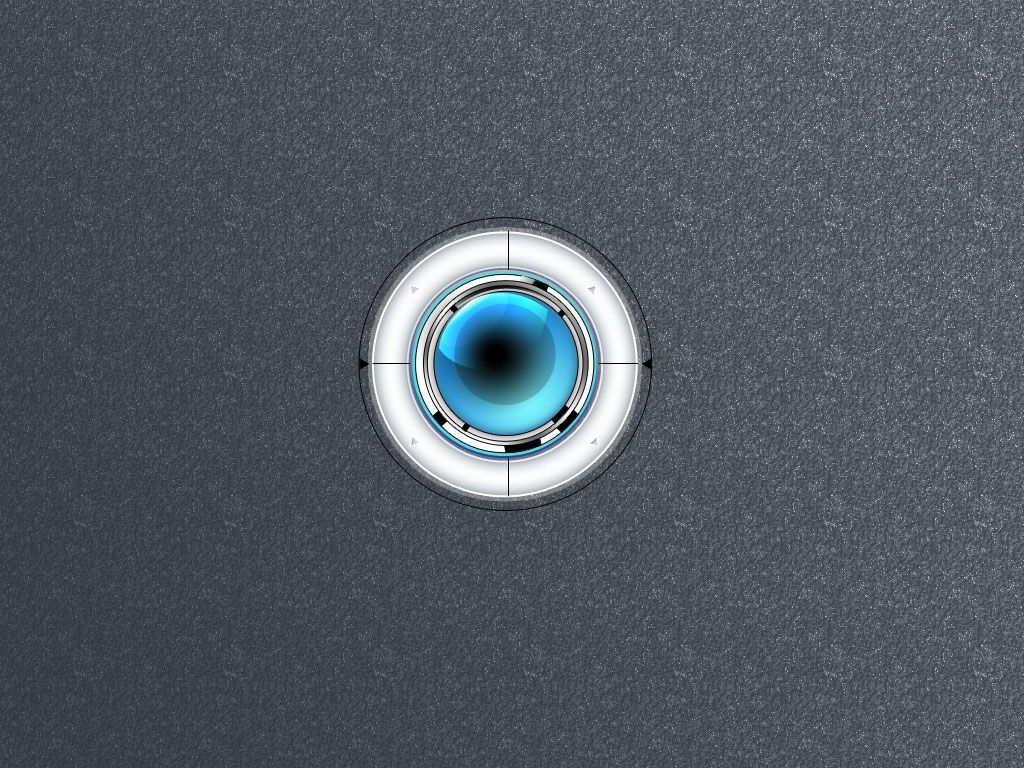
The final result!
View full size here.
Page: 1 2
Comments