
Ford Mustang Wallpaper
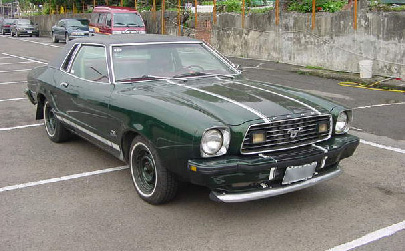
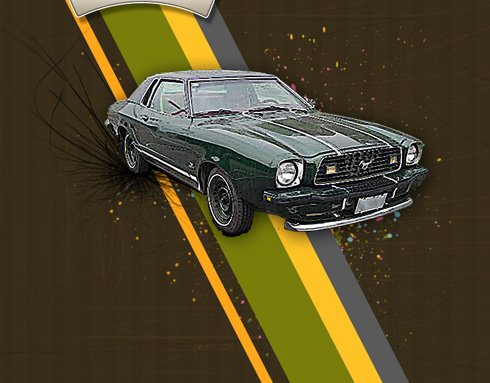
Next we must find in Internet a picture having a Mustang car on it:
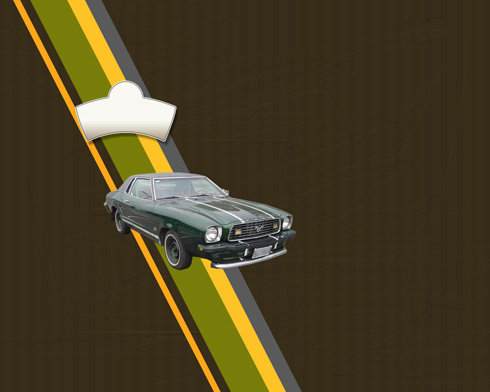
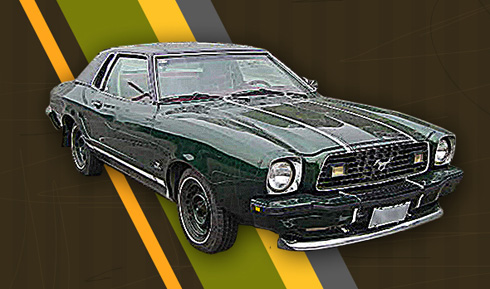
Cut out the automobile, introducing it on our picture:
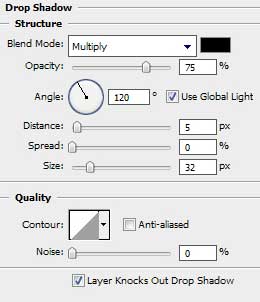
The layer’s parameters: Blending Options>Drop Shadow

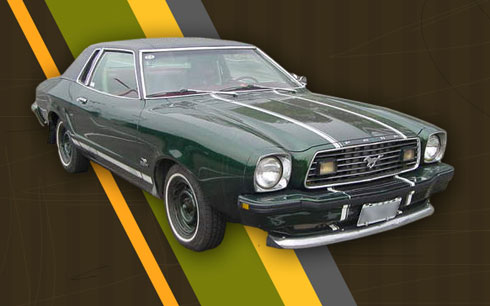
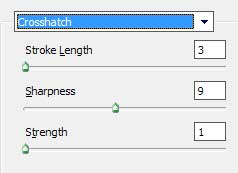
Select next filter’s option for the car’s layer: Filter>Filter Gallery>Brush Strokes>Crosshatch
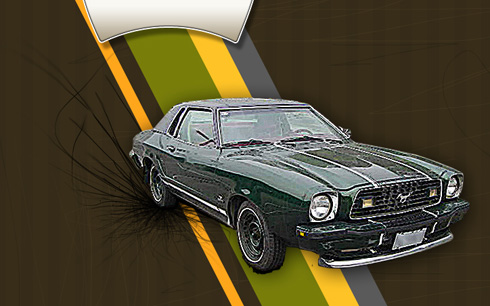
Create new layer and use on it the earlier applied standard brush – the Brush Tool (B) of black color to represent a shadow under the car’s wheel and the spray. Situate this layer lower than the car’s layer on the layers’ panel:
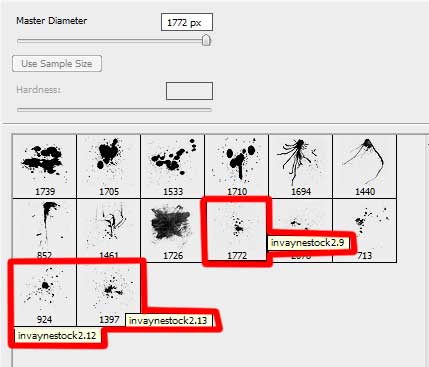
Download out of Internet a set of ready to use brushes for Adobe Photoshop, named bloodbrushes2_invaynestock.
Create a new layer and select the earlier chosen brushes out of the set bloodbrushes2_invaynestock. Their colors are these ones: #6BB3BB, #F0B925, #74780C, #E76699. Place the layer containing the brushes lower than the layers containing the car, inclined lines and the black spray.
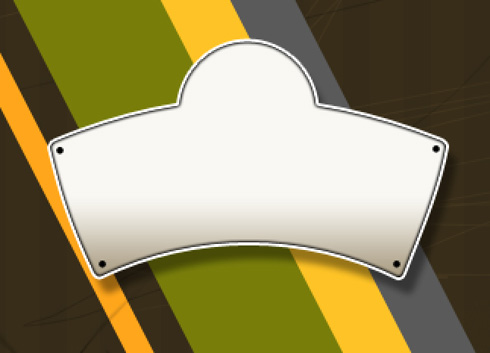
Select the Ellipse Tool (U) on the text’s prepared basis to represent the rivets in those four corners
Comments