
Flourescent Lines
Flourescent Lines
Author Name: TDW
URL: http://www.thedesignworld.com
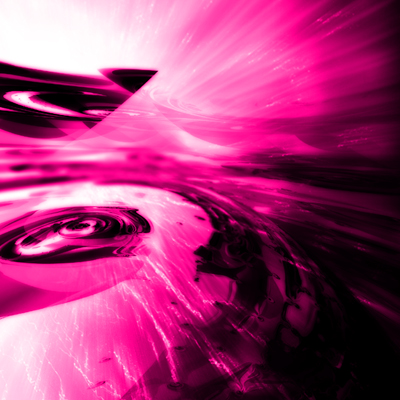
Start with a picture, something for the background, I used:
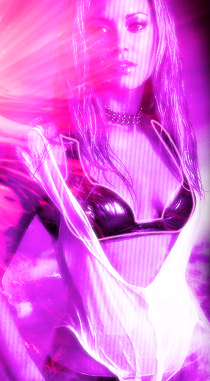
2. Now you need to pick a picture of a girl, and add her in. play with the levels (press ctrl+l) and then use a feathered eraser to take off all the hard edges:

3. Set your girl’s layer to screen, and then use the following colour (you may want to change if you to match your background):

4. Now, duplicate the layer, add a filter>blur>gausian blur, then set your new layer to “screen” and it should give your girl a new glow.


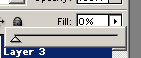
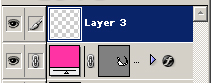
5. Now the fun parts.grab your pen tool, and then make a new layer, and put the fill opacity to zero as shown here:
6. Now make sure you have a colour that suits your background, then take your pen tool and start outlining the sexy features. hips, breasts. There is a technique to this, so watch out, but dont worry about it being perfect you can erase the bad parts later.
*NOTE*
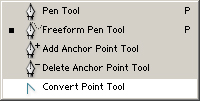
After you make a cuve and then your next point seems to get messed up, to the point where the curves dont go where you want them to, use this tool:
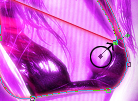
then drag the box toward the central point as displayed by the black circle and the arrow seen below:
This will let you make a new point and curve it how you wish. This technique may take a little, but you’ll get it.
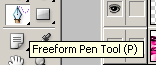
also note that you can use the freeform tool which is sometimes good, I like it personally.
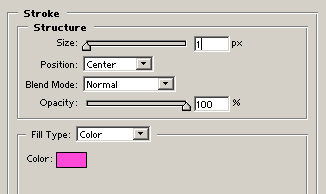
7. Now after you have outlined some of the beautiful features you’ll need to add a stroke, 1 pixel centered like I have done here:
8. Now you’ll need to flaten this whole thing. Create a new layer, then link it to the layer with your outline, and press ctrl+e
9. Now you need to add a filter>blur>gaussian (0.3) to your sexy outline, then duplicate the layer, twice, and merge twice. Finally change your layer mode to screen and you should come up with something like this:
10. Now duplicate your layer, and then filter> blur> gaussian blur (1.7) and then set the layer mode to screen. Duplicate this layer twice, and merge twice. You should have a nice glow on your outlines.
11. Merge your glow layer, and your outline layer and take an eraser and clear some of the bad parts and make it look good. THEN YOUR DONE! with a little editing i can look like this!

Comments