
Fashion women photo effects
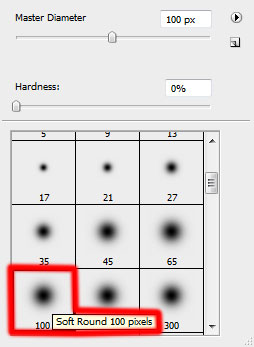
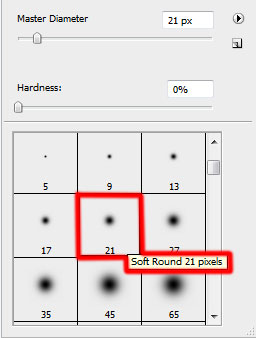
Click on the same layer on the bottom part of the layers’ panel on Add a Mask selection and choose a standard brush of black color to clean out the middle part of the picture (Opacity 100%) and a little on the top part (Opacity 10%).

Create a new layer and choose again the standard brush of black color (Opacity 20%) to dark out the top part of the picture.


On the next new layer we’ll apply the standard brush of black color (Opacity 10%) to dark out the left and right sides.


Using the Custom Shape Tool (U), try to represent several rays of the color #620001. Mark out the inside tops with the Convert Point Tool (holding on the SHIFT button), press CTRL+T and press Maintain aspect ratio to compress uniformly the rays in a single point on their central part.
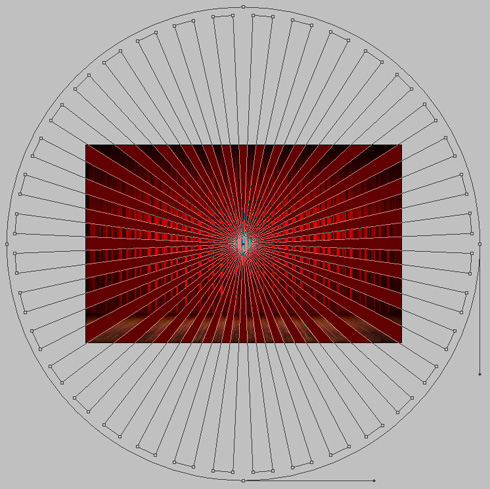
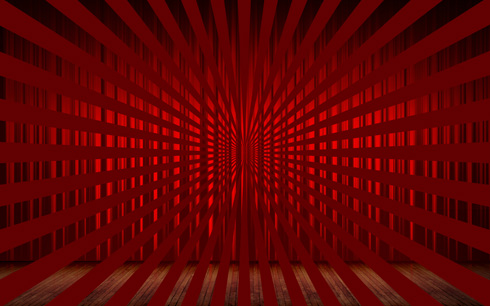
The layer’s parameters: Fill 76%, Blending mode-Soft Light

Click on the same layer on the bottom part of the layers’ panel on Add a Mask selection and choose the Rectangular Marquee Tool (M) to mark out a zone on the planks’ texture. Using a standard brush of black color, clean out that marked zone.


Create a new layer and apply again a standard brush of black color (Opacity 10%) to represent a kind of darkening along the edge of the planks’ texture.
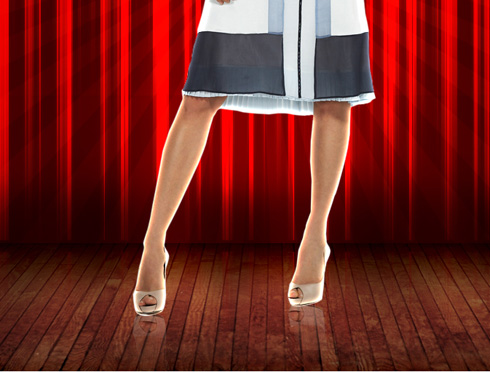
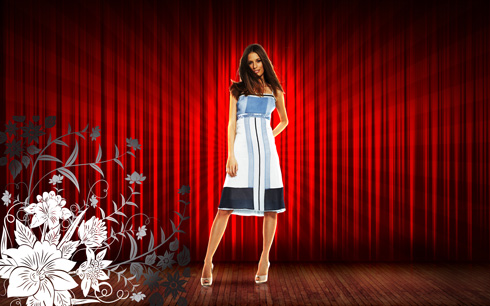
 Find a stock photo with a model represented on it, I used this photo from deviantart. I would like to thank the author of this photo:
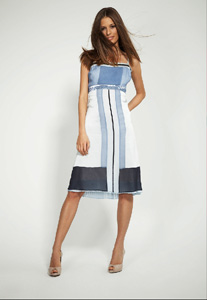
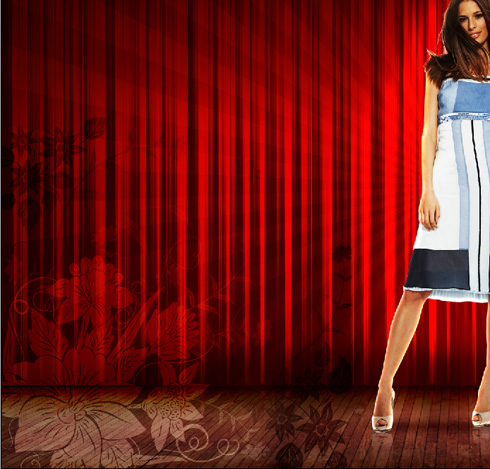
Cut it out and insert it on the new layer:

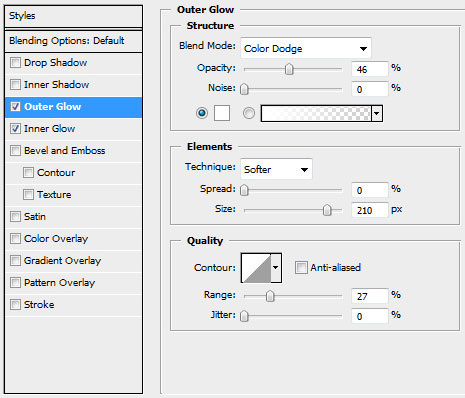
Select the next demonstrated styles for the layer with the girl on it: Blending Options>Outer Glow
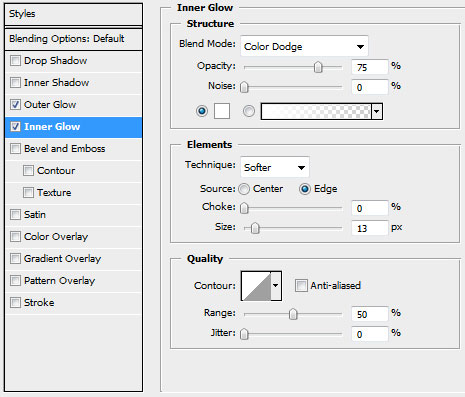
Blending Options>Inner Glow
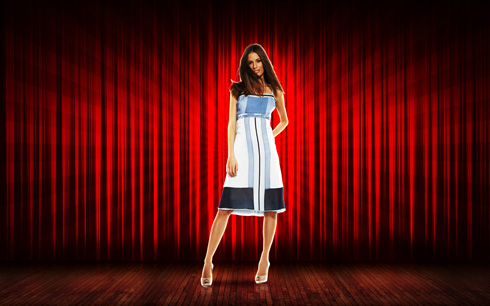
Make a copy of the layer containing the girl and choose the Free Transform option to turn over the copy and place it the same way from below. The copy’s layer will be placed lower than the very first girl’s layer (on the layers’ panel).
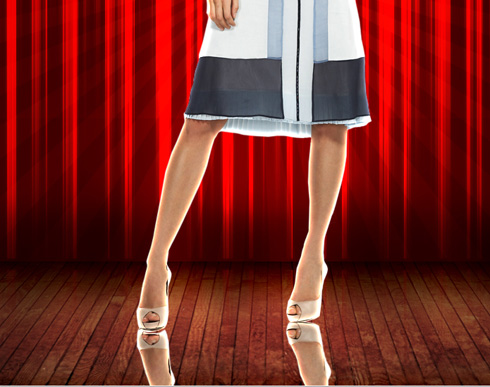
Click on the bottom part of the layers’ panel on Add a Mask option and select a standard brush of black color (Opacity 30%) to represent a semitransparent reflection.
Create a new layer again and represent the shadow of the girl we have on the picture. In this case we need a standard brush of black color (Opacity 20%).
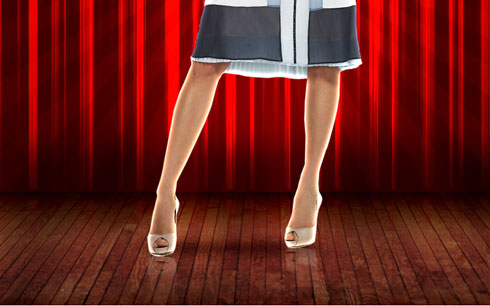
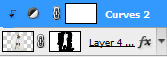
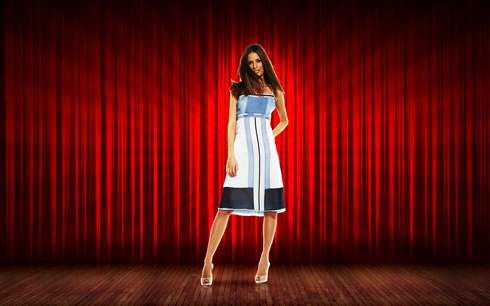
Click on the layers’ panel on Create new fill or adjustment layer>Curves
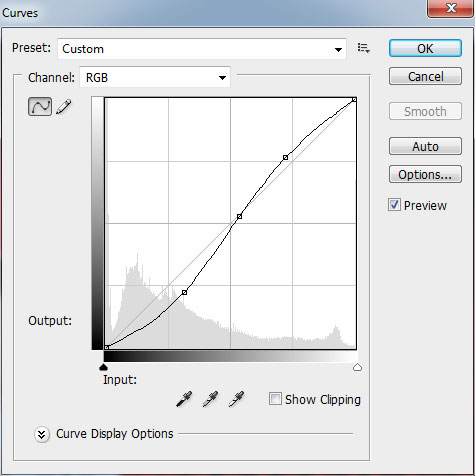
Press Alt button and make a click between the Curves layer and the previous layer with the girl (on the layers’ panel).
Download a Free Vector graphics set 15 that contains the vector of a flower for Adobe Illustrator.
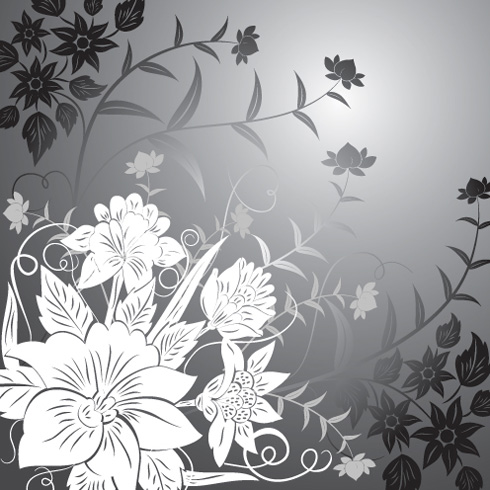
Open the vector in the Adobe Illustrator program. Using the Direct Selection Tool (A), click on the grey texture’s background.
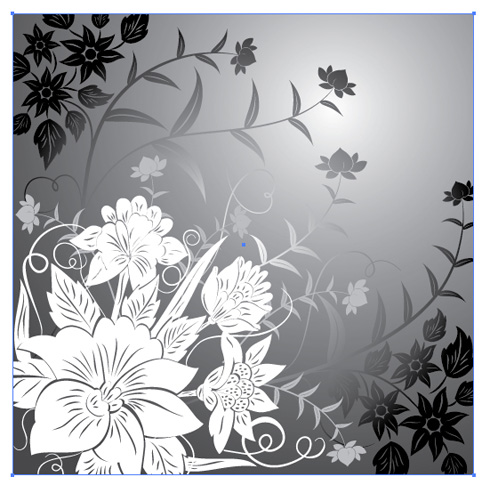
Press DELETE
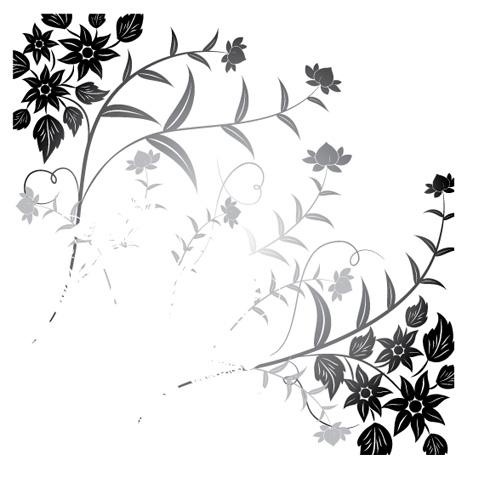
Mark out the flower and press CTRL+C.
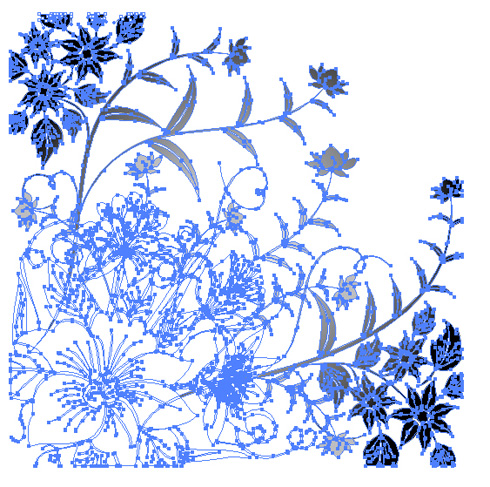
Back to Adobe Photoshop, press CTRL+V and select Paste as: Smart Object. Insert the result on our picture (using Free Transform option).
Using the Eraser Tool (E), try to erase the unnecessary element of the ornament we’ve got.

The layer’s parameters: Blending mode-Soft Light
Make a copy of the flower ornament and select the Free Transform option to turn over the copy, placing it on the right top corner of the picture.
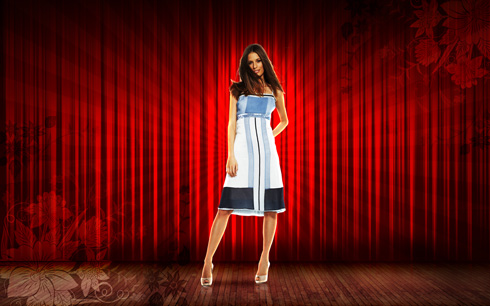
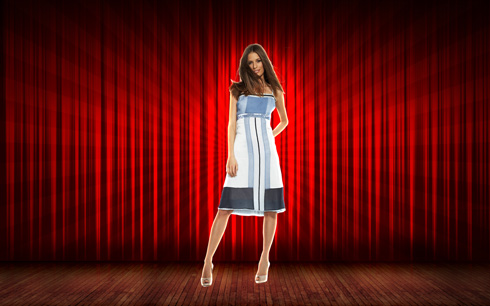
The final result!
View full size here.
Page: 1 2
Comments