
Draw Merry Christmas Illustration
Let’s make the ornaments now on the violet toy decoration, choosing for this operation the Pen Tool (P) of white color.
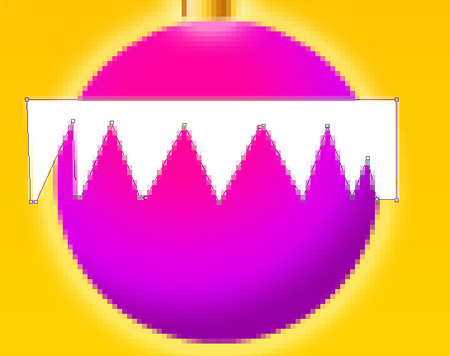
Make a mouse click on the lowest part of the layers’ panel on Add a Mask selection and use a standard brush of black color to paint the decoration’s coming outside ornament’s zones:
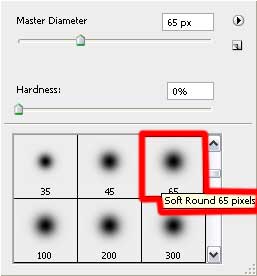

It’s time to select the Rectangle Tool (U) to continue introducing different ornaments on the violet ball decoration and this time we’ll choose the white color too for the ornaments.

 As we have described before, we’ll select Add a Mask option and the Brush Tool (B) that will be helpful in painting the coming outside the ball’s edges the ornament’s zones:

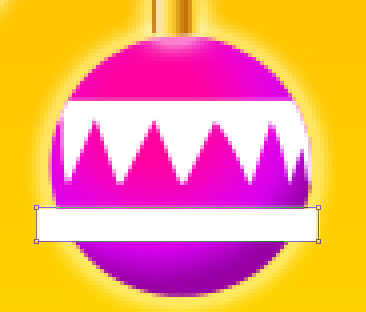
Using the same Rectangle Tool (U), we’ll represent two more stripes composing the ornaments also of white color. This time we’ll use again the same method of hiding the coming outside the toy’s edges ornament’s zones:

Each ornament’s element of white color belonging to the violet toy has the same layer’s parameters: Fill 70%

Next we’ll make a highlight on the red toy decoration, choosing previously the Ellipse Tool (U).
The layer’s parameters: Fill 0%
Blending Options>Gradient Overlay
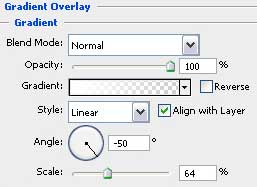
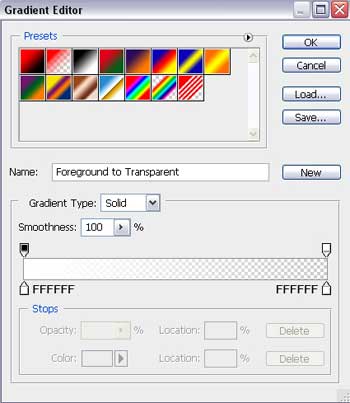
Gradient’s parameters:

Make three copies of the last made highlight’s layer and take the Free Transform option to change the copies’ sizes, depending on the toys the highlights are situated on.

Select again the Ellipse Tool (U) to draw several small white circles of different sizes:
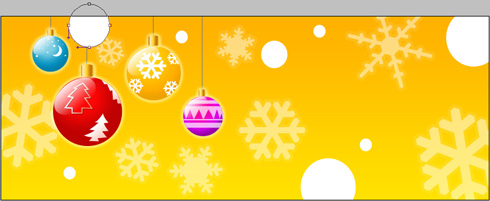
Apply for the last made layers the same parameter indicated next: Fill 30%
 Using the last chosen tool, try to insert two more white small circles:
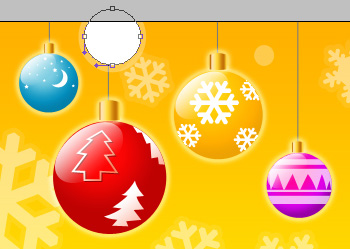
Apply for the last circles’ layers the next parameter shown below: Fill 20%

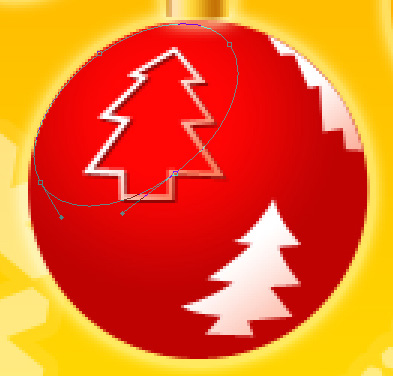
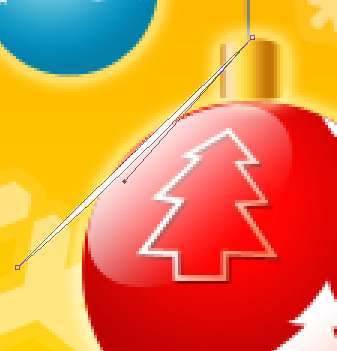
Try to draw now a radial brilliance on the red toy decoration, using the Pen Tool (P) and the Convert Point Tool for inserting the necessary corrections on the drawn element. The element’s color is white.
Make three copies of the last made layer and select again the Free Transform option to turn over the copies and make them look smaller. This way we’ll try to get a star shape.

Select for the layers containing the radial brilliance the same parameter shown next: Fill 50%

Combine in a group all the layers composing the radial brilliance (press Ctrl button to mark out the corresponding layers and then make a click on the left mouse’s button to take the marked layers on Create a new group selection). Next we’ll make five copies of the last combined group and choose again the Free Transform option to change, if necessary, the copies’ sizes, placing them as it is demonstrated below:

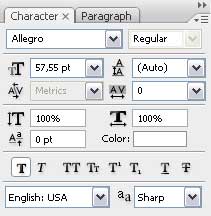
Next we have to introduce on our picture the holiday congratulation inscription, keeping the demands from the next table:

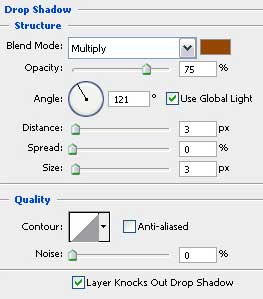
The parameters reserved for the text’s layers: Blending Options>Drop Shadow

The picture is finished!
View full size here.
Comments