

Dispersion Effect with Photoshop CS6/CC
May 28, 2014 | 0 comments
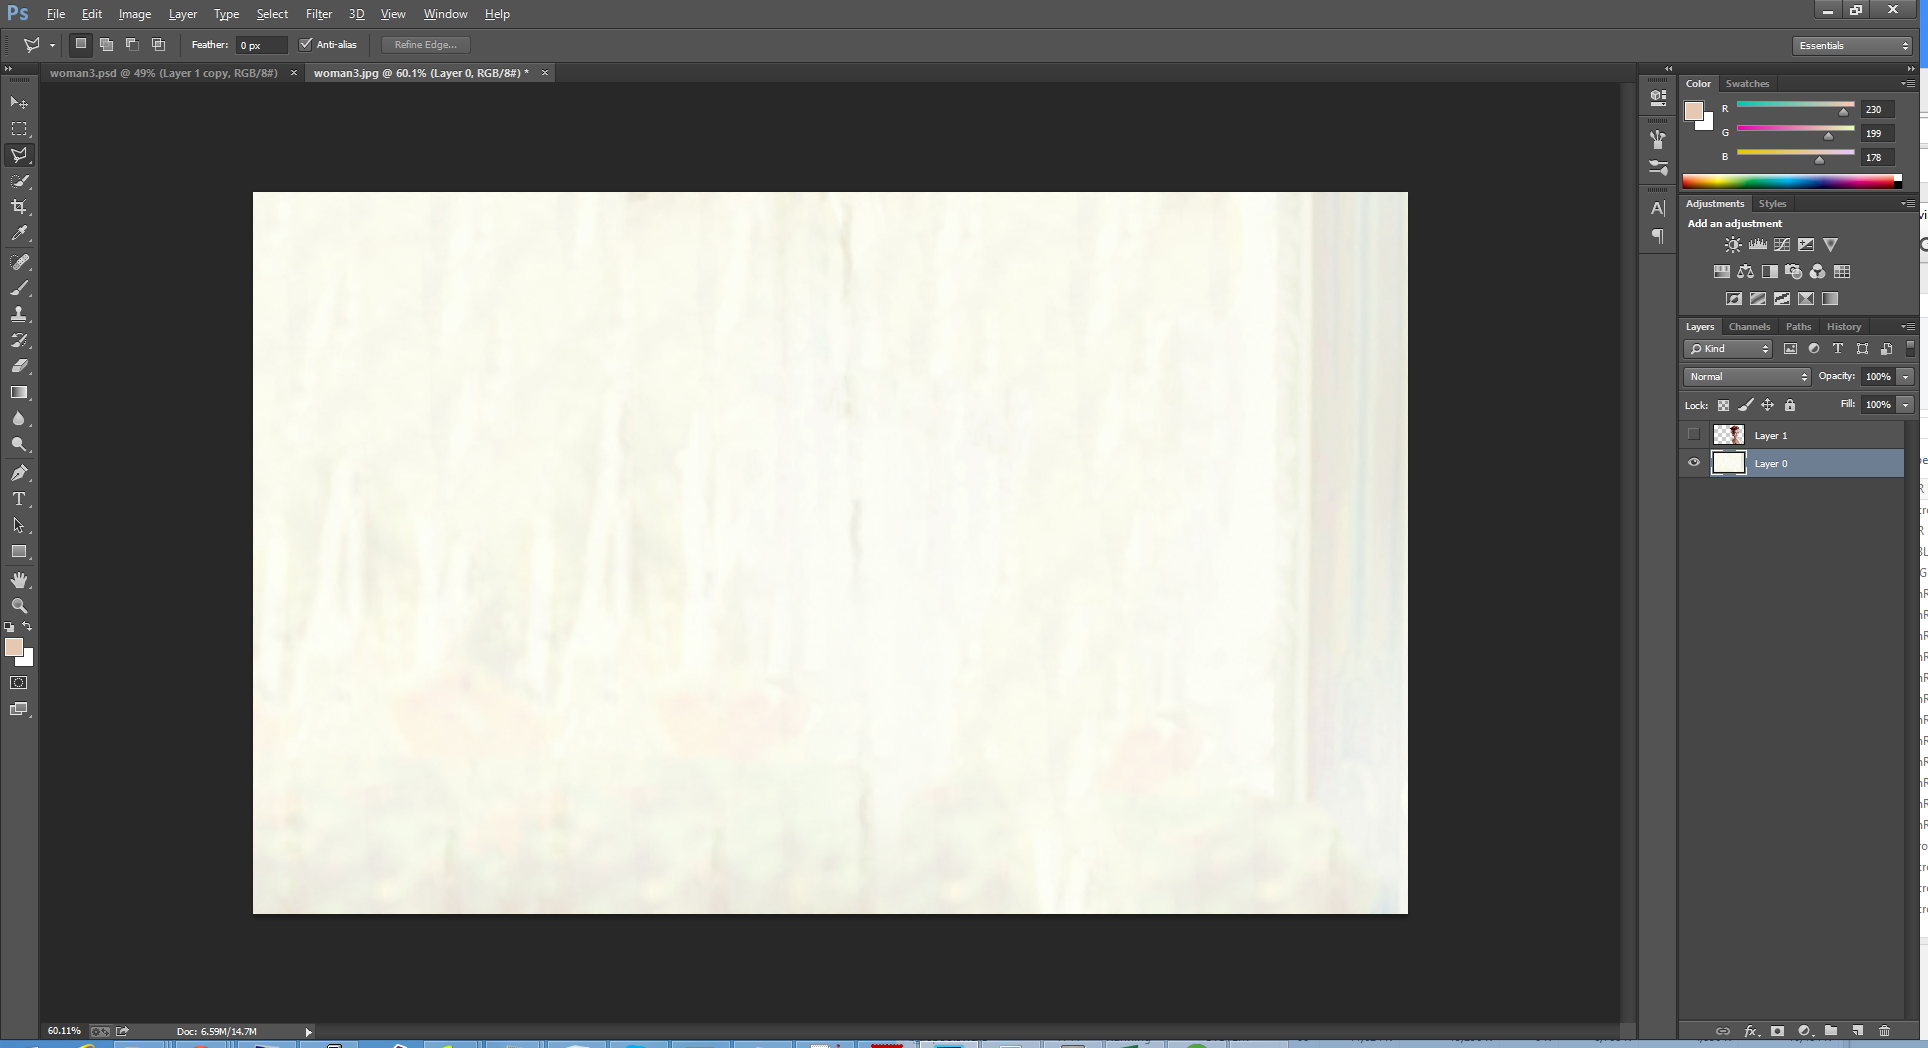
Fill the background
- Hide the Scarlett layer and show the background layer.
- Using the Polygonal Lasso tool select roughly around the missing area
- Using the Content Aware fill tool (File->Fill or Shift+F5), fill the missing area.
- Deselect the background by pressing Ctrl+D.
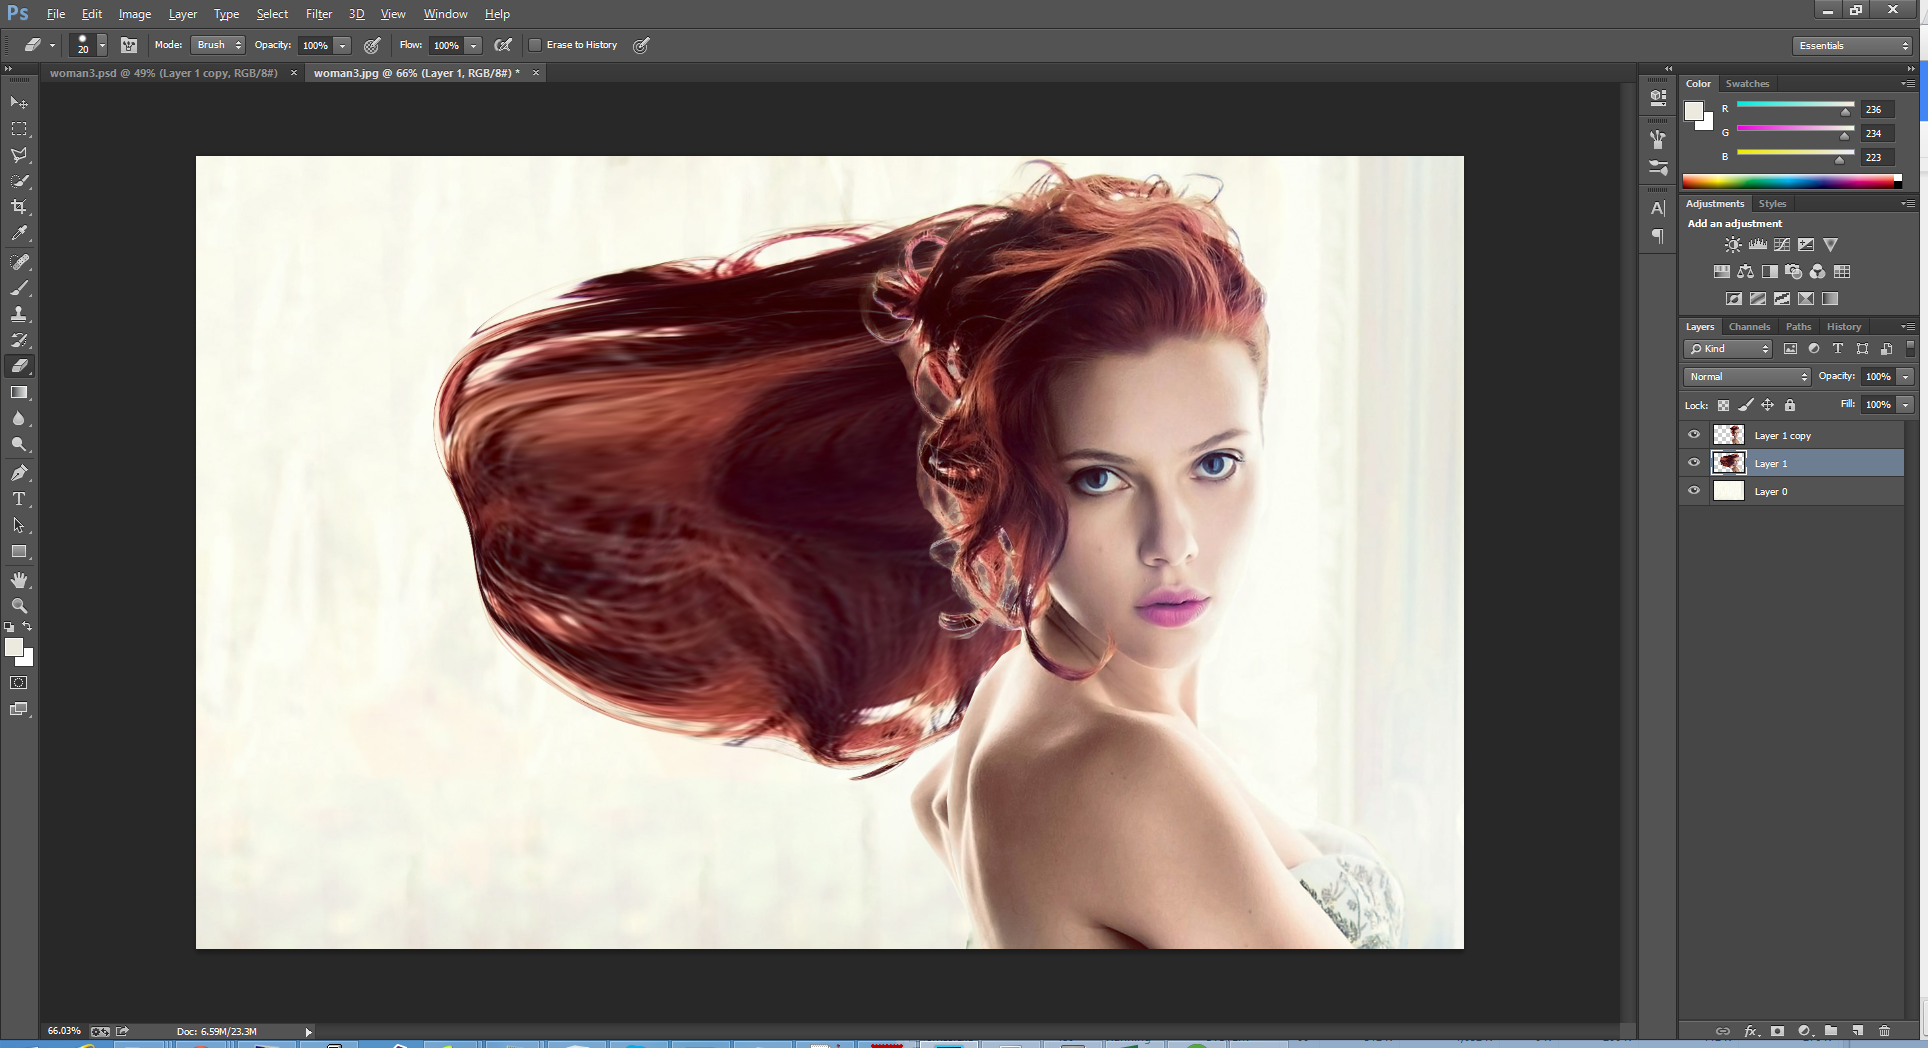
Morphing the foreground
- Select the foreground layer and press Ctrl+J to make a copy. We should now have two copies of the foreground layer.
- Click on the previous foreground layer (this should now be the middle layer
- From the Filter menu select Liquify to bring up the Liquify plugin
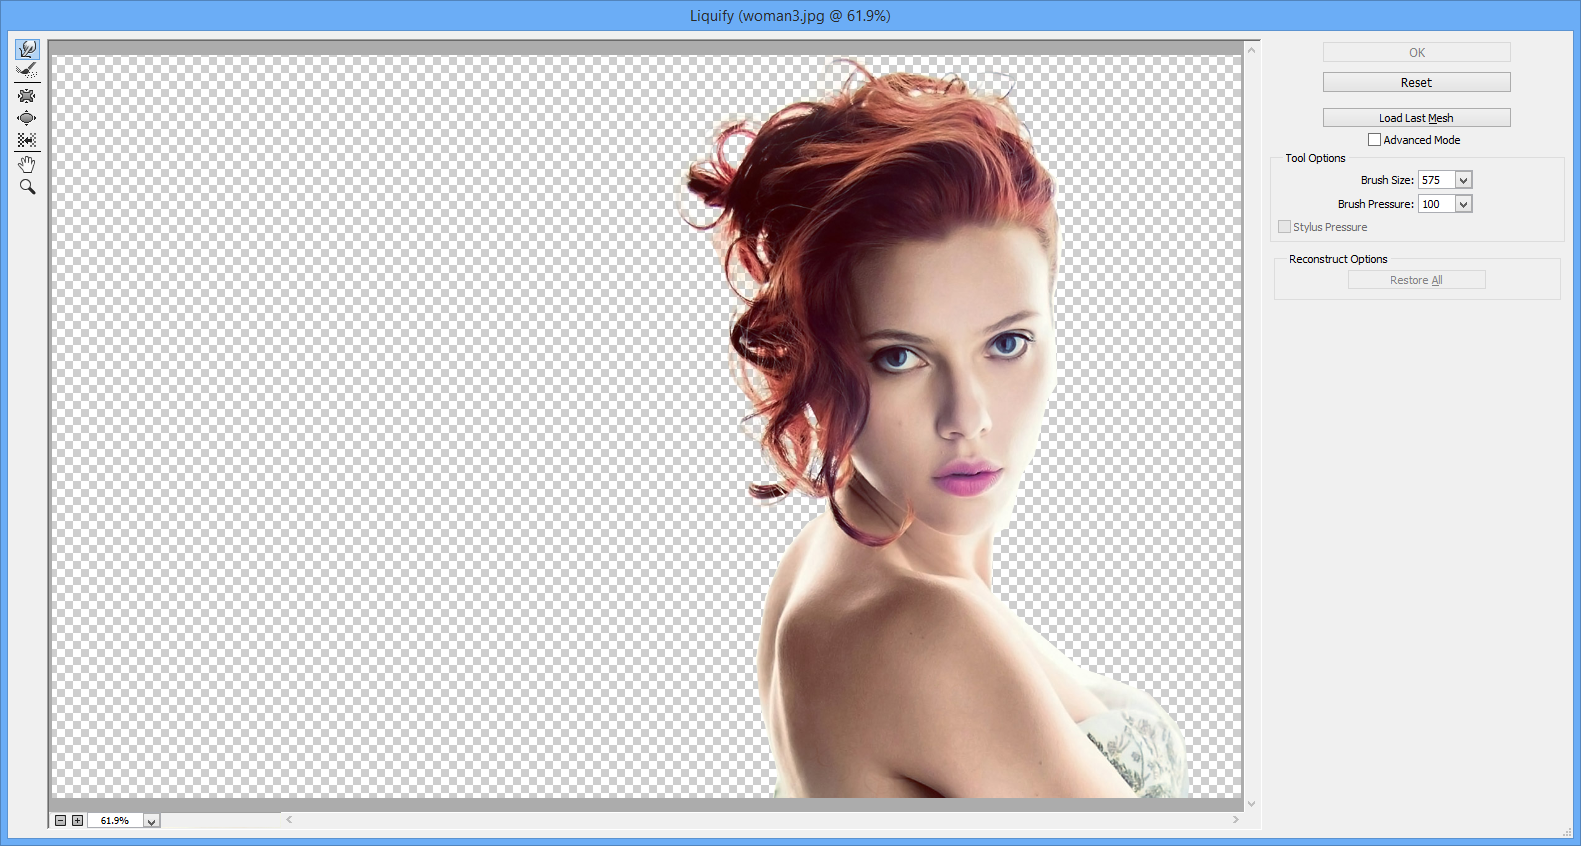
- Select a large brush size (say, slightly larger than the size of her head) and start pushing her into the negative space of the image
- Don’t worry if it looks strange at this point as only a small portion of this layer will show through.

- Once you are happy press OK to render the image.
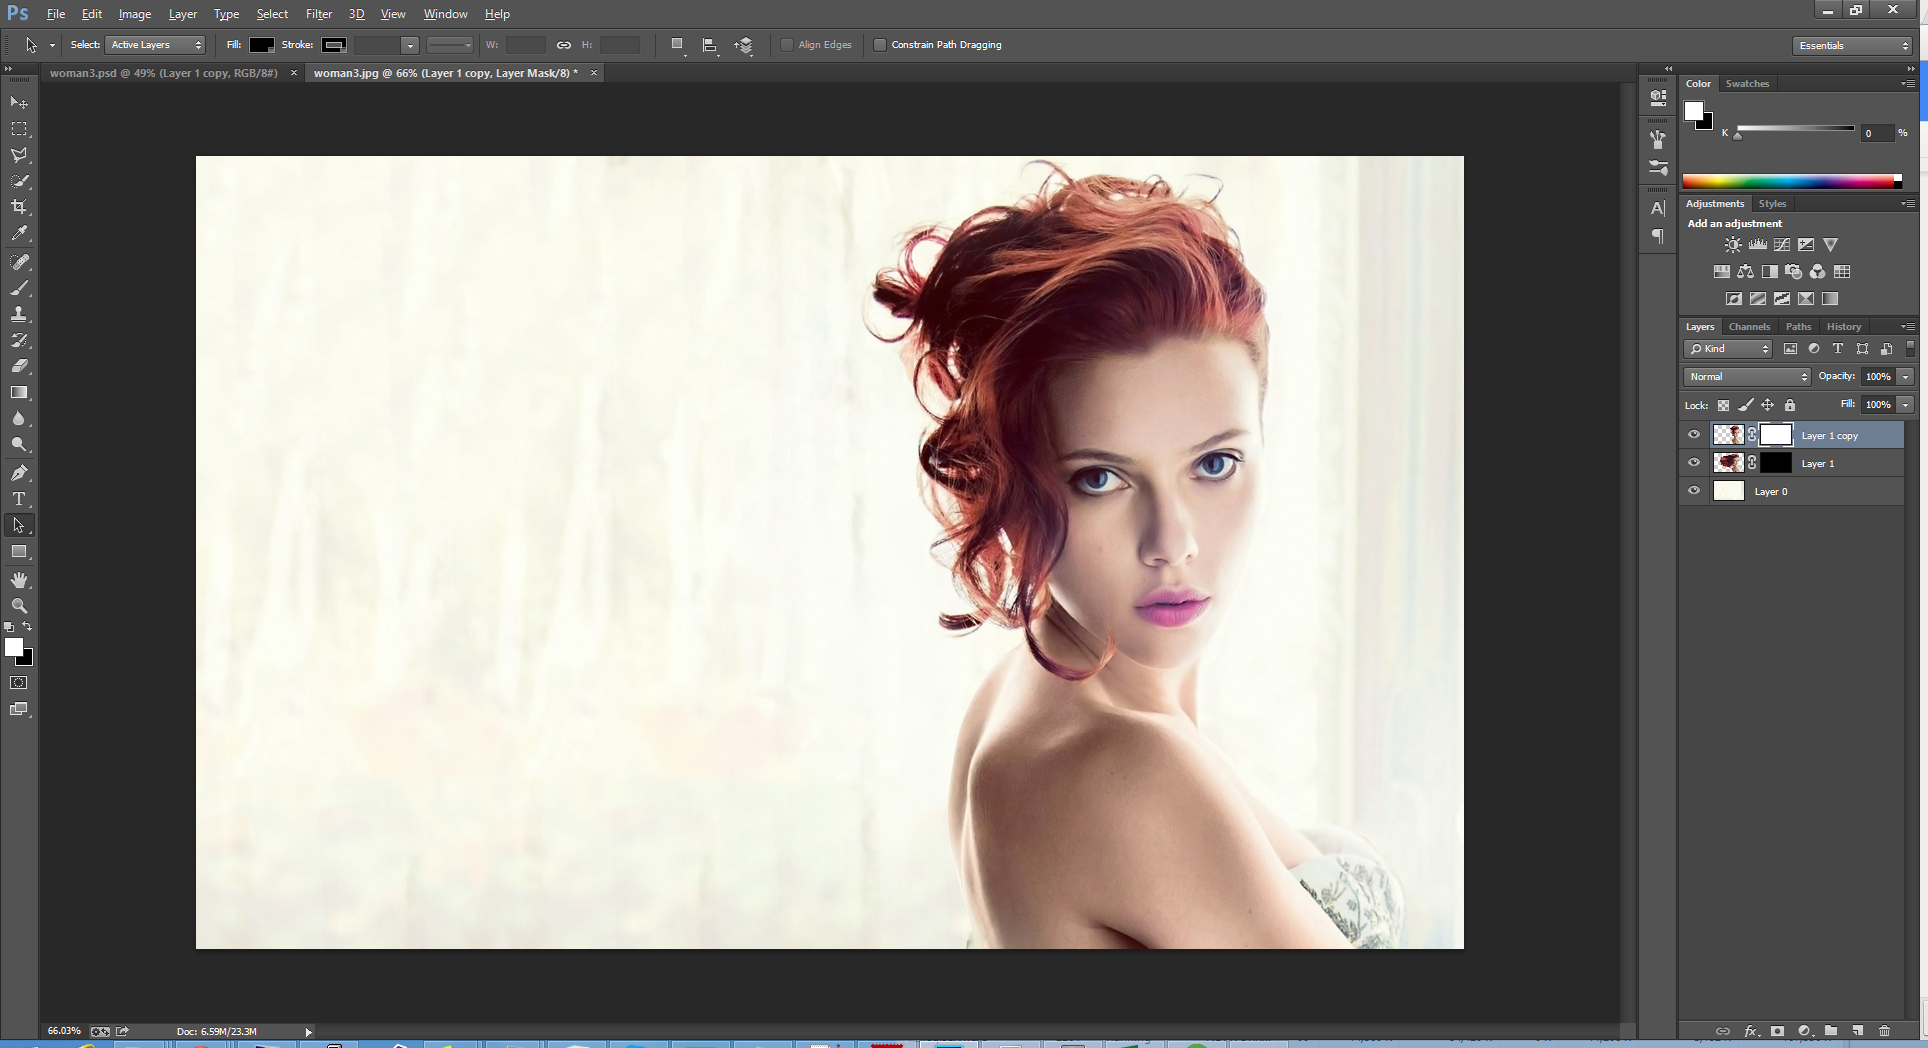
- With the morphed layer selected hold down the Alt/Option key and press the Add Layer Mask button. Holding Alt/Optoin will fill the layer with black, hiding it from view.
- Finally select the top layer and create a layer mask but this time do not press Alt/Option so that the layer mask is created as all white.
Splattering the top layer
- Select the top layer and make sure the layer mask is selected. If we don’t highlight the mask within the layer then we will pain on the actual image which is not what we want.
- Select the Brush tool (B) from the tools pallet and open up the brushes panel.
- If you don’t already have the splatter brushes loaded, click on the small gear in the top right corner and select Load Brushes. Browse to the ABR file listed in the resources section above (spray splatter brush pack by outlinez).
- Click on one of the splatter brushes with a form that you like.
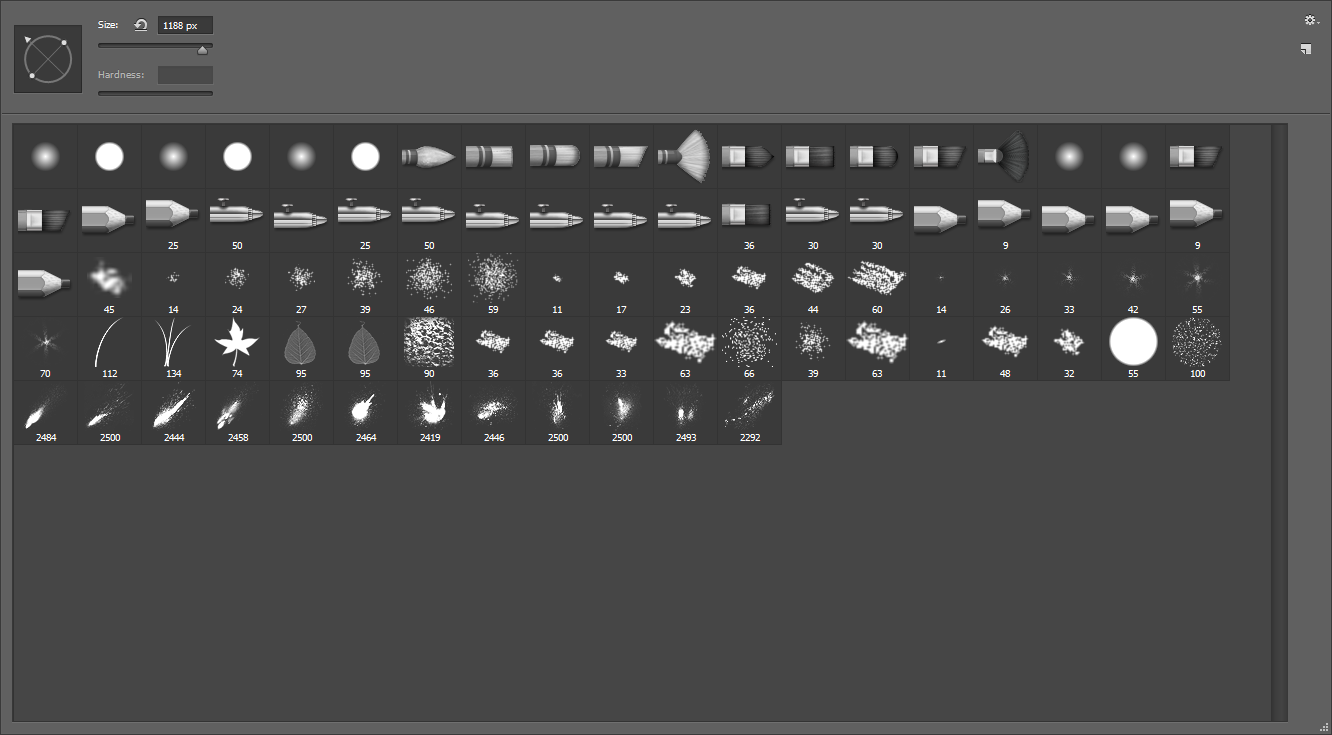
- Finally modify the size and direction of the brush to match the flow of our desired spray (horizontal from right to left).
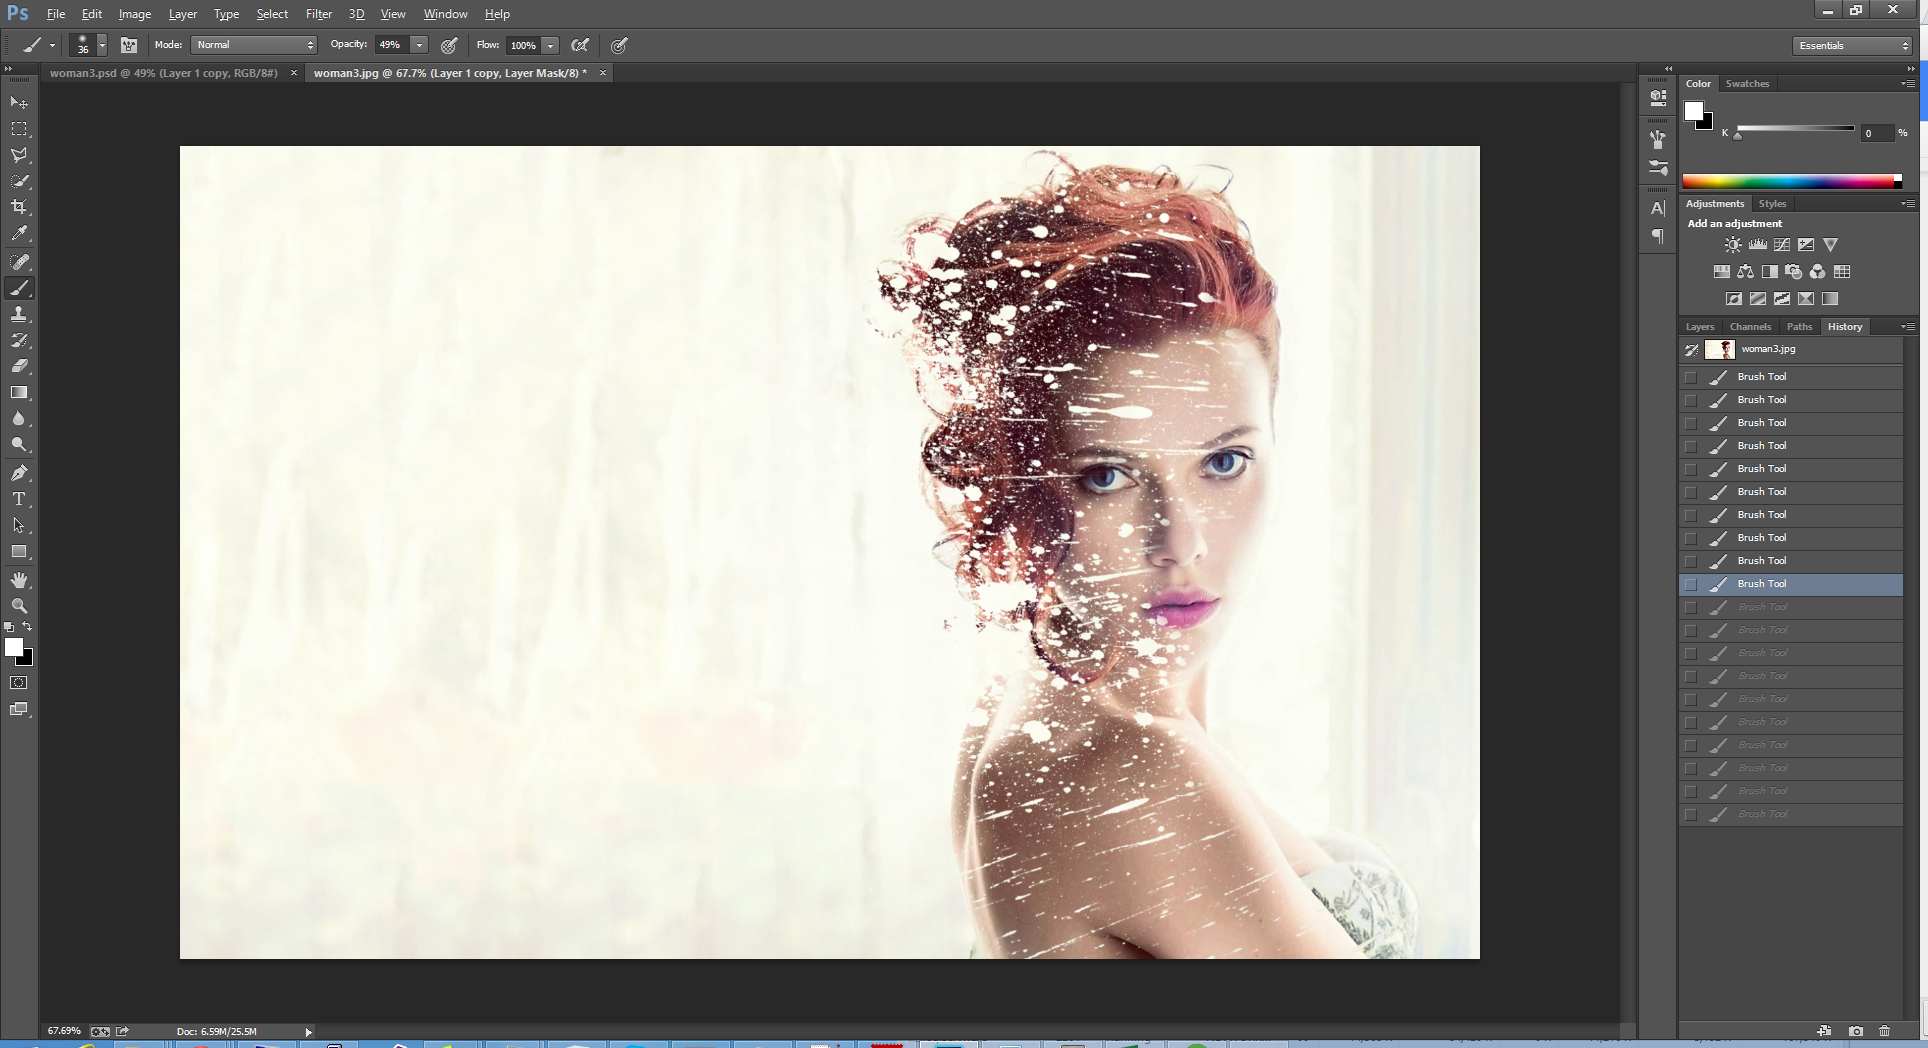
- Making sure that you are painting in black on the layer mask, click just once around the head area before opening the brush pallet again and changing either the brush, size, rotation or all so that you create a natural looking splatter around her head.
- This part of the process requires time and patience to achieve the desired effect.
- Pay special attention to the eyes and to the right side of the face, because the effect goes towards the left we want to leave the right side mostly in tact. If you go over right side of the face too much you can always select a normal brush and paint back in the layer mask with white on the areas that you don’t want the effect to show on.
Splattering the morphed layer
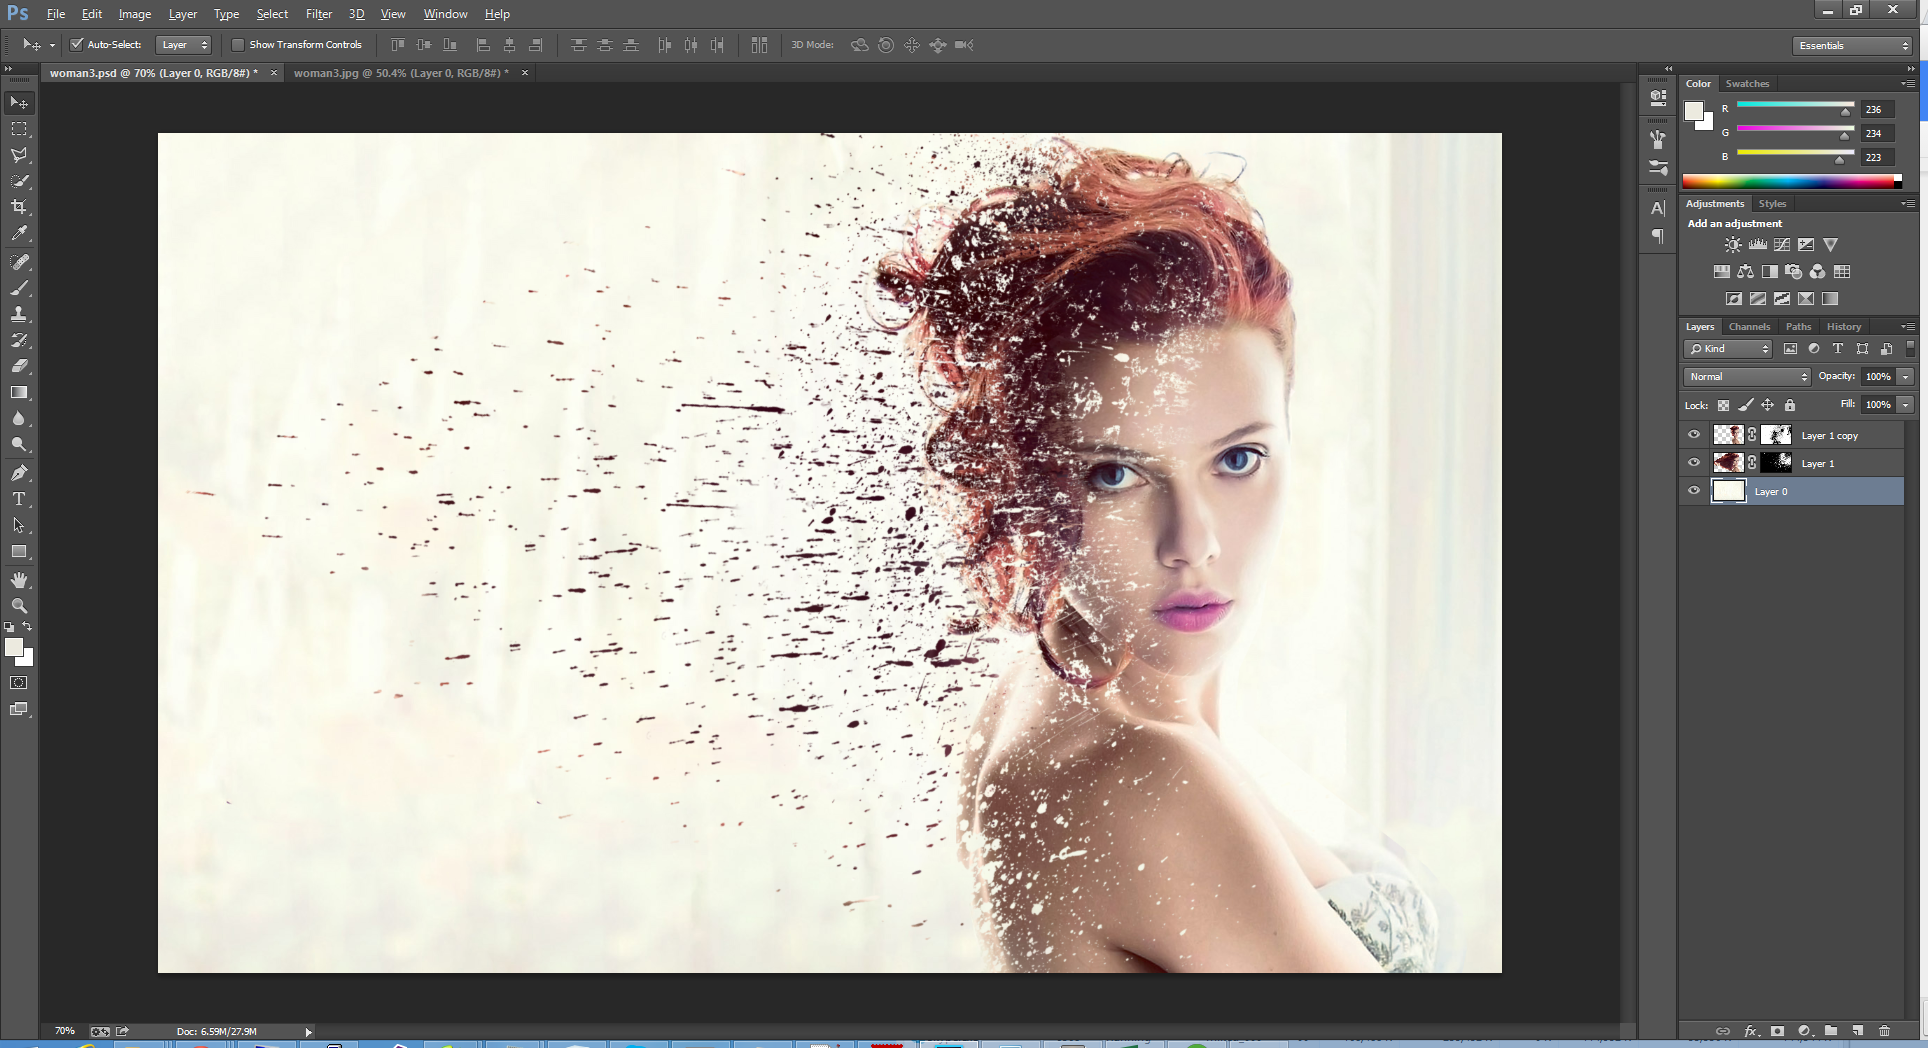
The next step in the process is to repeat the same process on the middle (morphed) layer, but this time instead of painting with black to hide the layer we will paint with white to reveal the layer.
- Select the middle layer and it’s layer mask
- Change your paint brush color to white and choose scatter brushes as in the previous section.
- Paint in the negative space to reveal parts of the morphed image. These areas will look like the parts that have dissolved from the top layer.
Some tips
It can take time and a few attempts to get the desired effect, if you are not happy with how it’s going you can always fill in the layer mask with white/black and start the process again for that layer.
Don’t be afraid to take the middle layer back into Liquify to push the morphed layer out even more.
Page: 1 2
Comments