
Diablo III styled wallpaper
…and then Filter>Distort>Polar Coordinates
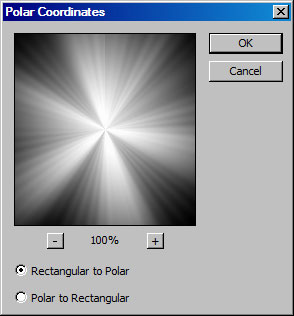
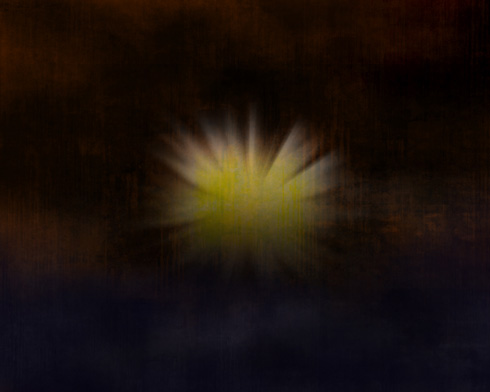
We’ll get a fascicle of light like the next one. Select after that the Smudge Tool (R) to spread out the rays from their middle part to outside.
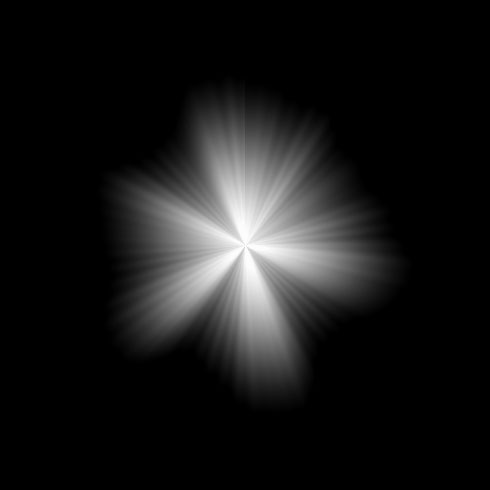
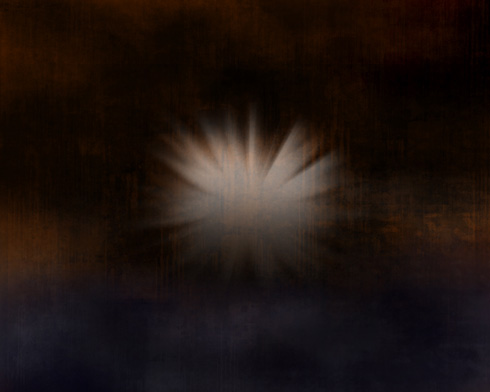
Then place the result that we’ve got on our main picture.

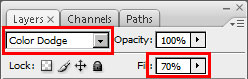
Set the parameters:
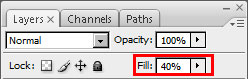
Make a copy of this layer Ctrl+J and enlarge the copy up to one third parts, applying Free Transform option (Ctrl+T). Set the layer’s parameters demonstrated below:
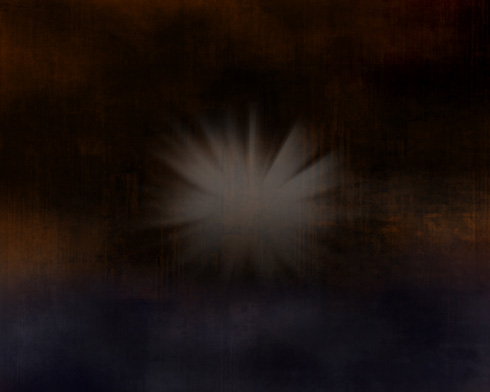
We need to get the result from below:
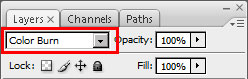
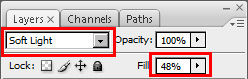
Create a new layer, giving it the Blending Mode from below:
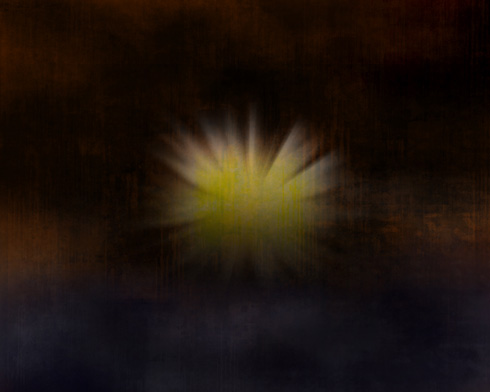
Select the brush with the color’s code #F8F70C and the Opacity of 100% and make several touches on the light’s central part.
Use the brush of black color on the bottom part of a new layer that needs to be made up first of all. The Opacity is of 10%.
Create again a new layer and select the Rectangular Marquee Tool (M) to represent the element from below, painting it with red color (Opacity 30%). The bottom corners should be erased with the Eraser Tool (E).
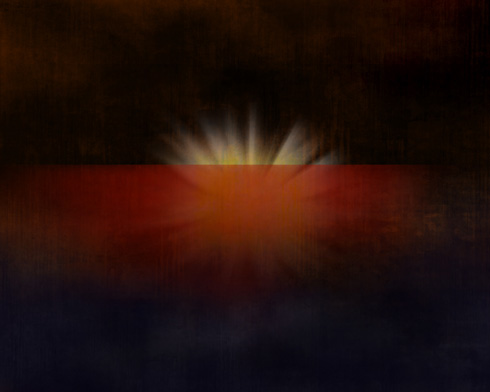
Paint out now a black stripe, applying the Opacity of 30%.
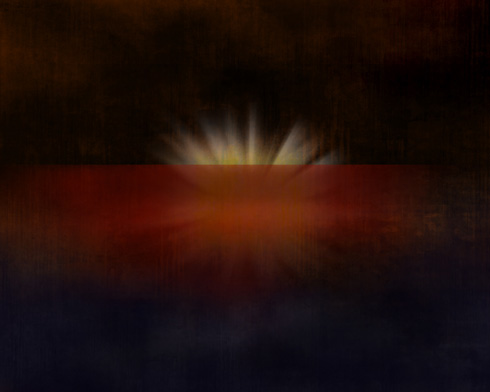
Create a new layer with the parameters demonstrated below and insert several touches of red color, having the Opacity of 100%.
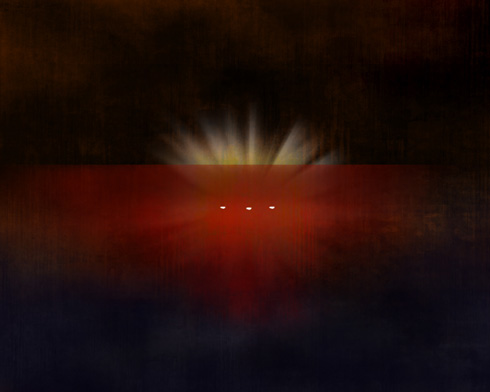
On a new layer we’ll draw three dots with the usual brush.
Comments