
Designing Floral Background – part 1
Learn how to Designing Floral Background.
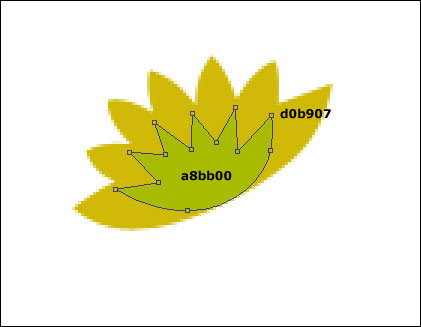
Create a new file with 500×400 px and 72 dpi. Use the instrument  to represent two different flowers, which codes are indicated on the picture. Place them on the right upper corner.
One more flower with the same instrument and place it the way it is done below.

Use the instrument  to represent a circle inside the flower.


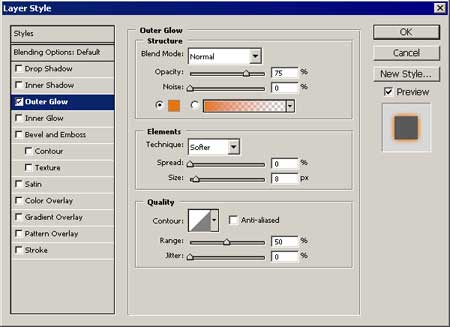
Summon Blending Options and set out everything the same way it is done on the picture.
Create now the flower’s stem using the instrument . The color is the same with the flower’s.

The same way make one more flower, like it is demonstrated on the picture.

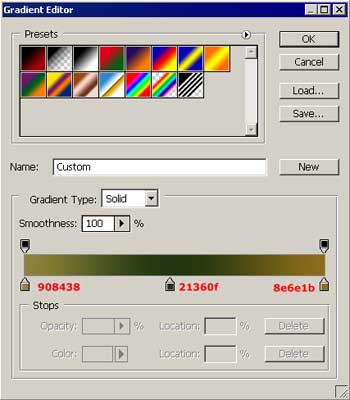
Take the instrument to draw one more figure and set out the parameters form the picture in Blending OptionsGradient Overlay.

The same instrument will be useful to represent a leaf with the color code b78210 under the previous figure’s layer.

Make then the veins with the color c48511.

Draw the leaf’s shadow, using the instrument The parameters should be Blending OptionsGradient Overlay, like it is shown in the picture.
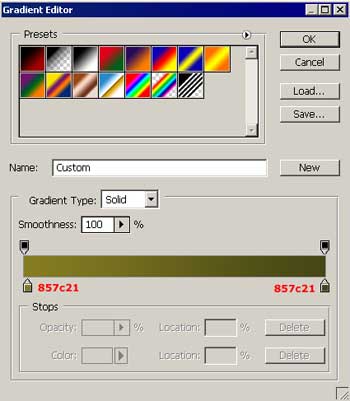
Set out an angle – 23 dg in the options before opening the window shown above in the picture.
Make one more stem with the color 710f38.

Comments