
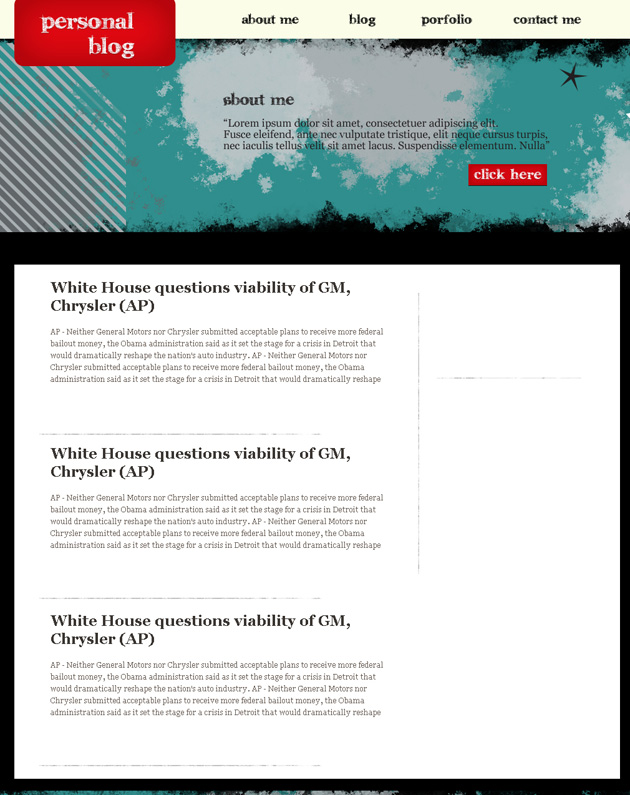
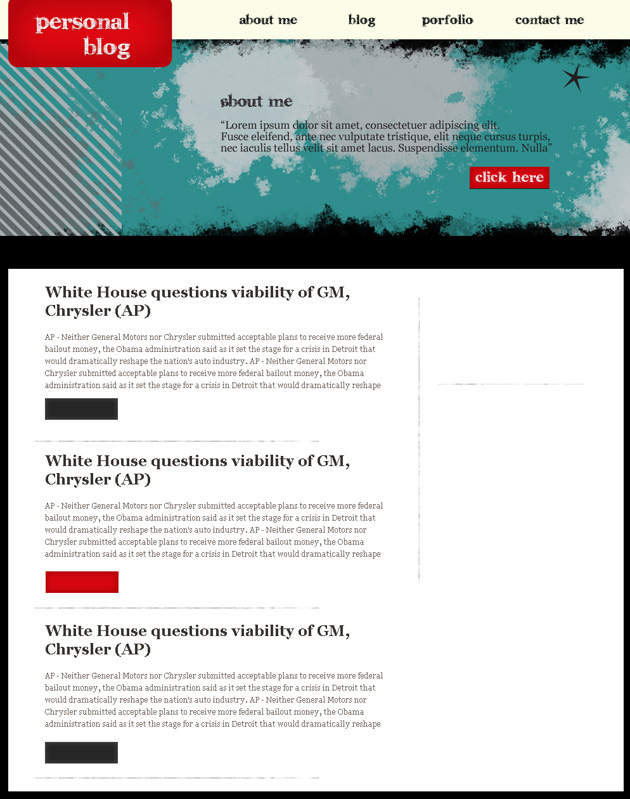
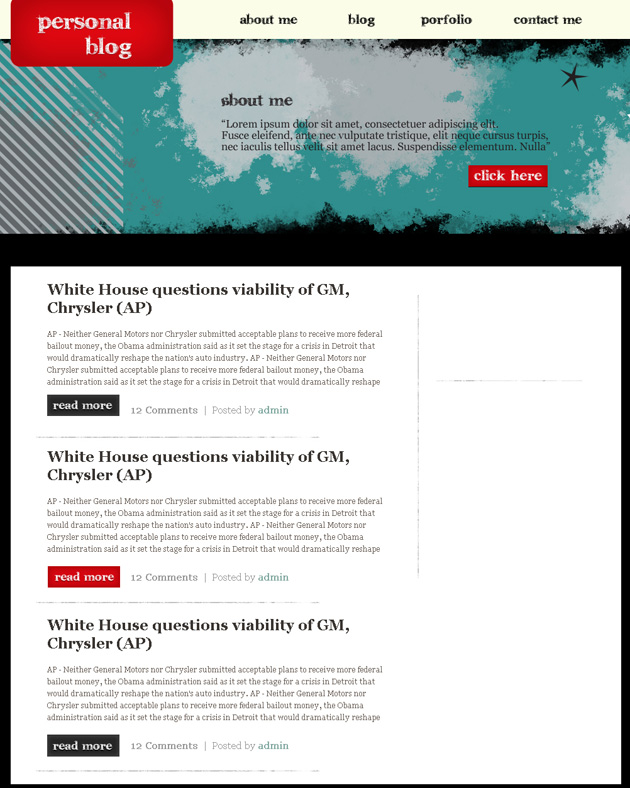
Design grunge wordpress theme
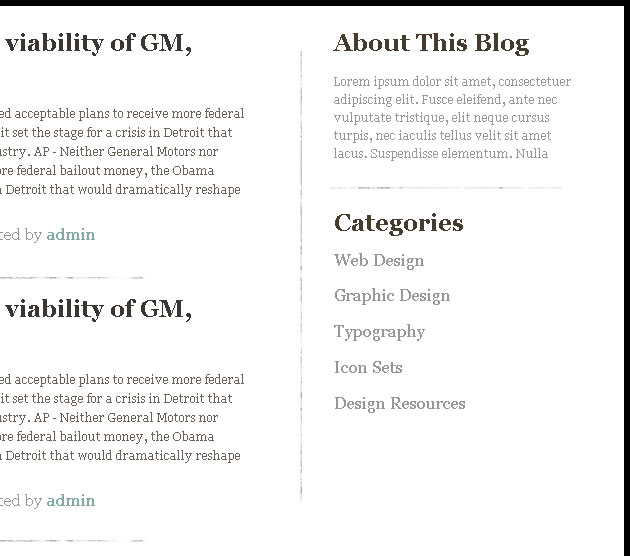
Make two copies of the layer containing the title and the text. Using the Free Transform option, place the copy’s layers the same way demonstrated below:
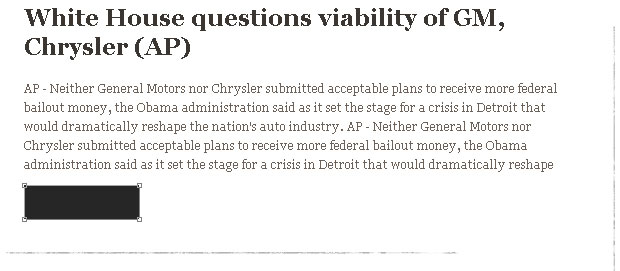
Under the section’s text, on its left side we’ll represent a button with the Rectangle Tool (U). The layer’s color in this case is #262626
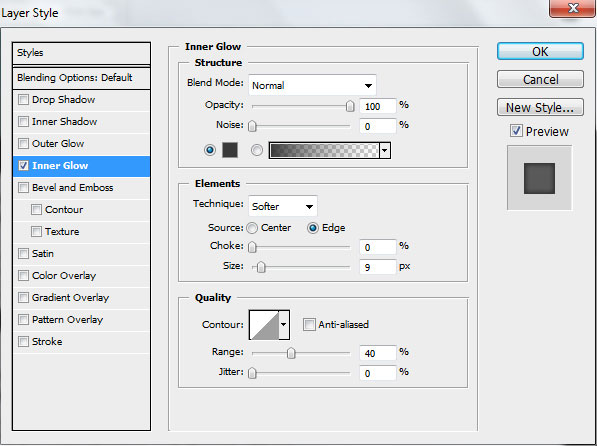
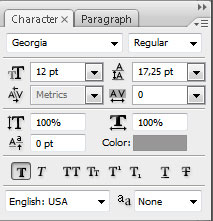
The layer’s styles: Blending Options>Inner Glow

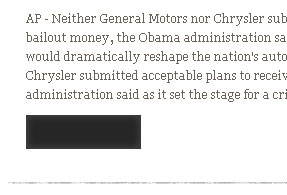
Make two copies of the layer containing the last made button. Choose then Free Transform option and place the copies as it is demonstrated below. One copy should be left without any changes (place it under the lowest section), but the second copy should be placed on the central part, changing its color on #D40610.
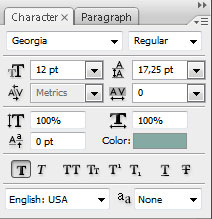
Blending Options>Inner Glow

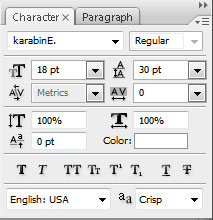
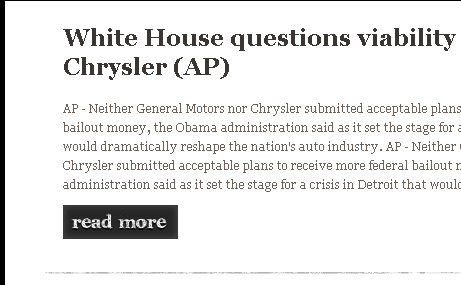
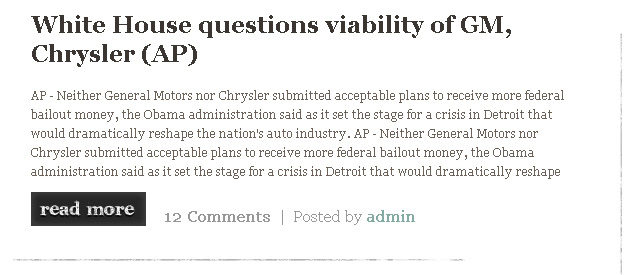
Insert the title on the made button:
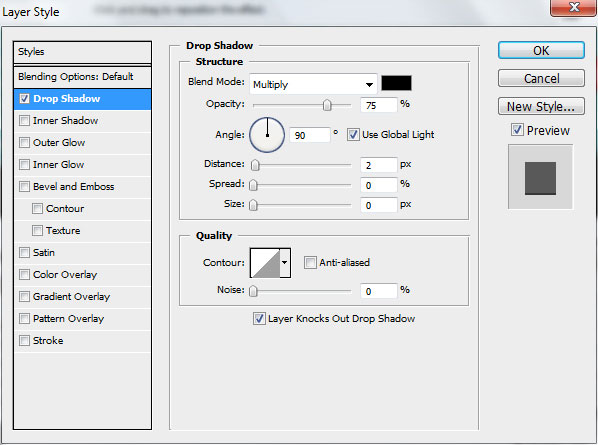
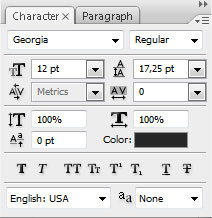
The layer’s styles: Blending Options>Drop Shadow
Make two copies of the layer containing the button’s title and apply Free Transform selection to place the copy’s layers the same way as it is on the picture:

Insert the comment you want on the button’s right side:
12 Comments
Posted by
admin
Make two copies of the layer containing the comment’s text and choose again the Free Transform option to place them the same way indicated below:
Insert one more section on the right top part of the panel containing the sections:
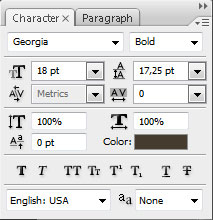
the title for the section:
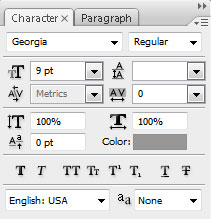
the section’s text:
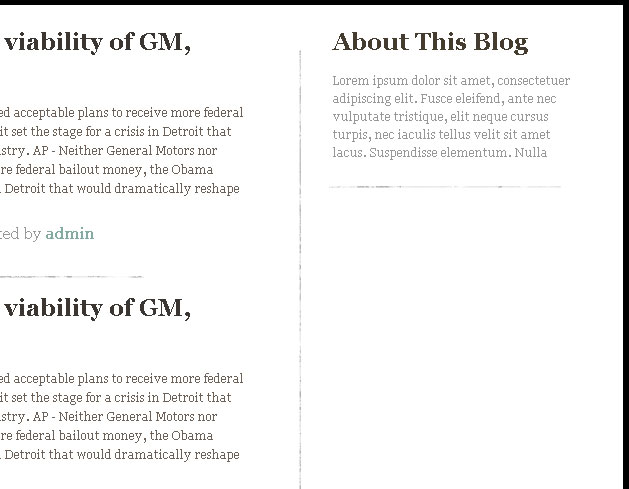
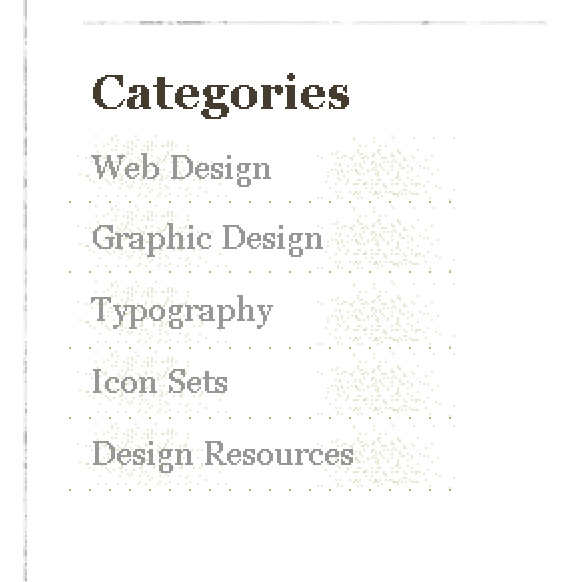
Next we have to insert the categories’ section under the recently made section:

the title for the section:
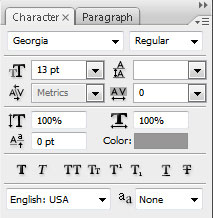
the titles for the categories:
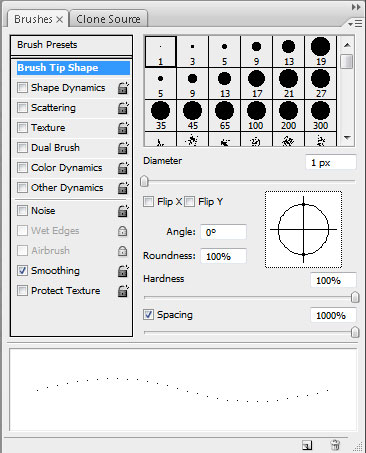
Next we have to set the Brush Tool (B) in the menu of the Brushes tools’ panel:
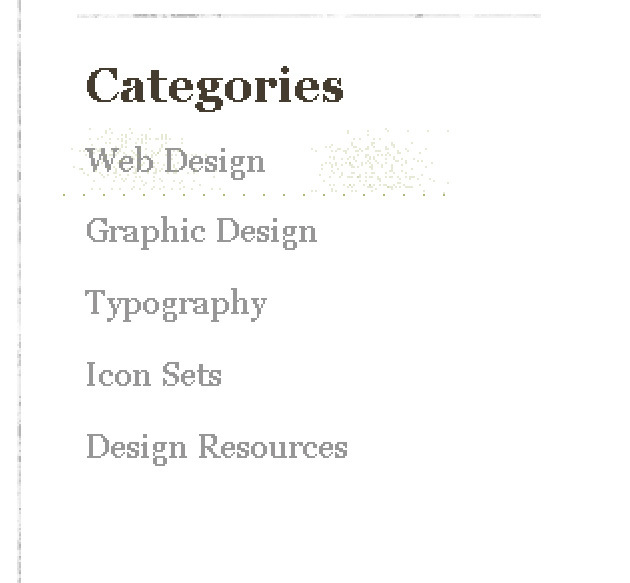
Create a new layer and apply the set brush and the color #AFB57B. Apply the brush between the categories’ titles, then change the brush’s color with #E7E9D7 and paint the category’s title on the left and right sides.
Make four copies of the layer with the dividing line and choose again the Free Transform option to place the copies the same way demonstrated below:
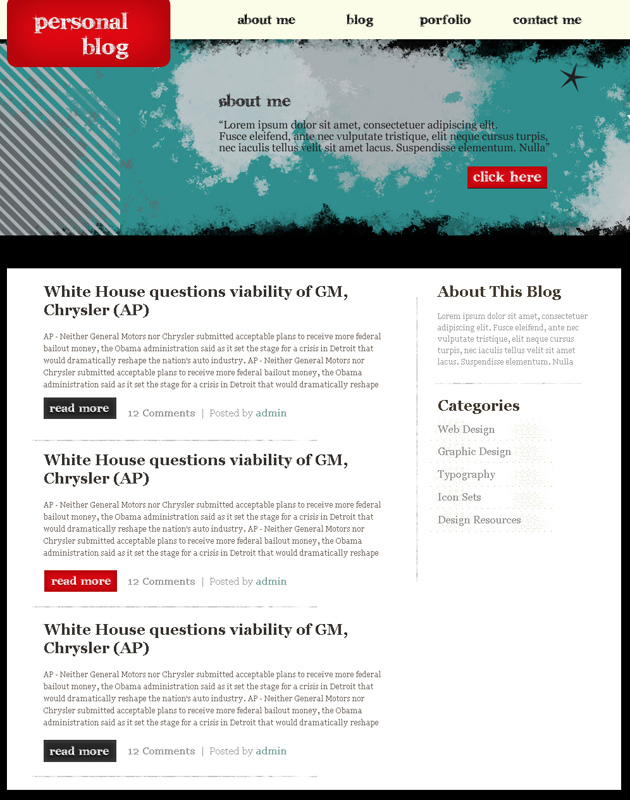
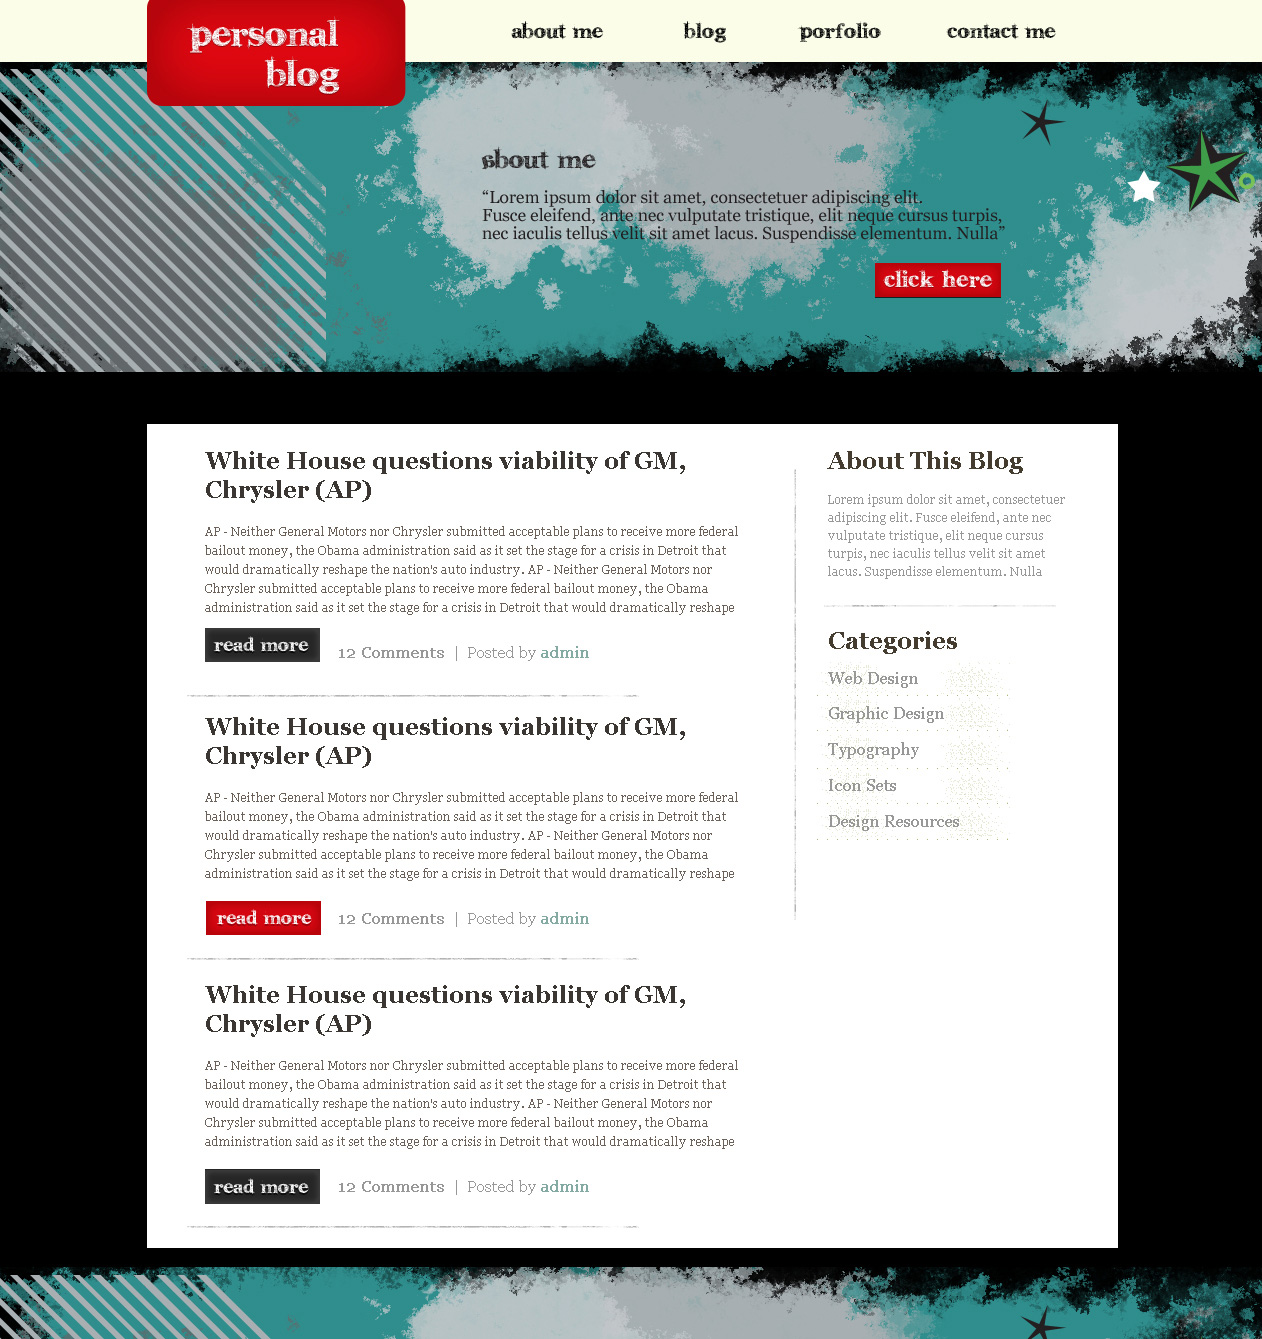
The final result!
View full size here.
Comments