
Dance of the Dandelion
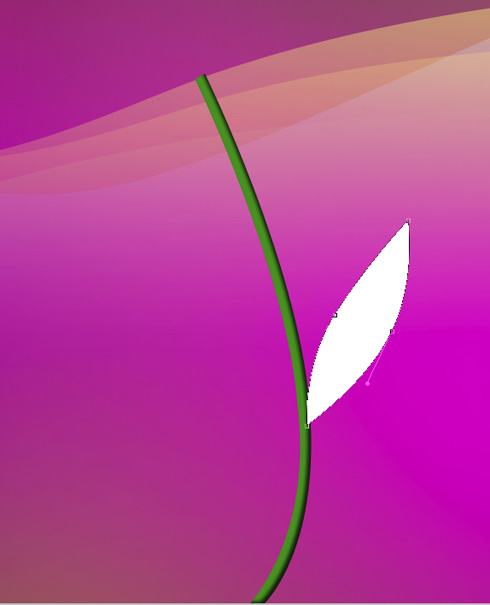
Using the same instruments (Pen Tool (P) and Convert Point Tool), try to make now a leaf on the stem:
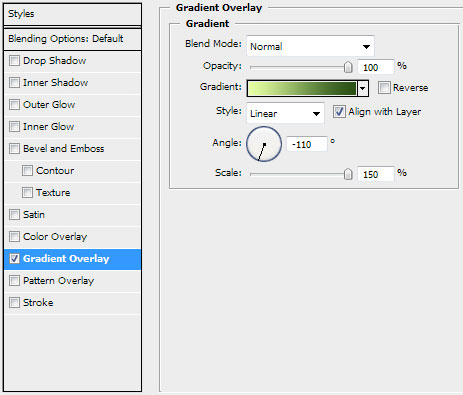
The layer’s parameters: Blending Options>Gradient Overlay
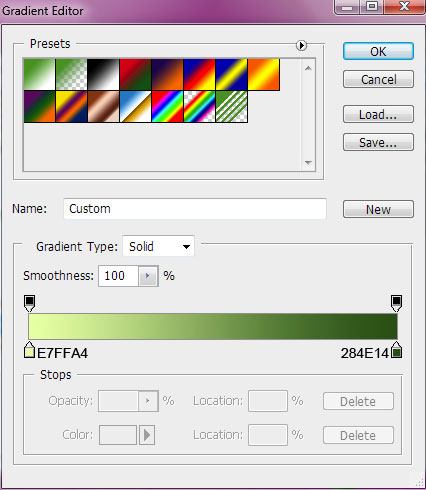
Gradient’s parameters:


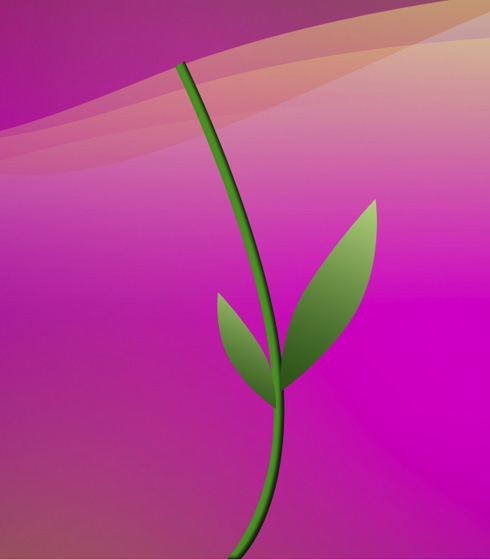
Make a copy of the last made layer and select then Free Transform option to turn over the copy, minimizing the copy a little and only then we can put it on the basic picture:
Next we’ll represent a brush, but for the beginning we’ll Create a new file of 17×41 px and 300 dpi. Then we’ll apply the Rectangle Tool (U) to draw a vertical line on an empty background. The color in this case is black one.
Edit>Define Brush Preset
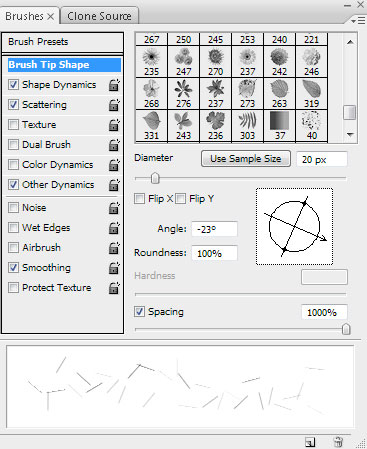
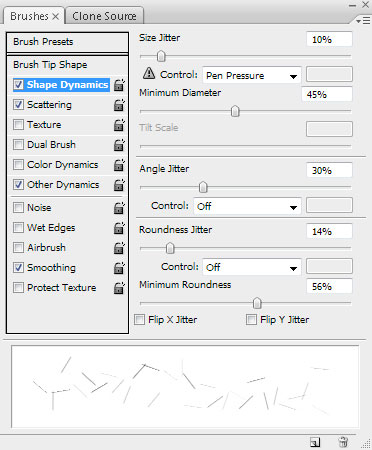
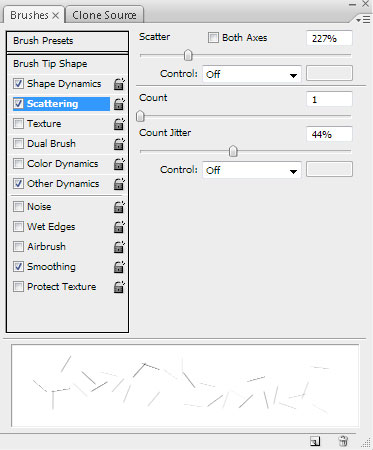
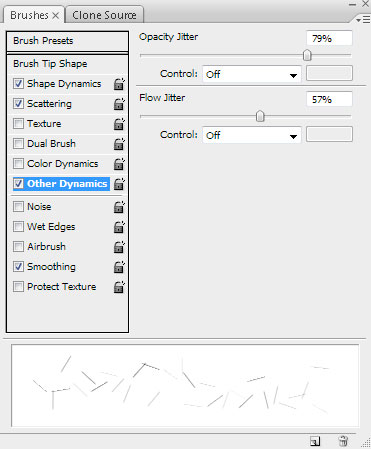
Create a new layer and then set the brush in the Brushes Presets (F5) panel, situated on the lateral panel on the right side. The brush’s color is white. It is reserved for drawing a dandelion:
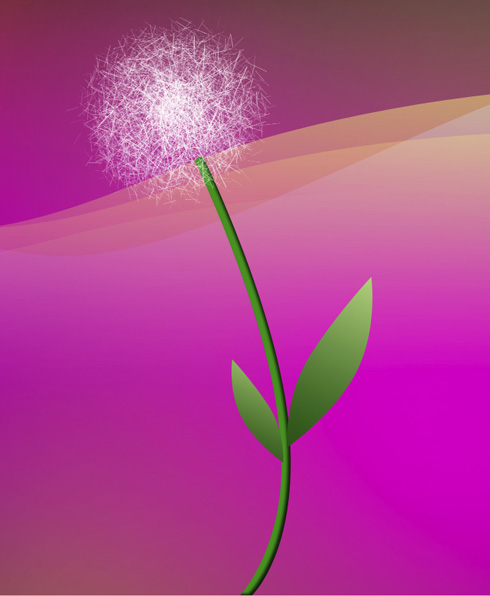
Make a copy of the recently created layer:
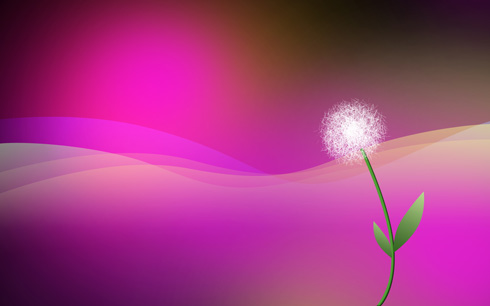
Next we have to download a set of ready to use brushes for Adobe Photoshop, named 61Particlesandstars. On the new layer (Create new layer) we’ll choose this chosen brush of white color. Next we’ll represent a train coming out from the dandelion and directed to the left side:


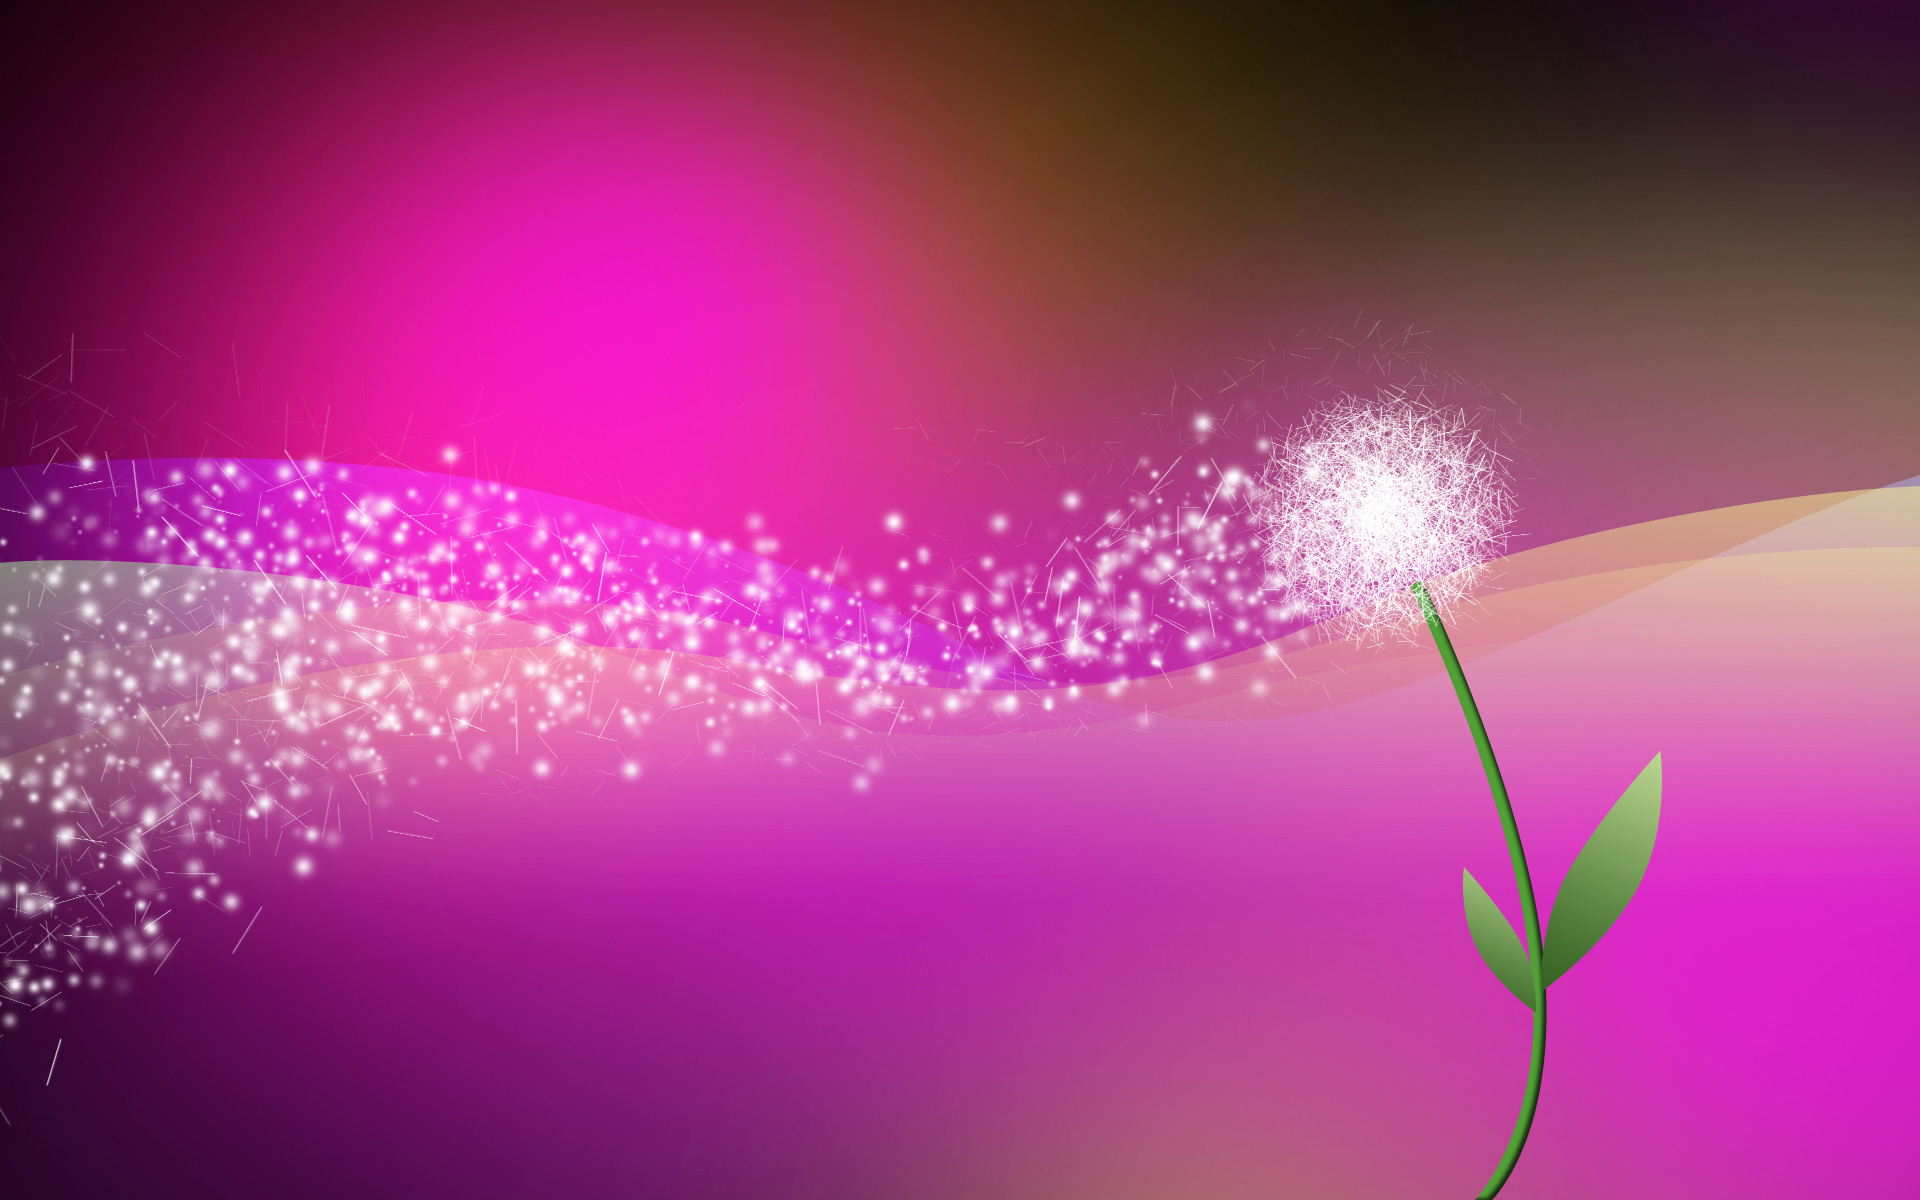
On the next new layer (Create new layer) we’ll apply the earlier edited brush which was used when representing the flower of the dandelion. We’ll also represent on this layer the train coming from the dandelion and directed to the left side:

The final result!
View full size here.
Comments