
Cyber Flower
So today we are going to create a happy accident picture. I will use my custom shapes with some effects done by the Brush Tool.
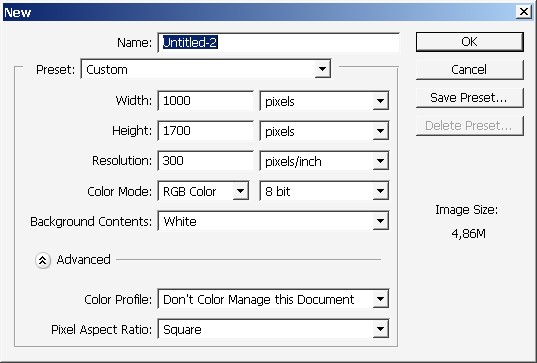
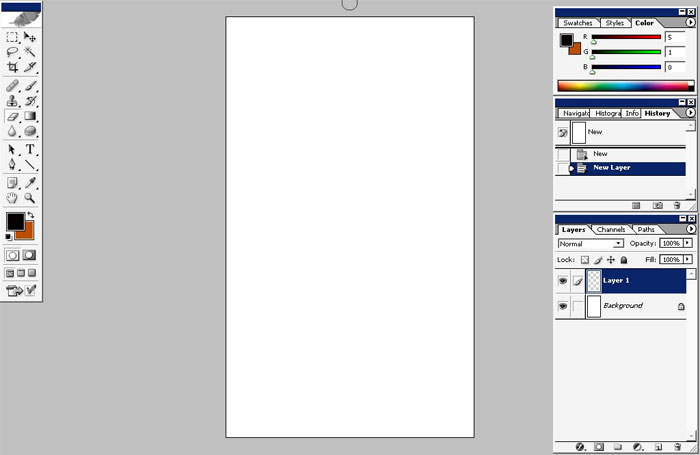
Create a new document with a new layer.
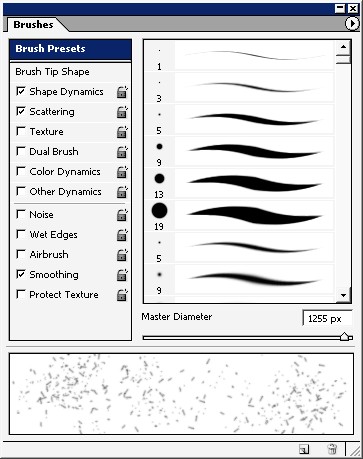
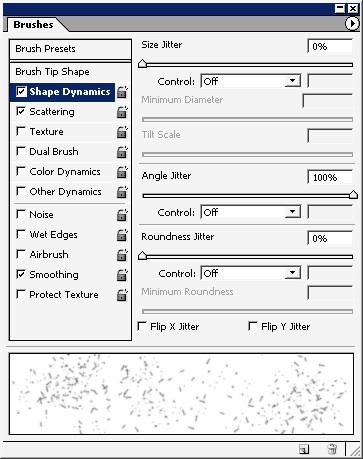
I will use my custom brush with very big diameter and drop some color to create a background.

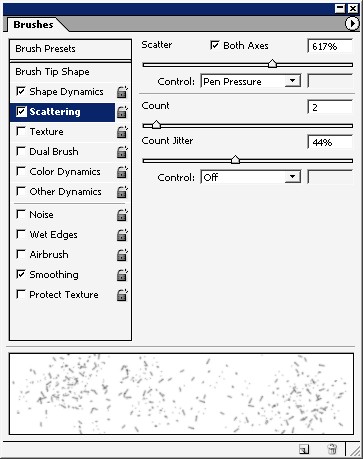
Want to keep it light this time.
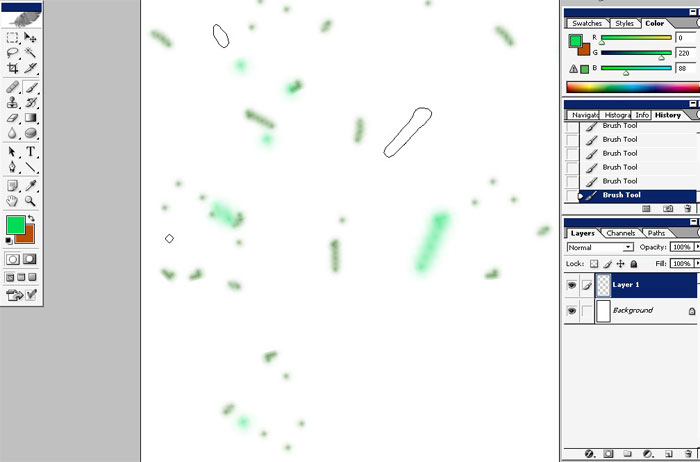
This is our background for now. Now let’s create a foreground element, maybe some plant or a flower. By this time I had no idea what it is.


Use pen tool to draw some curves, then some lines using line shape tool. Try to combine some elements.
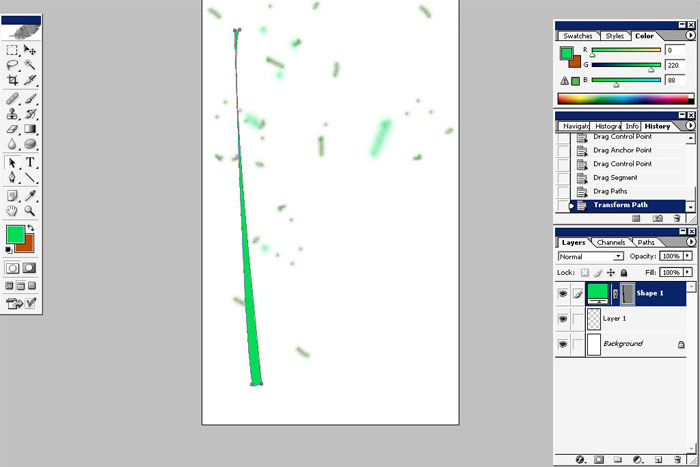
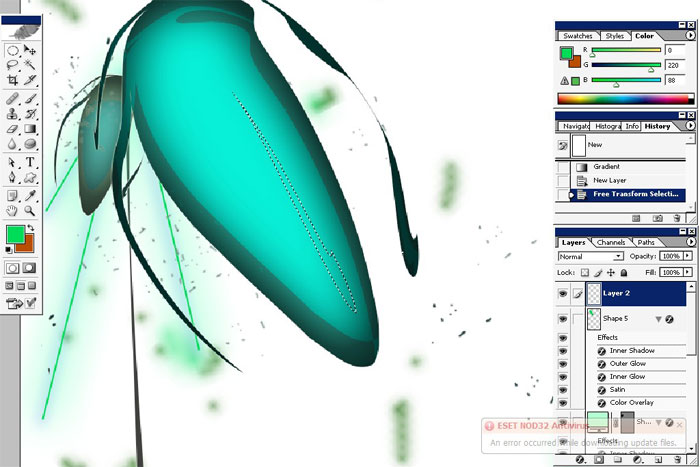
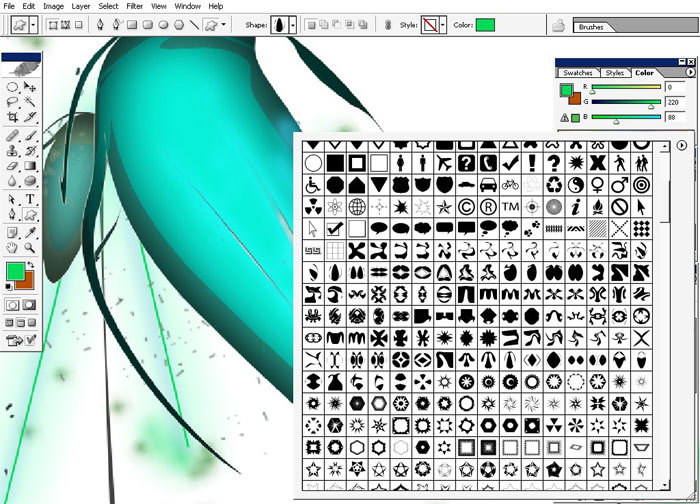
And then with my custom shape I will create a top element, the flower or something else.
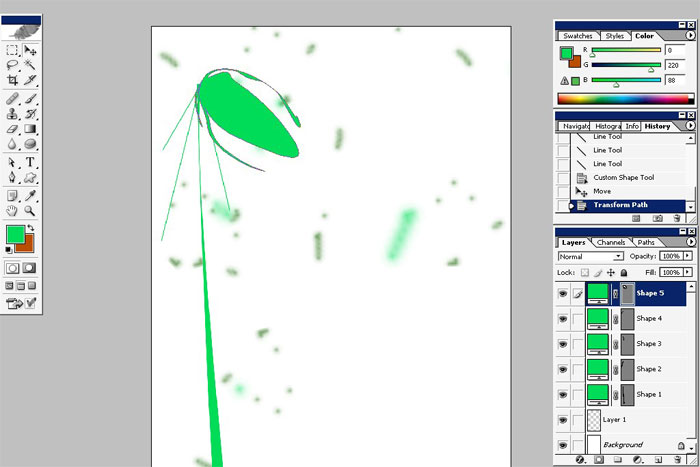
Needs a little bit transformation:
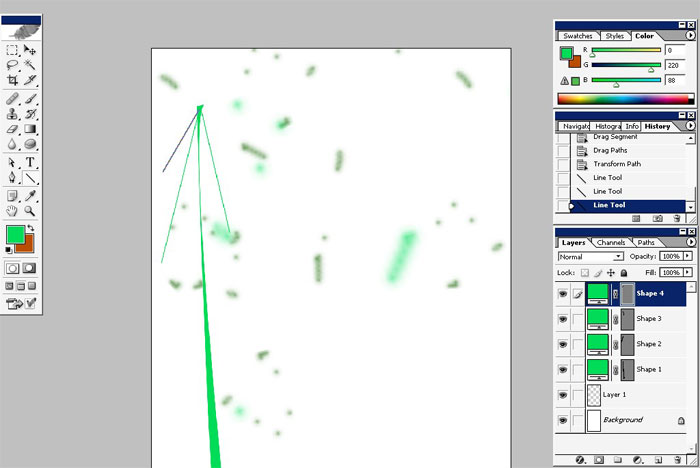
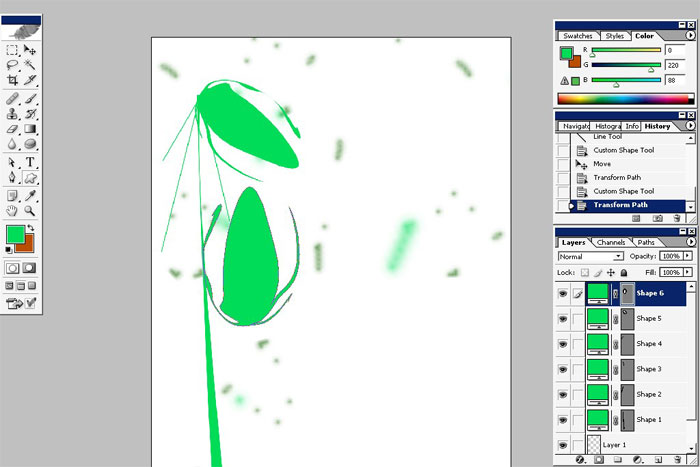
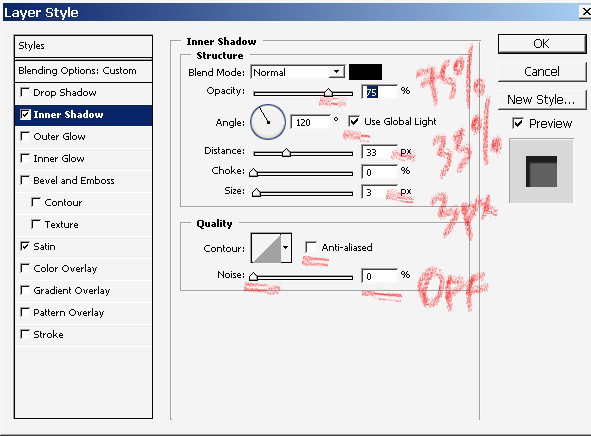
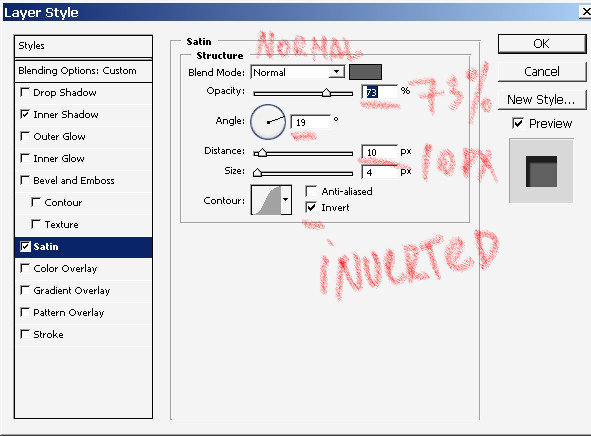
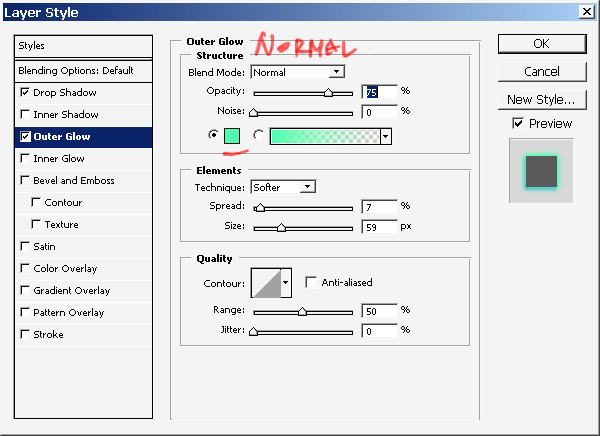
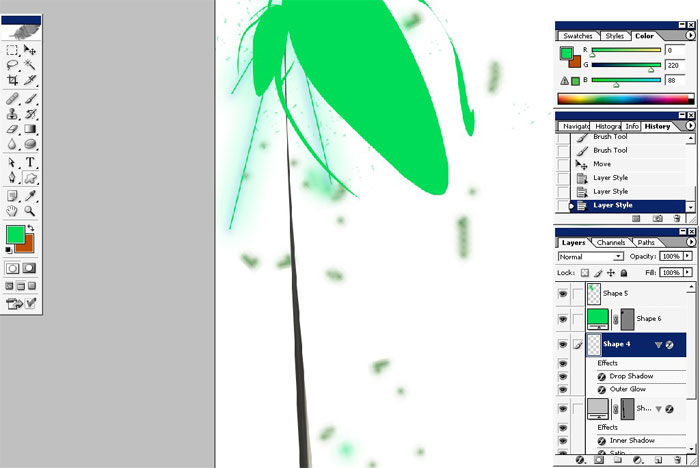
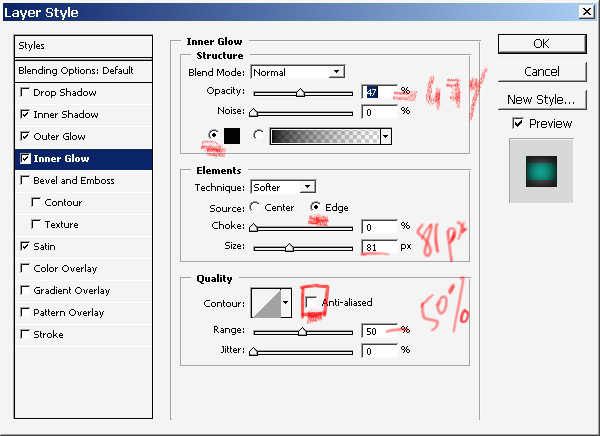
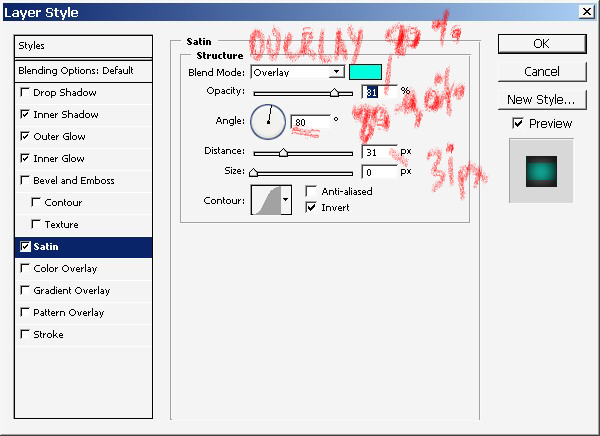
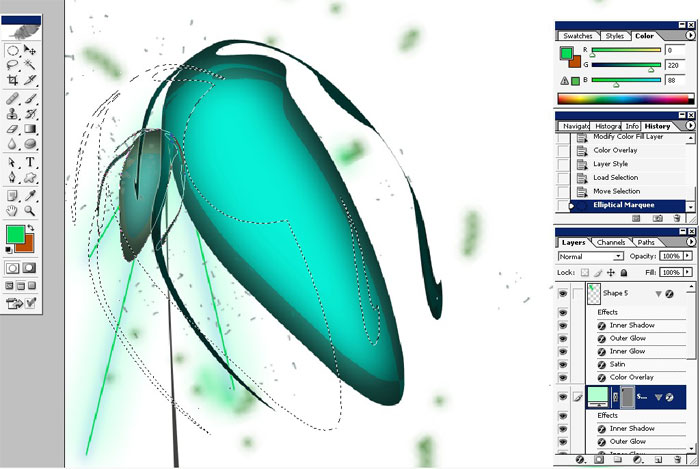
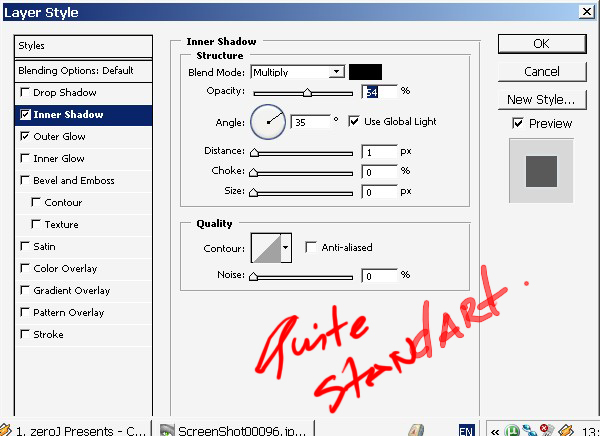
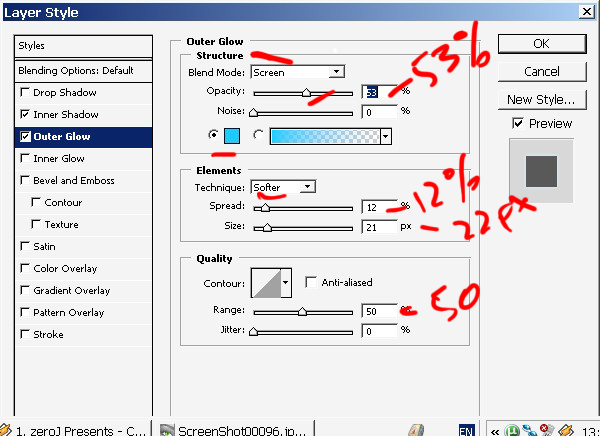
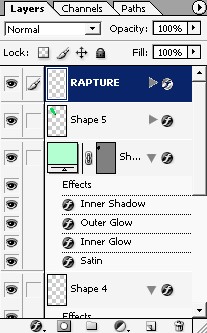
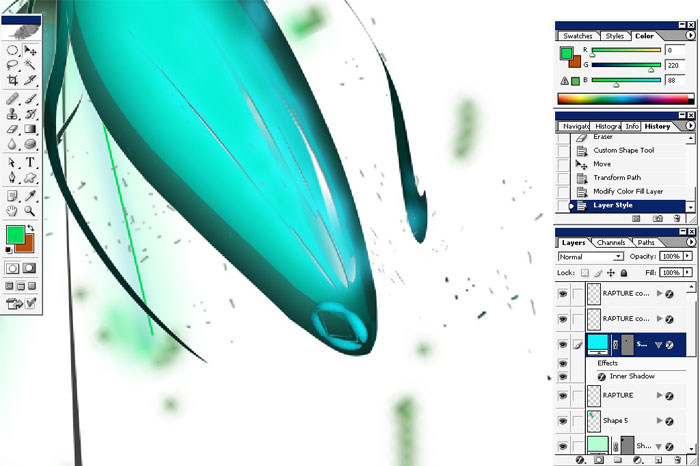
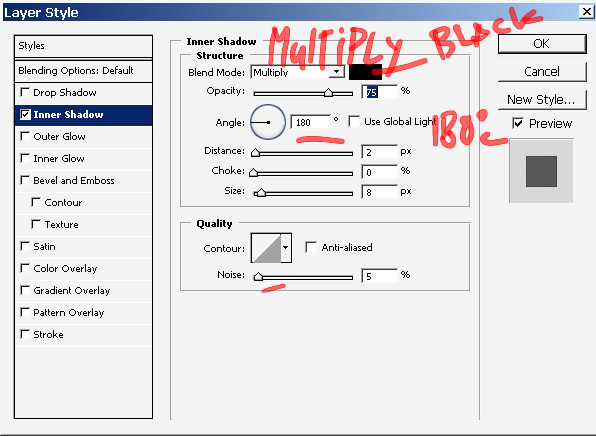
Now let’s apply some layer styles to make the picture more vivid looking – just basic shadows/highlights.
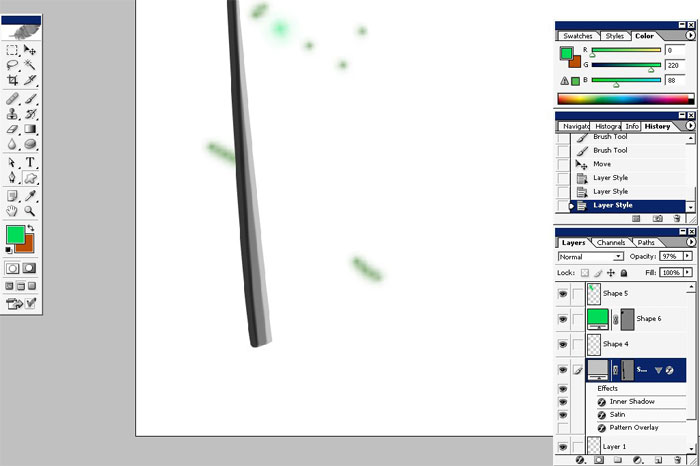
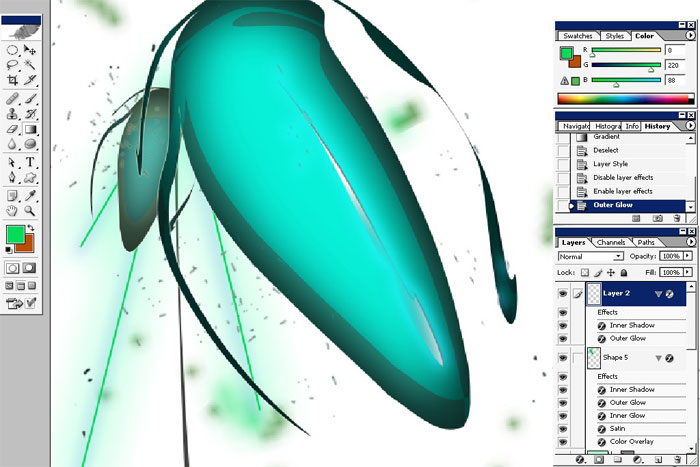
And now for the lines:
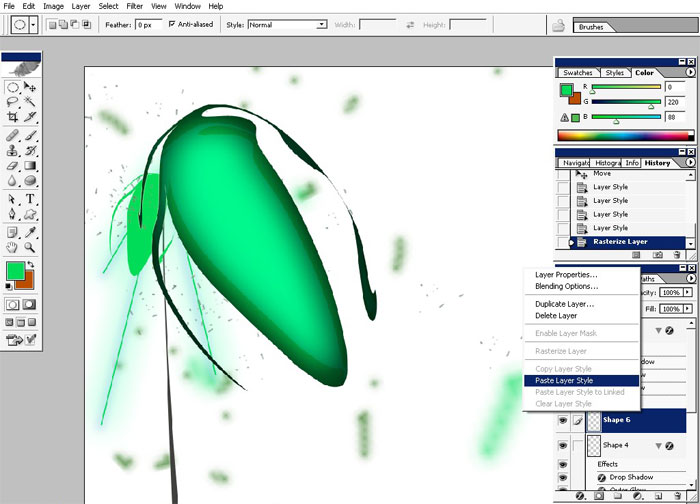
Basic element: I will change the color a little bit.
And just copy the layer style.


Now the next step, detailing. For this I usually work with selections, multiple selections.
So let’s make one. For my source I will use the basic element contours. Just use Alt+Click on the Layer.


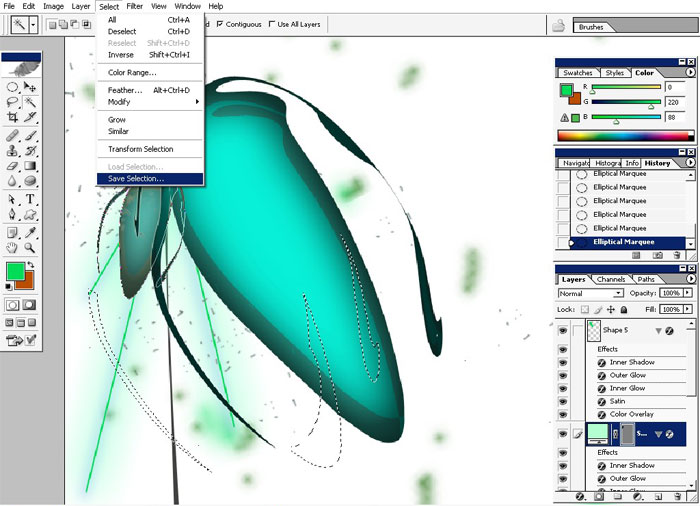
Then with the round selection tool I will leave only the parts I will probably need.

If you select several objects or multiple selections, I recommend you to save you selection/path.
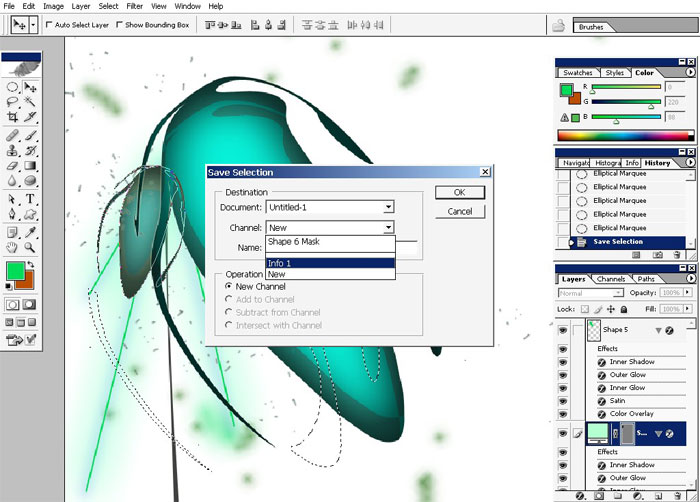
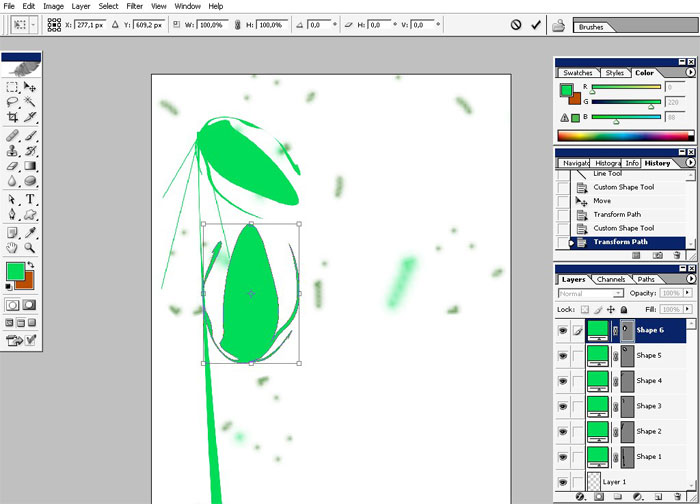
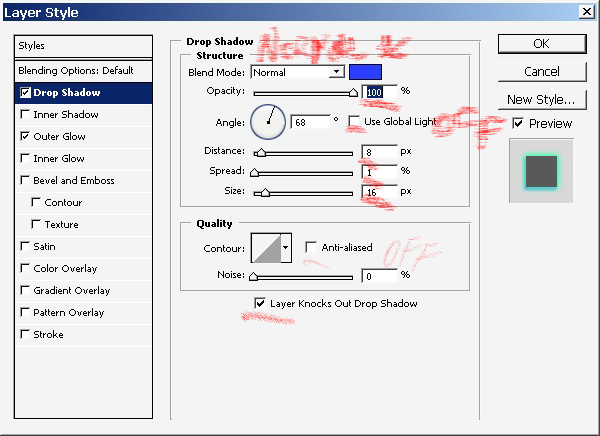
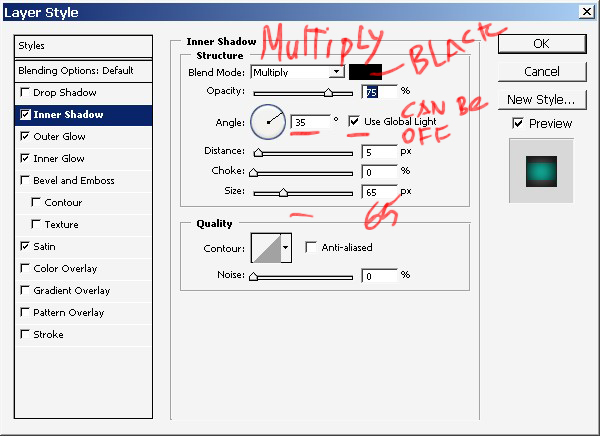
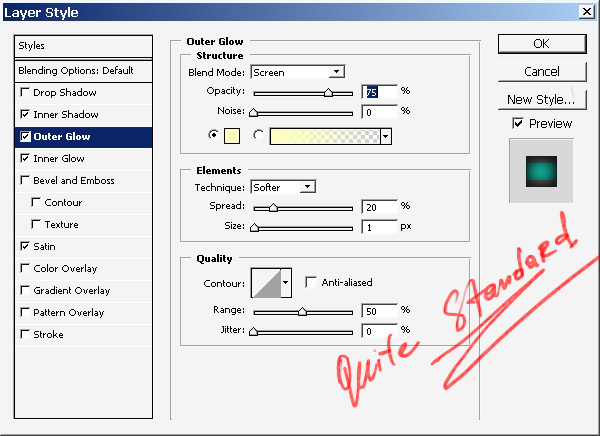
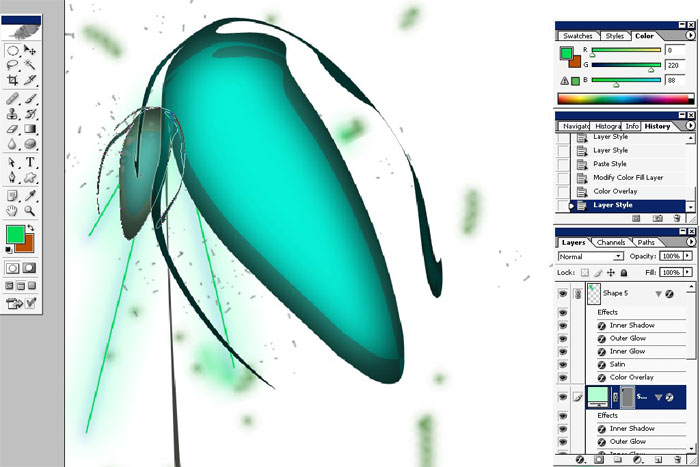
Now I will transform my selection and copy it to separate layer. Let’s do some layer styling.
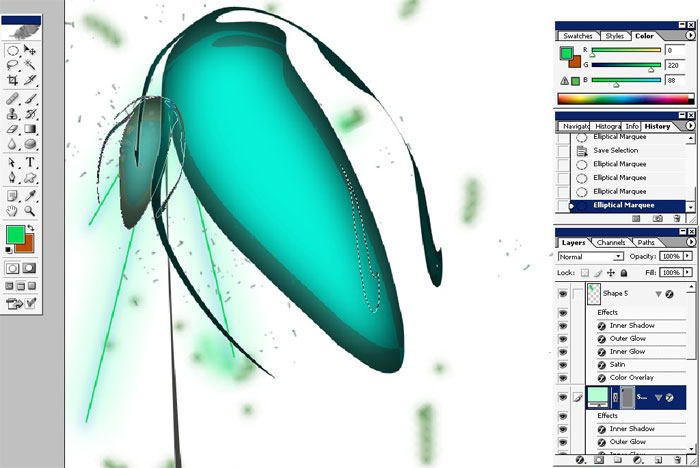
Now I will make a king of whole, to make the flower more realistic. I’m not sure a bout it but we’ll give it a try.
Use the same layer styles.
Copy this styled rapture several times.
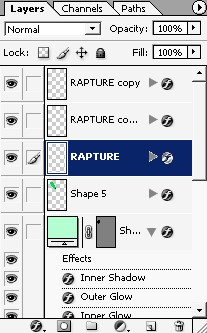
And here we have it.
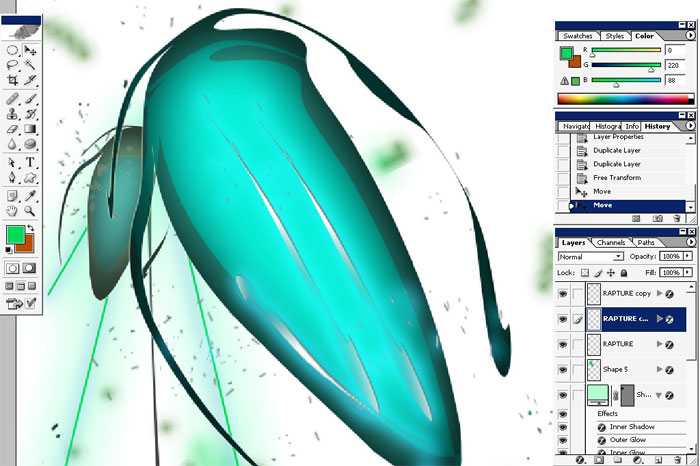
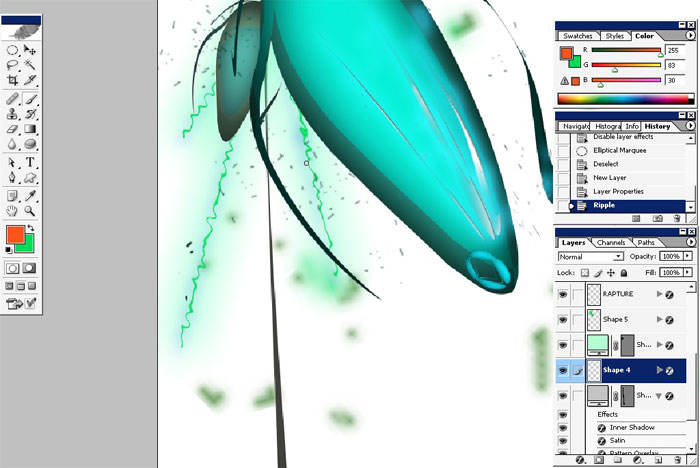
I will do some kind of a whole in the flower.
Now see those lines we’ve made. I will use the Filter>Distort>Ripple command. Well, it’s definitely better.

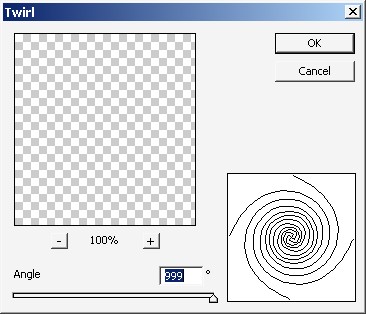
Use Distort>Twirl command.
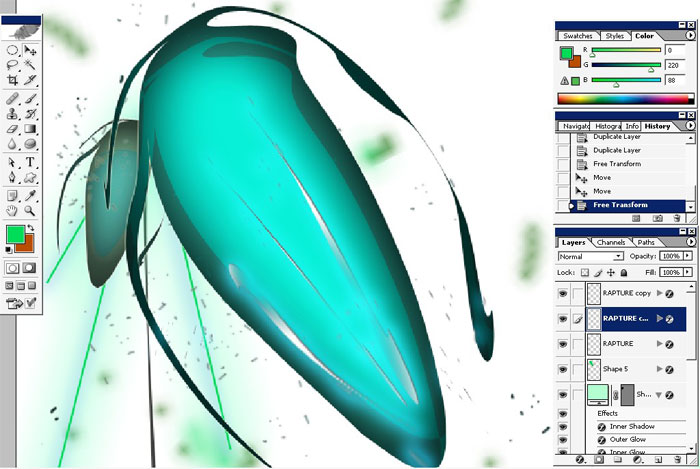
And here is the result. I will the transform the basic element.
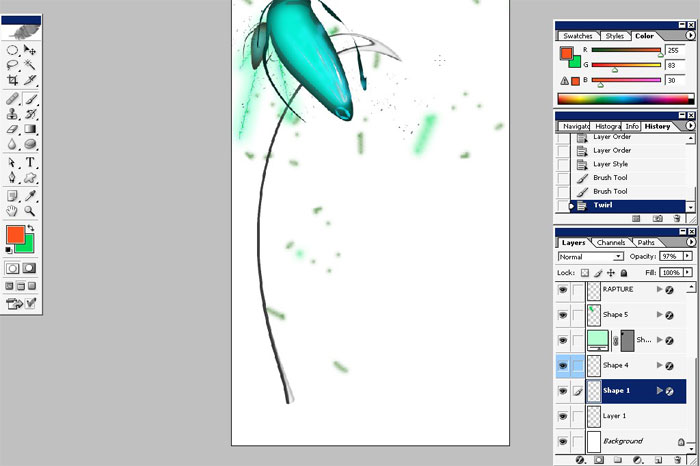

Ok, definitely better.
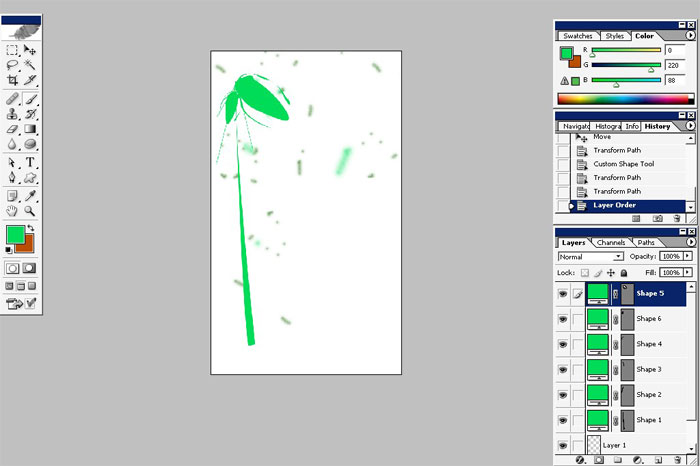
Now
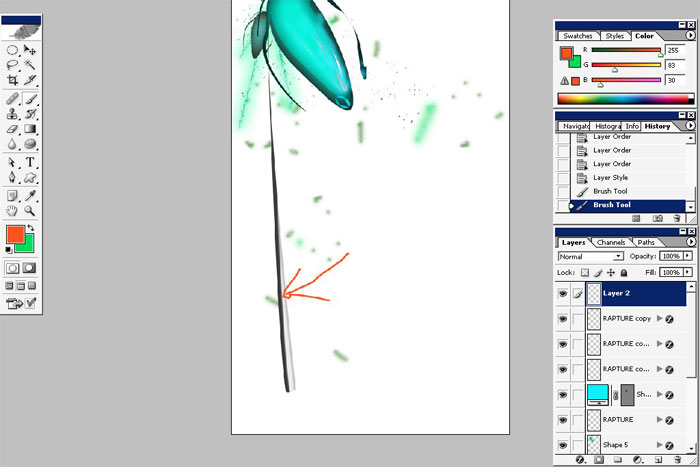
need to do changes for the composition. Try to position the foreground
element in the center, or closer as it could be to the center.
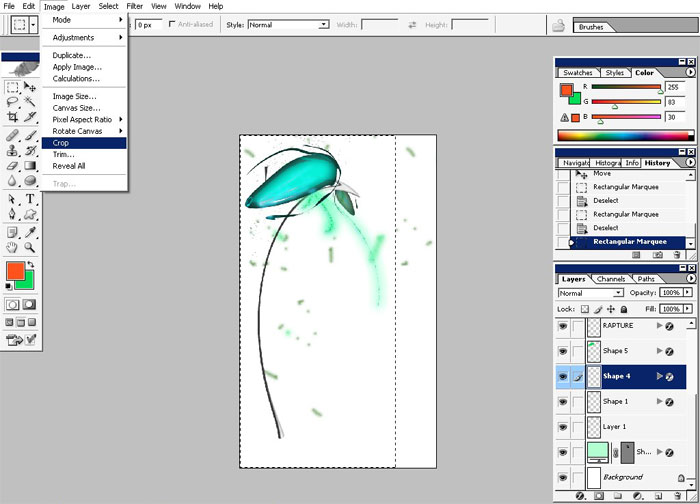
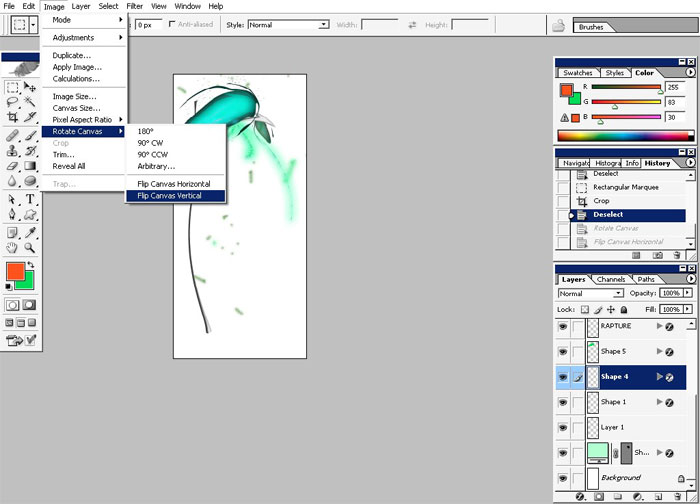
Crop and flip the image.
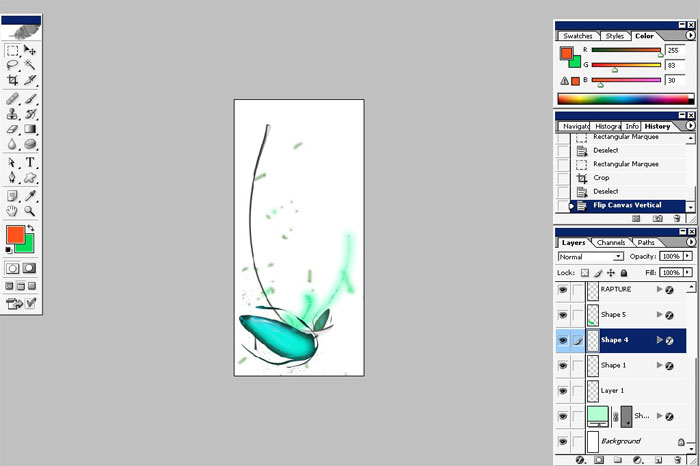
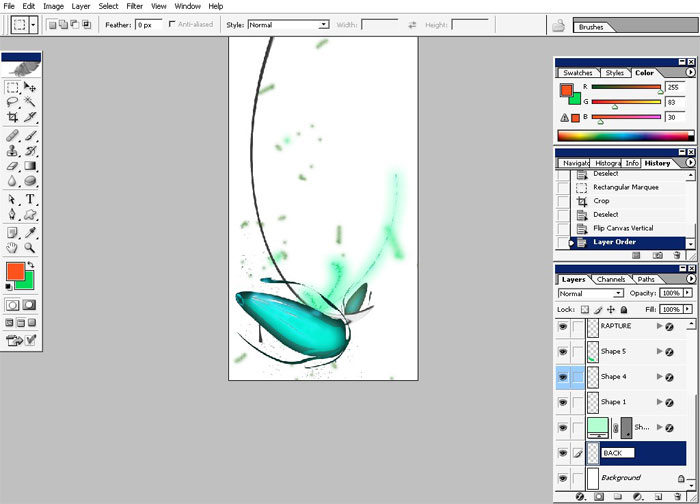
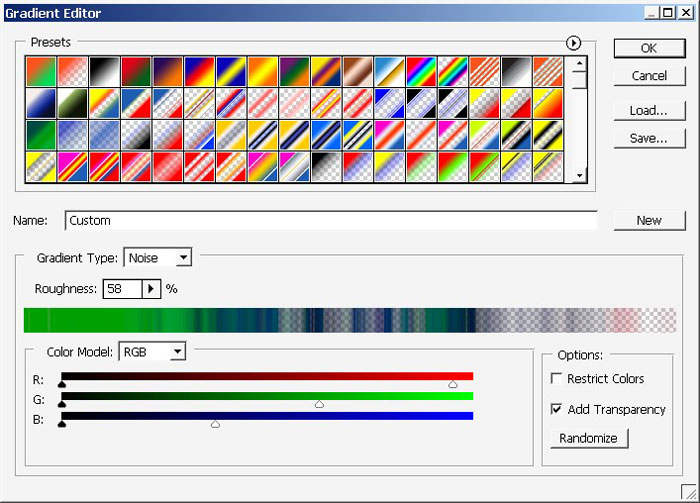
Now the background looks a little bit pale.

I will overlay it with gradient.
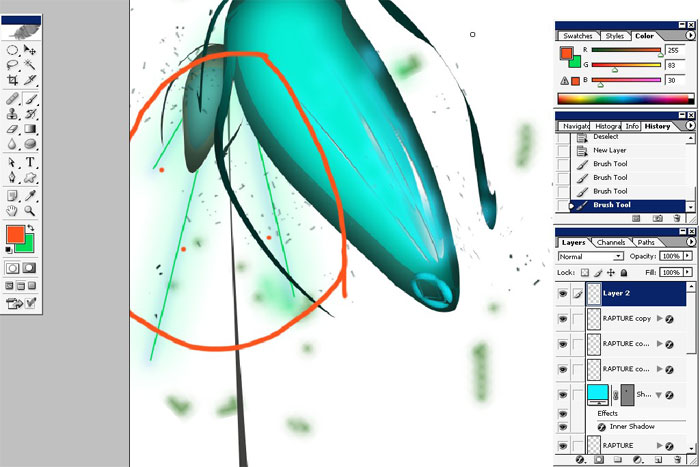
Then create a new layer and begin to paint.
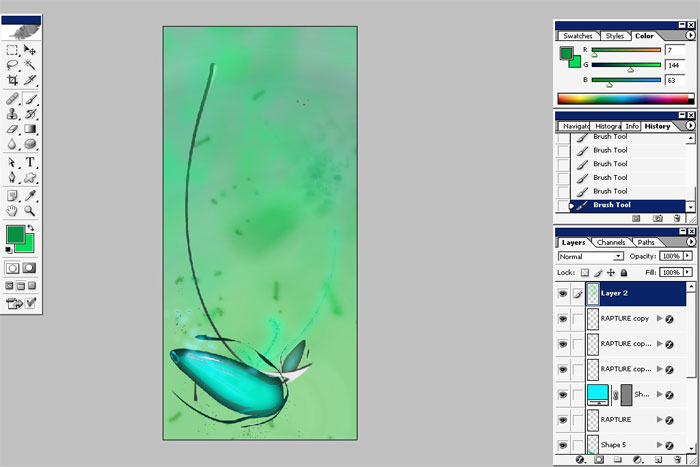
Draw the some king of little crowds with big diameter sponge brush 2-10% opacity.
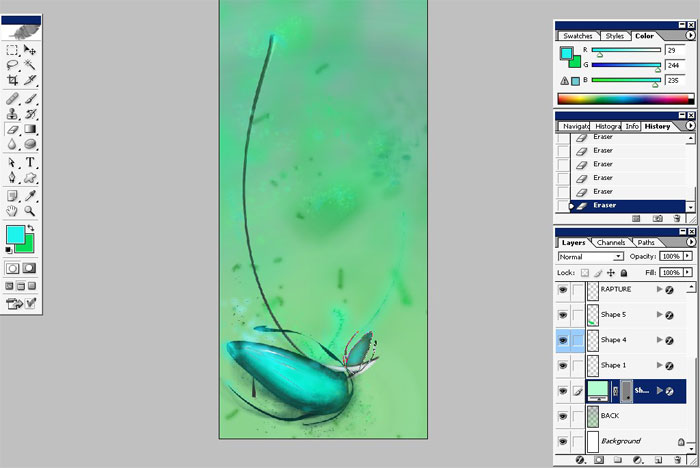
And the detailing with the same brush:
Continue with a little bit shadows/highlights setting and we are done.
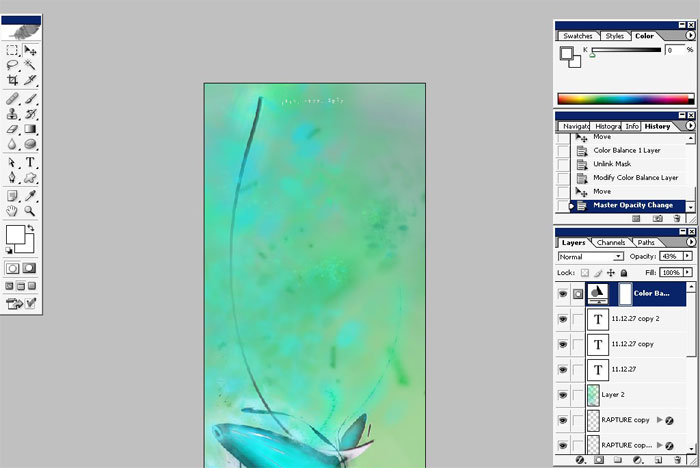
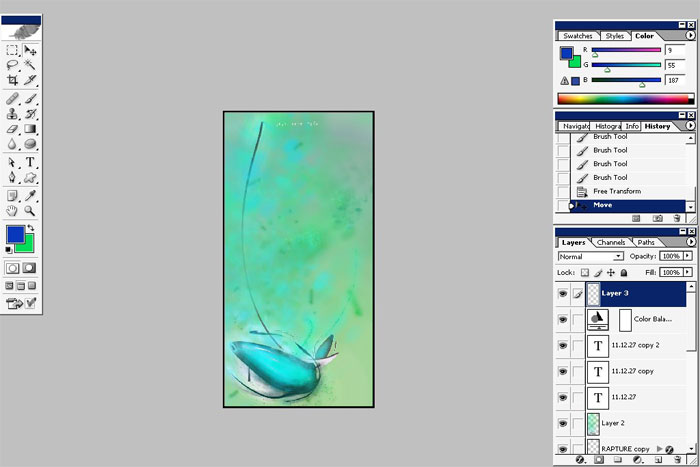
Our cyber flower is ready :).
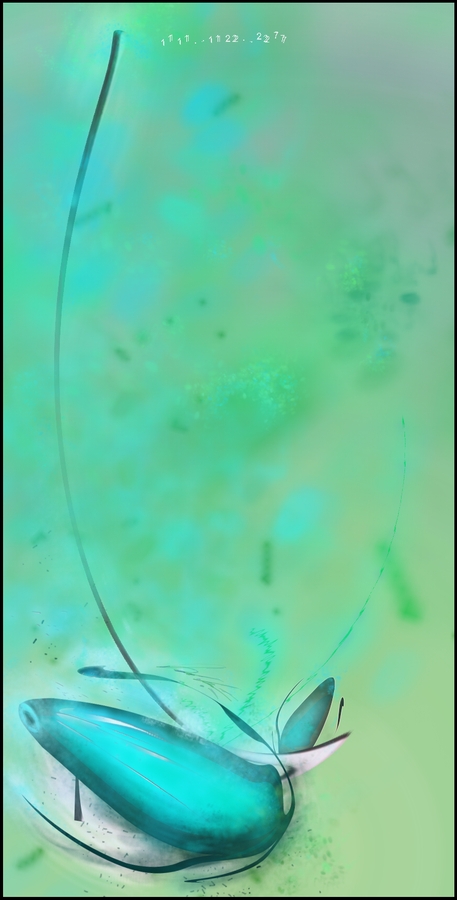
Enjoy!
Comments