
Custom playing cards
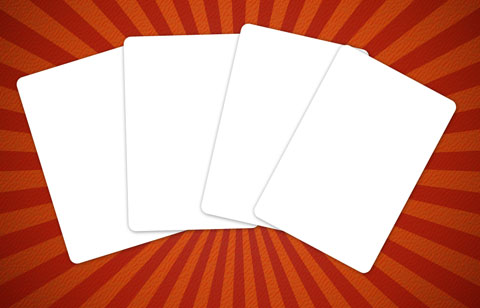
Next step includes representing the Rounded Rectangle Tool (U) (radius 20) to create the primary layer of the playing card, having white color.

Make three copies of the last made layer and select Free Transform option to turn over the copies and place them the way demonstrated next picture:

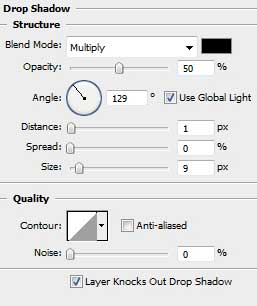
The card’s layers have the same parameters, indicated below: Blending Options>Drop Shadow

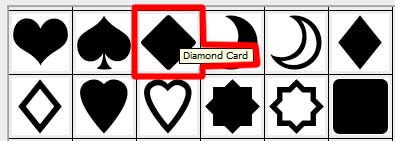
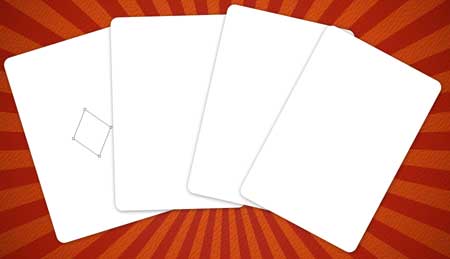
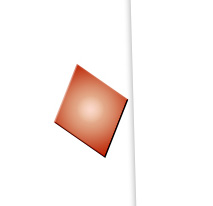
On the next stage we have to choose again the Custom Shape Tool (U) to represent the card’s indicator. Using the Free Transform option, it’s possible to incline this new made element, according to the card’s placement on the picture:
The layer’s parameters: Fill 0%
Blending Options>Bevel and Emboss 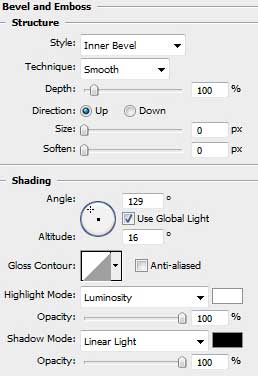
Blending Options>Gradient Overlay
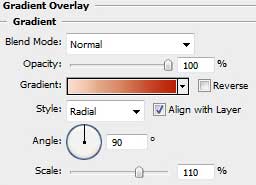
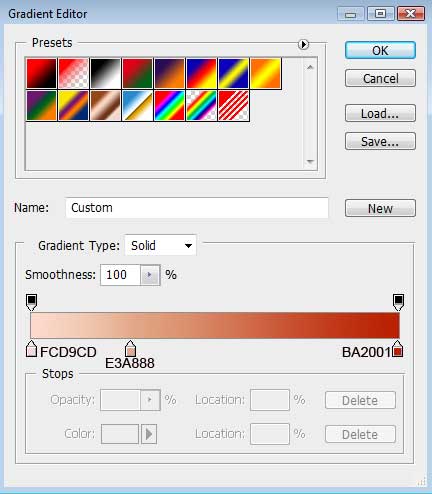
Gradient’s parameters:
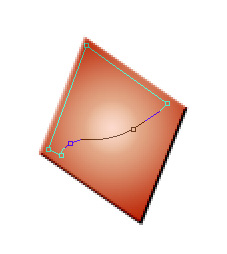
Make a copy of the recently made layer and select the Free Transform solution to make the copy smaller and then apply Add Anchior Point Tool to insert several tops on the bottom part of the layer that may be corrected with Convert Point Tool.
Comments