
Creative Studio Web Page
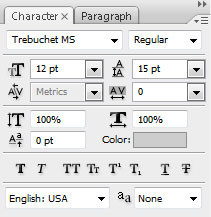
The layer’s parameters: Blending Options>Gradient Overlay
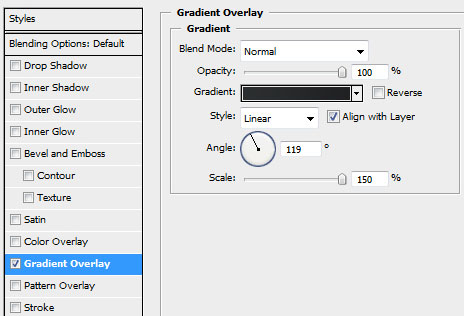
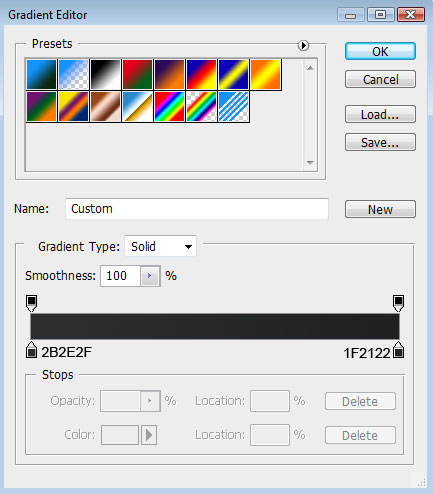
Gradient’s parameters:

Introduce the next indicated picture on the made panel, preliminary cut out according to the panel’s sizes or you can place picture above the panel layer (on the layers’ palette) then press Alt button and make a mouse click between the picture layer and the panel layer (the right corner of the picture should correspond with the beginning of the menu buttons).


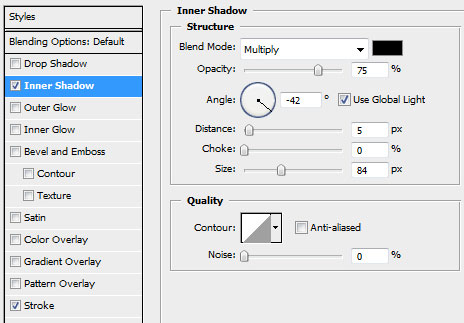
The layer’s parameters: Blending Options>Inner Shadow
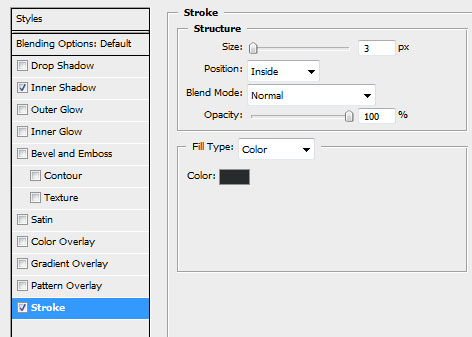
Blending Options>Stroke

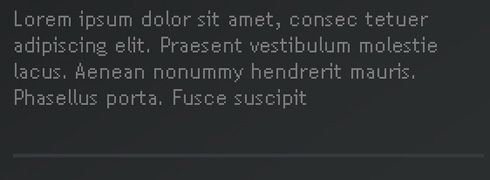
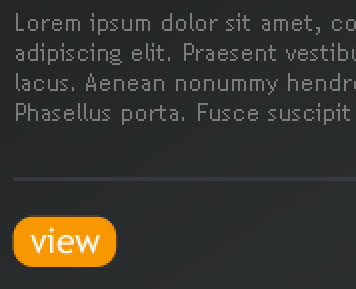
Introduce now the text we need on the panel, on the picture’s right part.
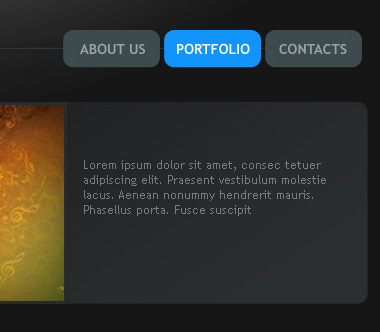
Applying the Line Tool (U), draw a horizontal line under the text, having the color #363A3C
Under the already made line we need to apply the Rounded Rectangle Tool (U) (radius of 10px) for representing a button colored with #F79700
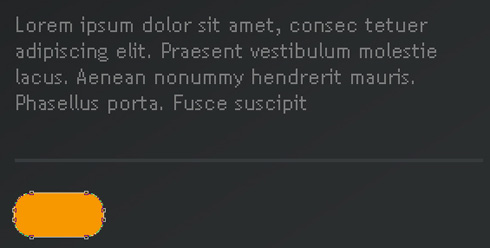
Write the button’s title:
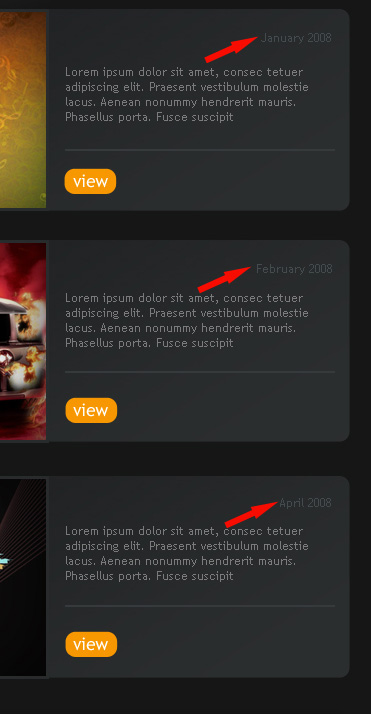
Next we need to get the appropriate result by merging together in a group all the layers composing the panel, the picture, the button there and the text (press Ctrl button to mark out all the necessary layers and hold on the left mouse’s button to take down the marked layers on Create a new group selection). Make two copies of this new group and select Free Transform option to place the copies lower. Insert also other pictures on the panels’ copies.

Write the data on each panel:
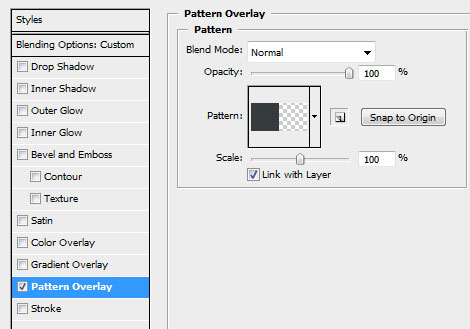
Create a new layer to represent on it a pattern, like the one from below. In this case we’ll use the Pencil Tool (B), the brush of 1px and the color #363A3C

Save it: Edit>Define Pattern.
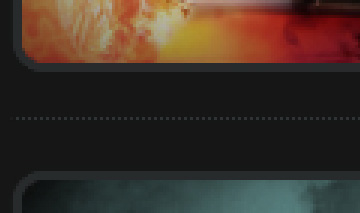
Using the Line Tool (U) now, try to draw a dividing line between the panels:

The layer’s parameters: Fill 0%
Blending Options>Pattern Overlay
The last step includes introducing the copyright in footer:

The final result!
View full size here.
Page: 1 2
Comments