
Create Dynamic Art using Glows and Lighting Effects in Adobe Photoshop CS5
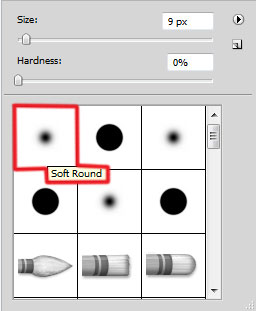
Create a new layer and choose the Soft Round brush of white color to represent many dots.
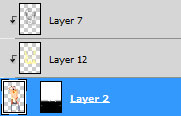
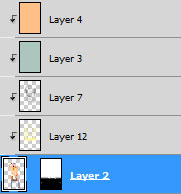
Place the layer under the layer containing the woman’s image.

Click Create new fill or adjustment layer from bottom part of the Layers panel and select Hue/Saturation.
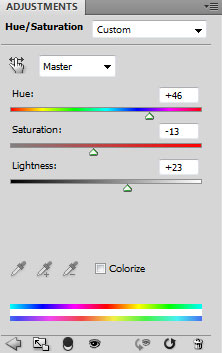

Drag the slider to the right to increase the Hue and Lightness of the color range. Drag the slider to the left to decrease the Saturation. Place the layer under the woman’s one.
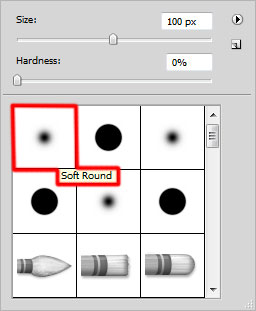
Create a new layer and select the Soft Round brush.
Use this brush to paint the next zone around the woman. The brush’s color #FFF79C (set Opacity to 30% in Options bar)
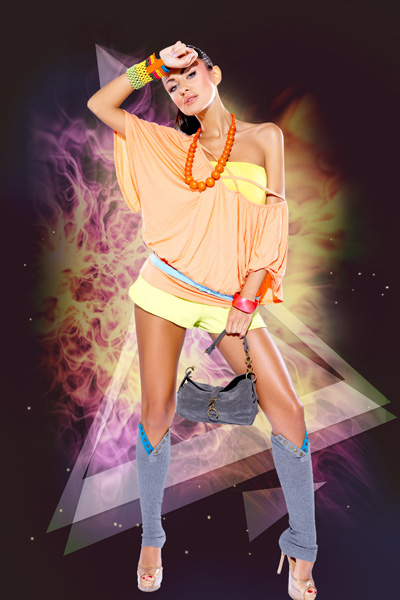
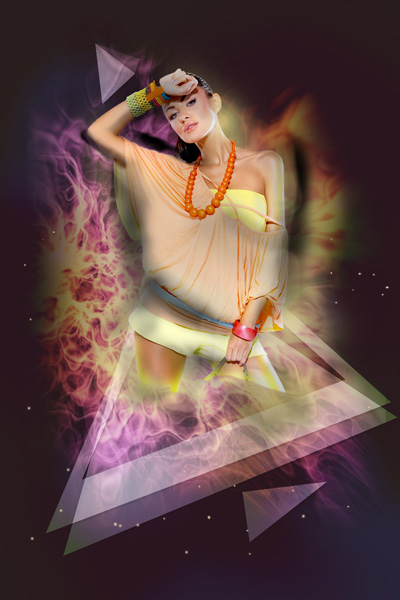
Pass on the woman’s layer. Insert the mask on this layer by choosing Add layer mask on the bottom part of the Layers panel and choose the Soft Round brush of black color mentioned in the previous example to hide the woman’s image as it is shown below:
Insert a new layer (Create new layer) and select the Soft Round brush.

Use this brush to paint again around the woman’s image with the color #FFF699.

Hold down Alt (Windows) or Option (Mac OS) and click between brush’s layer and the woman’s one in the Layers panel to create a clipping mask.
Set the Blending mode for this layer to Vivid Light.
Create a new layer and select the Soft Round brush of black color (brush Opacity – 15%).

Use this brush to paint the shown zones on the woman’s body.
Hold down Alt (Windows) or Option (Mac OS) and click between layers in the Layers panel to create a clipping mask.
Set Fill to 84% for this layer and change the Blending mode to Hard Mix.
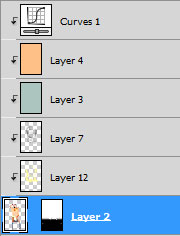
On the new layer we’ll use the Paint Bucket Tool (G) to fill it with #ACC6BF color.

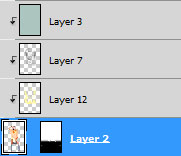
Hold down Alt (Windows) or Option (Mac OS) and click between layers in the Layers panel to create a clipping mask.
Set the Blending mode for this layer to Multiply.
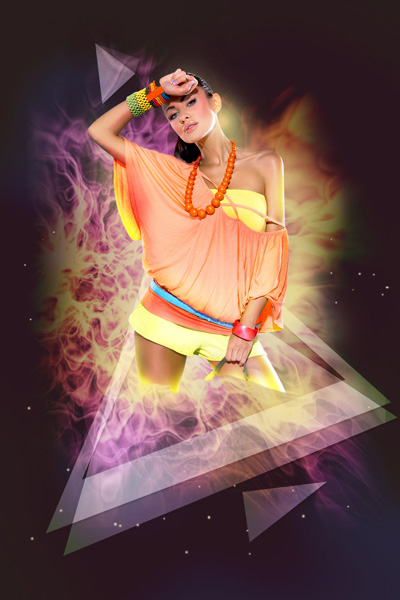
Now we have to repeat the actions applied on the previous layer and create a new one layer, using on it the Paint Bucket Tool (G) to fill it with #FFC087.

Hold down Alt (Windows) or Option (Mac OS) and click between layers in the Layers panel to create a clipping mask.
Set the Blending mode for this layer to Hue.

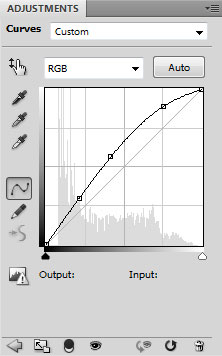
Click Create new fill or adjustment layer from bottom part of the Layers panel and click to Curves to adjust the curve shape as shown to make a little color corrections.
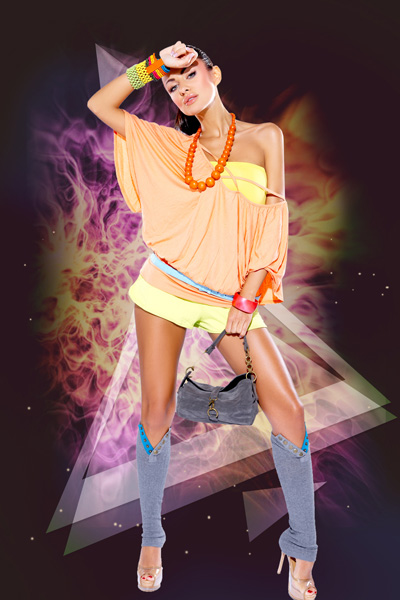
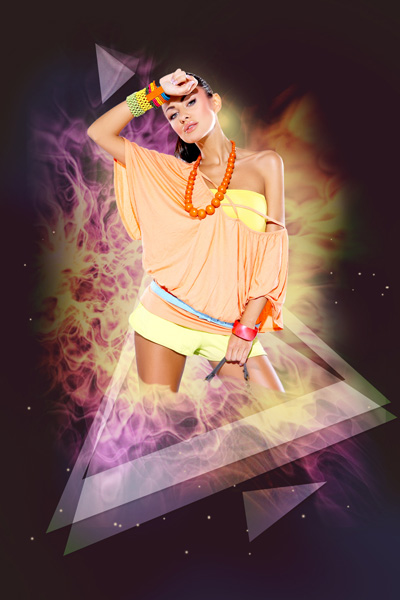
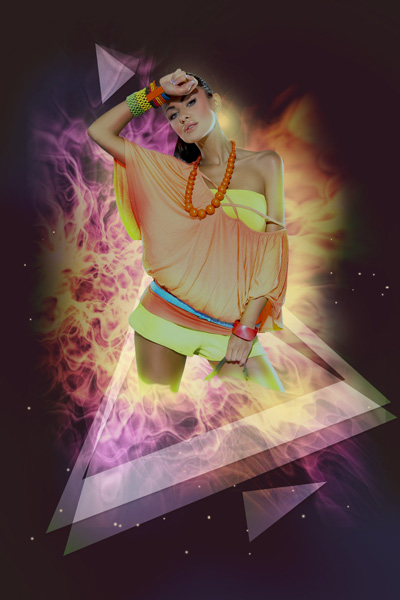
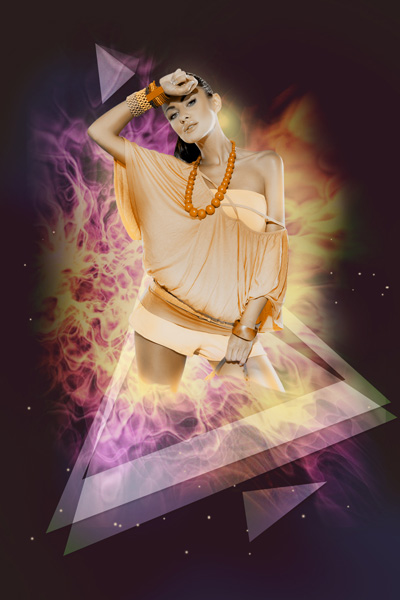
We’ve got the next result:
Hold down Alt (Windows) or Option (Mac OS) and click between layers in the Layers panel to create a clipping mask.
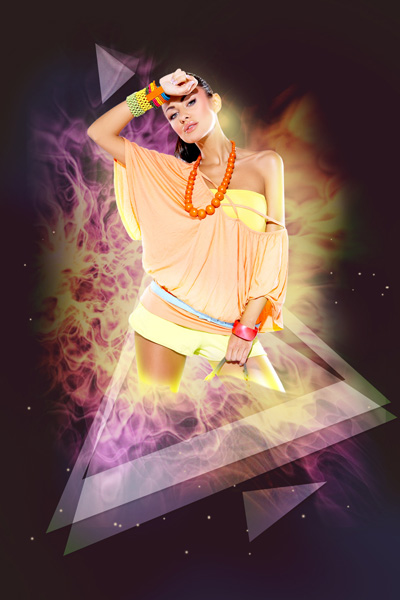
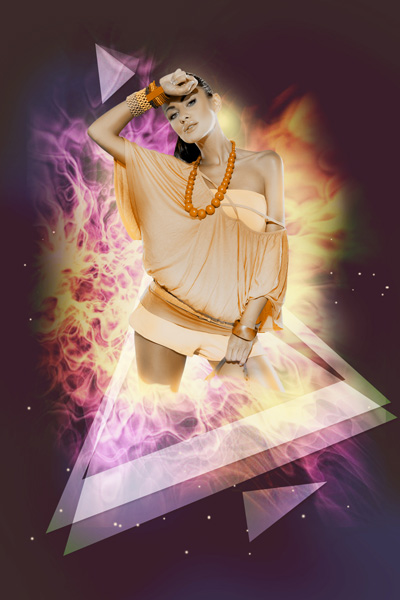
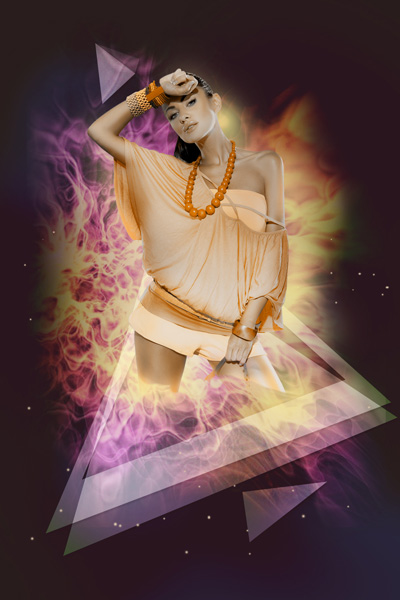
We’ve got the next result:
Insert the mask on the recently made layer by choosing Add layer mask on the bottom part of the Layers panel and choose the Soft Mechanical brush of black color (set Opacity to 20% in Options bar).

Paint in the mask using this brush to hide the next zone around the woman along the edges.
Create a new layer and select the Paint Bucket Tool (G) to fill it with #2A1D3B color.

Set the Blending mode for this layer to Soft Light.
Comments