
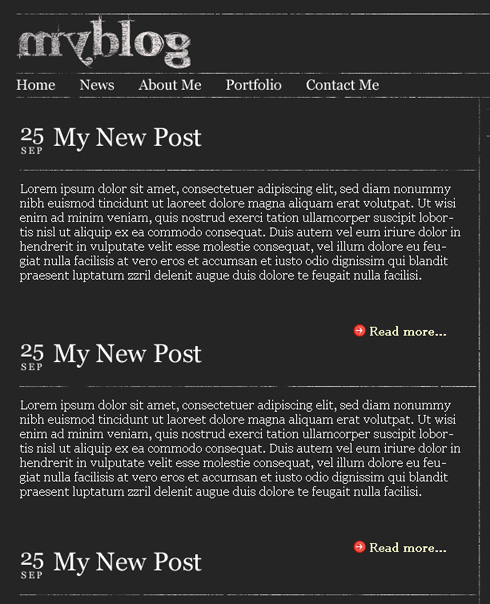
Create dark wordpress theme
Let’s combine in a group all the layers composing the link’s layers and its icon the same way described above. Make three copies of the got group and choose then the Free Transform option to place the copies the same way indicated below:
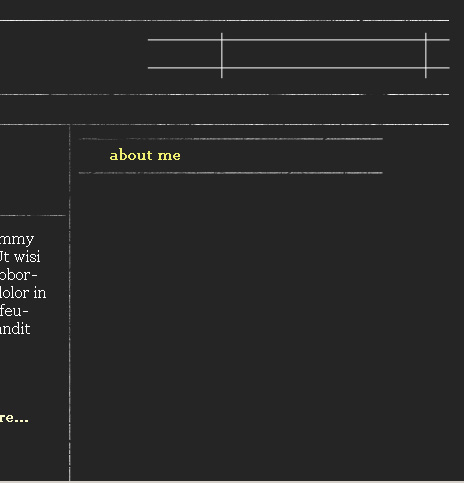
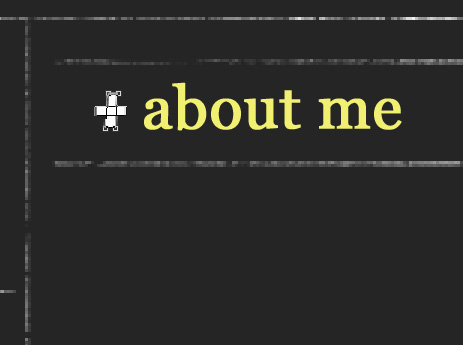
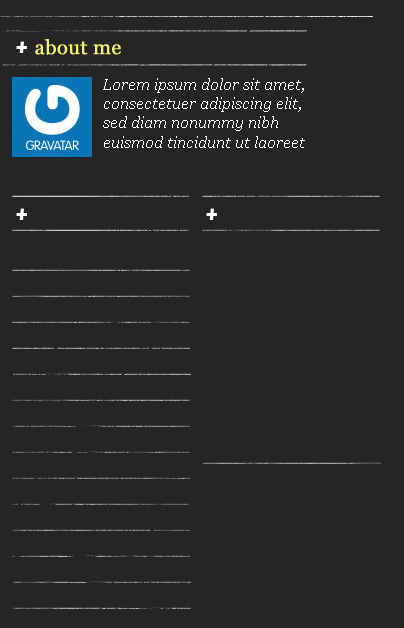
Let’s entitle the sidebar situated on the right side:
about me

On the left side of about me inscription we’ll represent a cross of white color, applying the Rectangle Tool (U). Firstly we’ll represent a line and then press SHIFT button while inserting the second part with the same tool.
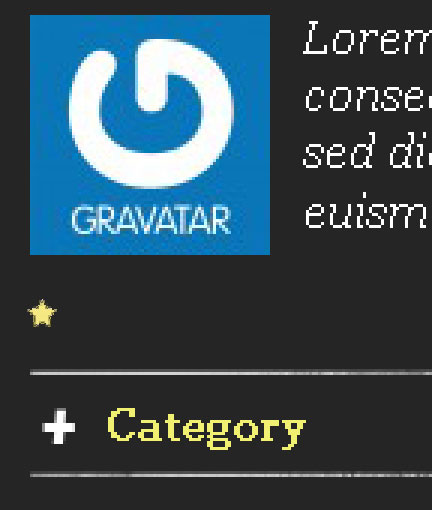
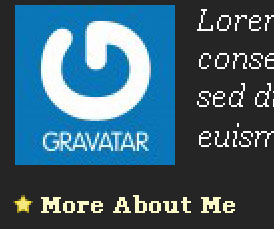
Lower we’ll insert the author’s avatar:
On the avatar’s right side we’ll introduce the description:
We’ll mark lower the sections of the additional menu. In this case we’ll use the Line Tool (U) and the color #D3D3D3
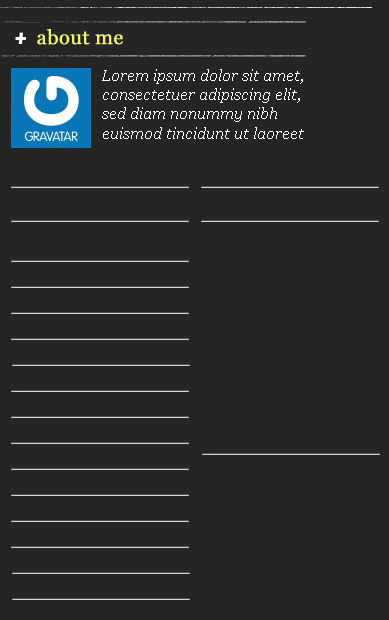
Create a new layer where we shall use the earlier mentioned brush and erase the menu’s marking line. The brush’s color is #252525

Make two copies of the layer composing the white cross and then select the Free Transform option to situate the copies the way indicated below:
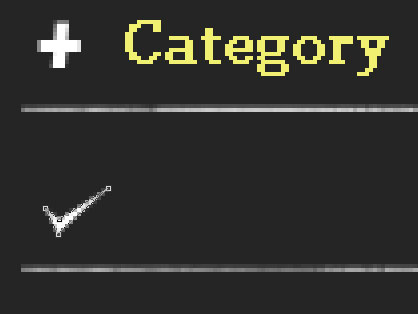
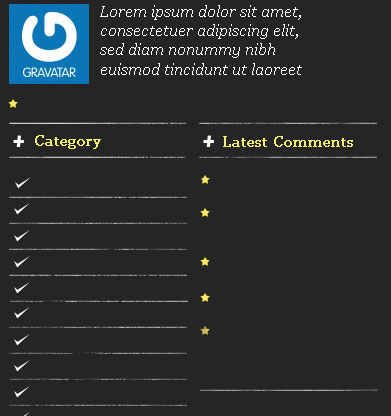
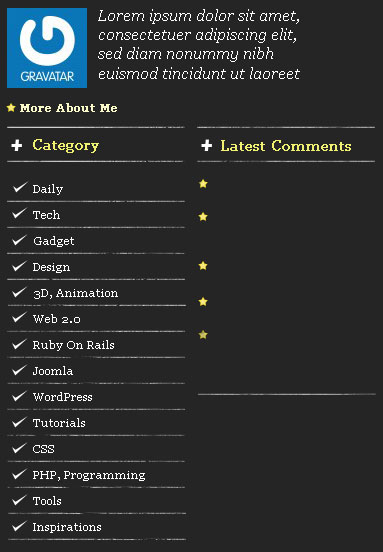
Let’s entitle the sections of the additional menu:

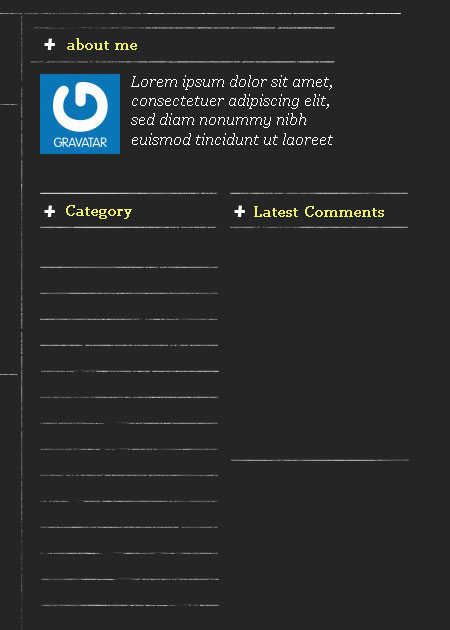
Using the Pen Tool (P), insert the symbol on the menu’s line. The symbol must have white color:
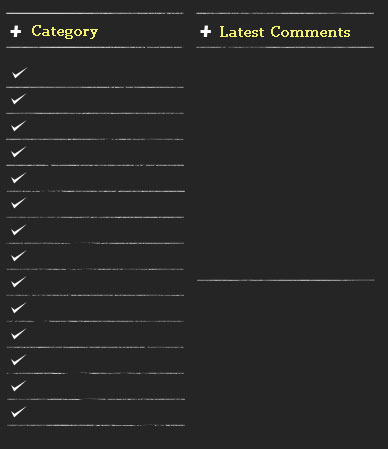
Make thirteen copies of the last made layer and choose again the Free Transform option to place the copies on the picture:
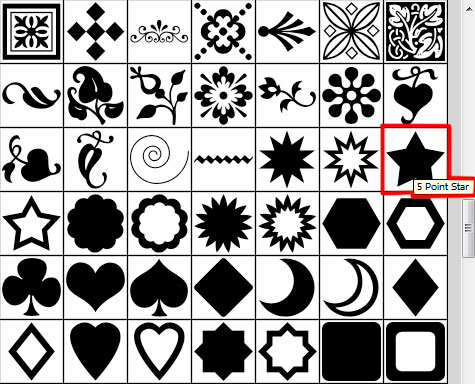
Using the Custom Shape Tool (U), try to make a small star of the color #F4E782
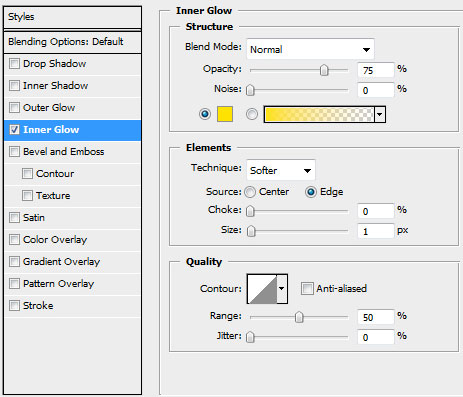
The layer’s parameters: Blending Options> Inner Glow

Make five copies of the layer containing the star and then select the Free Transform option to place the copies as below:
Next insert a link, situated lower than the avatar’s inscription and near the star:
We need also to insert the Categories.
Comments