
How to Create Colorful Christmas Background with Christmas Tree and Glossy Balls in Adobe Photoshop CS6
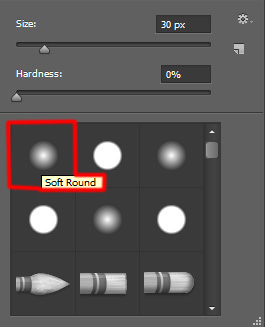
Create a new layer and select the Soft Round brush.

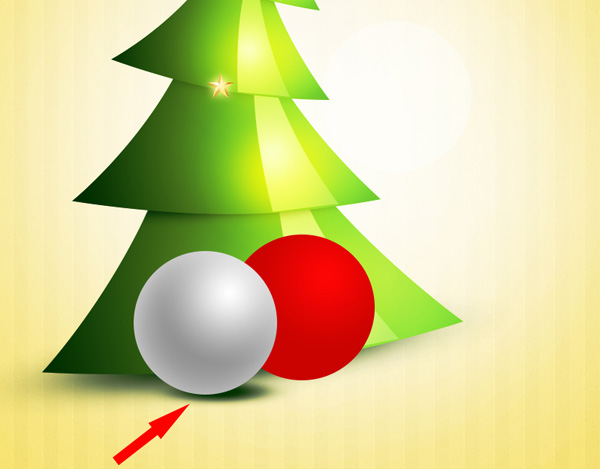
Use this brush to represent a shadow (the same way we did with the very first element’s shadow on the fir tree). The shadow’s layer should be positioned under the ball’s layer. The brush has the color #053403.
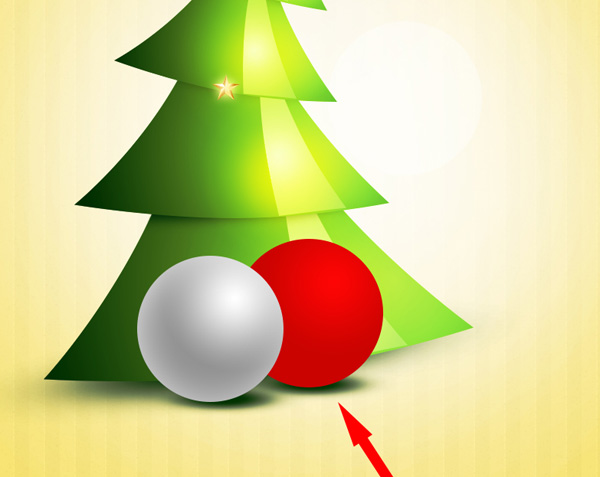
Make a copy of the recently made layer containing the shadow and select the Free Transform (Ctrl+T) command to place the copy exactly the way shown on the picture. The copy’s layer should be placed under the layer containing the red decoration.

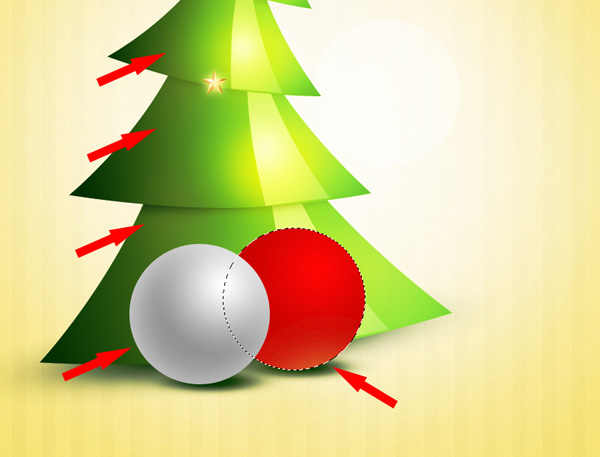
Create a new layer and select on it the Soft Round brush to paint on the tree the next zones as shown. The brush’s color is #FFE870 (brush Opacity – 10%). To get the reflection on the red decoration, we’ll click on this layer in Layers panel holding CTRL button to make the next selection, use the Soft Round brush to paint inside the selection as shown.
Next we have to draw the support for the decoration. This time apply the Rectangle Tool (U) to represent a rectangle. The support element’s layer should be positioned under the decoration’s layer.
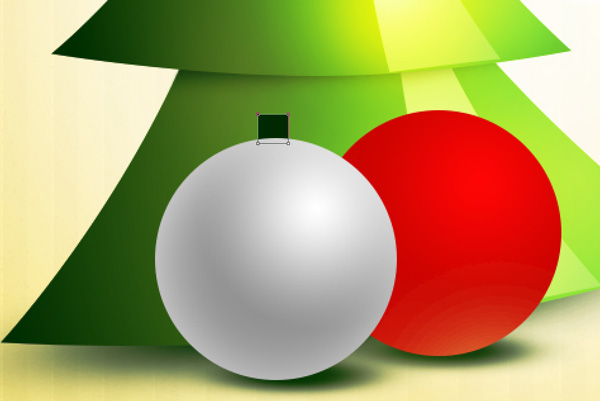
Click on Add a layer style icon from bottom part of the Layers panel and select Gradient Overlay.
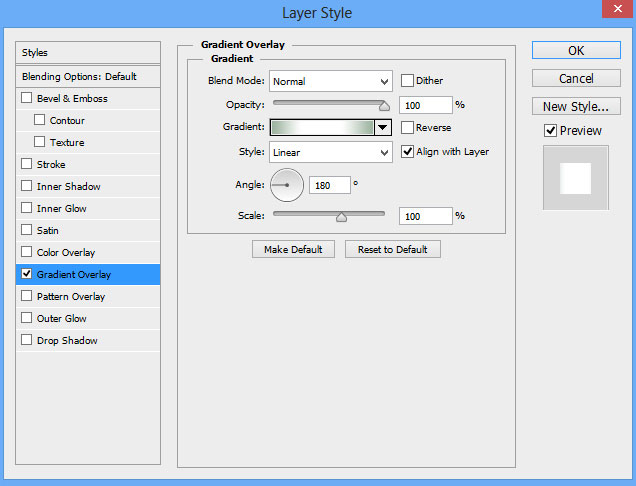
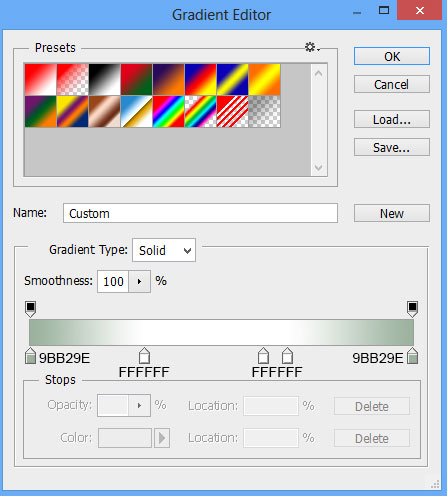
Click in the color bar to open the Gradient Editor and set the color stops as shown. Click OK to close the Gradient Editor dialog box.
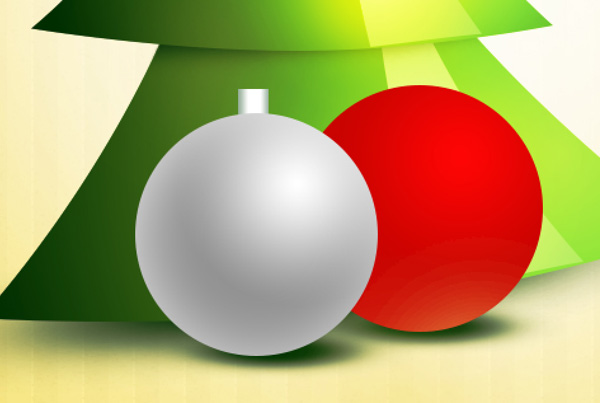
We’ve got the next result:
Make a copy of the layer containing the ball’s support element and choose the Free Transform (Ctrl+T) command to incline the copy’s layer getting the same result as on the picture. The copy’s layer should be positioned above the layer containing the red ball.

We’ve got the next result:

Create a new layer and select the Soft Round brush.
Use this brush to represent the shadow under the star situated on the top of the tree. The brush’s color is gray (brush Opacity – 20%). Place the layer containing the shadow under the star’s layers.

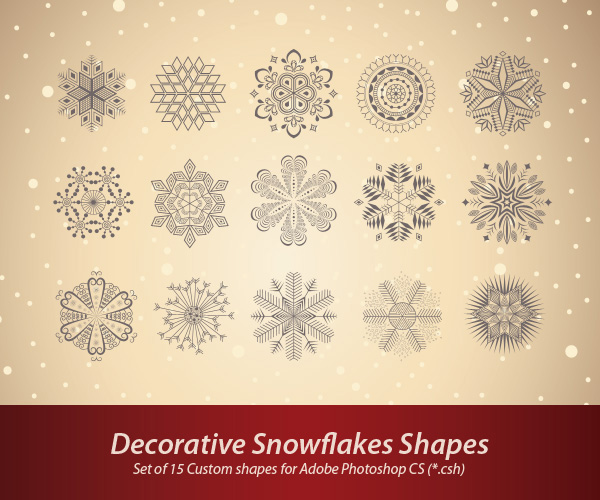
Next we’ll download set of custom shapes named Decorative Snowflakes Shapes. Little tutorial to explain how to load Custom Shapes here.
Create a new file (File > New) with the size 1280px by 720px (RGB color mode) at a resolution of 72 pixels/inch.
Select the Custom Shape Tool (U) in the Tools bar, in the Options bar click the Shape to open the selection menu.
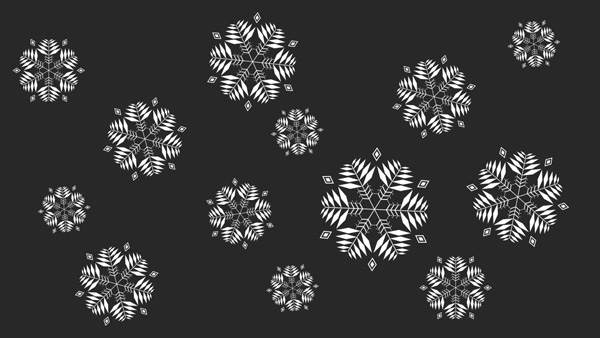
Find the loaded Decorative Snowflakes Shapes at the bottom of the menu, and then double-click a shape thumbnail to select it. Click and drag to draw the some shapes as shown. The shapes have white color (without background, here it is shown just for the texture perception). Combine in a group all the snowflakes layers (press CTRL button to select the necessary layers and hold on the left mouse’s button while dragging the selected layers on Create a new group icon from bottom part of the Layers panel).
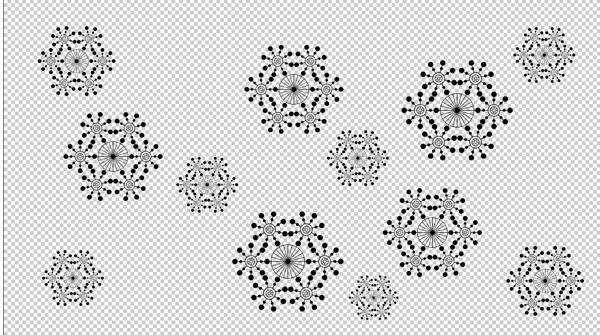
Create a new layer and use another snowflake shape from Custom Shape Tool (U) represent the next pattern as shown using black color. Combine in a group all the snowflakes layers.
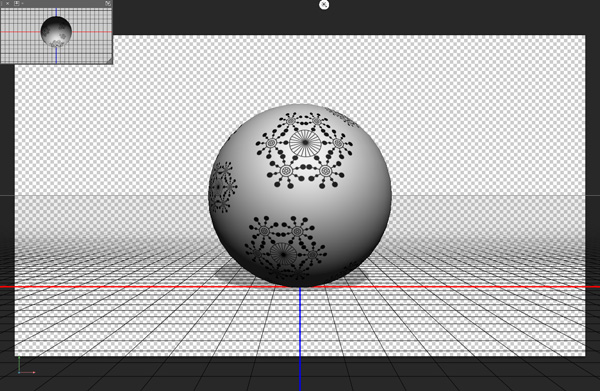
Now we have to rasterize each of the groups (select the group and press CTRL+E to Merge Down). Select the layer with black snowflakes and put the texture on a 3D surface (3D > New Mesh from Layer > Mesh Preset > Sphere):
Next we’ll transfer the 3D sphere layer in our main document. Place 3D sphere layer above the gray ball in Layers panel.

Set the Blending mode for this layer to Overlay.

The same procedure must be done with the white texture:

Set the Blending mode for this layer to Hard Light.

On the last stage we’ll draw the small thread for the small star, using the Line Tool (U) (set Weight to 1px in Options bar). The thread’s color is #FFF8A8.

Set Fill to 40% for this layer.

This way we’ll represent the shadow also, using the same tool and black color. The shadow’s layer will be positioned under the thread’s layer.

Set Fill to 40% for this layer.

We’ve got the next result:

Our Colorful Christmas Background with Christmas Tree and Glossy Balls is finished!
Merry Christmas and Happy New Year!
View full size here.
Download free Layered PSD file.
Comments