
Create bright abstract diagonal lines background in Photoshop CS5
Create a new layer and select the Soft Round brush of white color (set Opacity to 30% in Options bar).
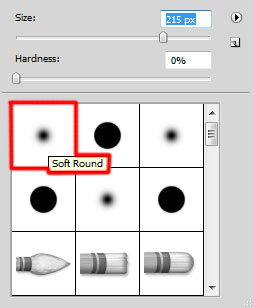
Paint using this brush to make lighter some canvas’s parts:

Set the Blending mode for this layer to Overlay.


Create a new layer and select the Soft Round brush of black color (Opacity – 20%).
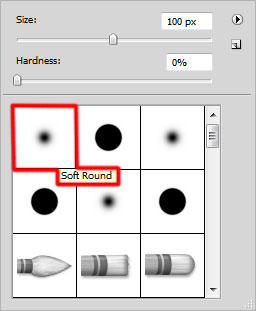
Paint using this brush to make darker the canvas’s edges:

Click Create new fill or adjustment layer from bottom part of the Layers panel and click to Curves to adjust the curve shape as shown to make a little color corrections.
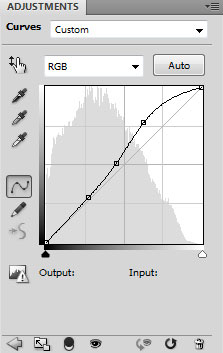
We’ve got the next result:

Click Create new fill or adjustment layer from bottom part of the Layers panel and select Hue/Saturation.
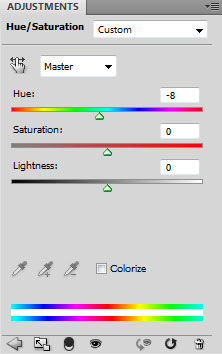
Drag the slider to the left to decrease the Hue value of the color range.

Combine in a group all the layers containing the lines (press CTRL button to select the necessary layers and hold on the left mouse’s button while dragging the selected layers on Create a new group icon from bottom part of the Layers panel). The new group will be rasterized. In this case select the group, press CTRL+E to Merge Down and apply on the rasterized layer the next filter: Filter>Blur>Motion blur.
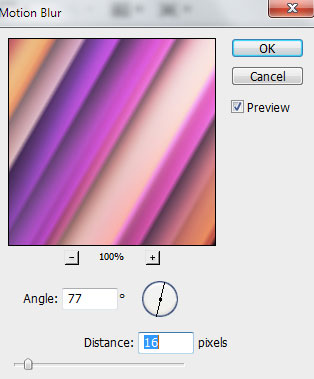
We’ve got the next result:

Make a copy of the recently made rasterzied layer and choose for the copy the next filter: Filter>Blur>Motion blur:
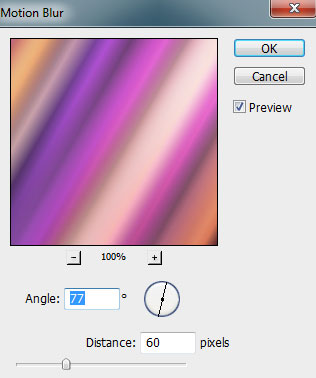
We’ve got the next result:

Set the Blending mode for this layer to Saturation.

Create a new layer and select the Soft Mechanical brush of black color (Opacity – 20%).
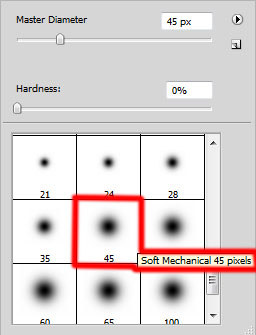
Use this brush to represent several shadows
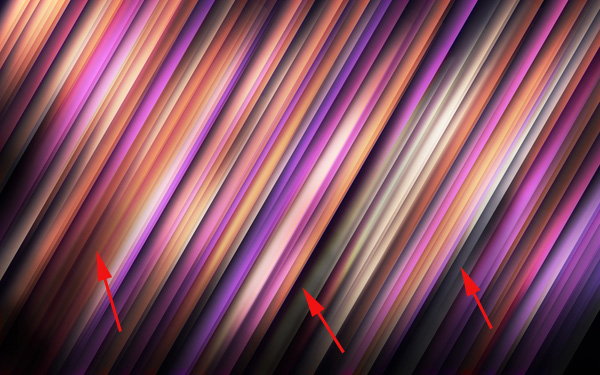
Create a new layer again and select the Soft Round brush of white (Opacity – 20%).

Use this brush to paint the top part of the canvas.

Set Fill to 63% for this layer and change the Blending mode to Overlay.

View full size here.
Download free Layered PSD file.
Page: 1 2
Comments