
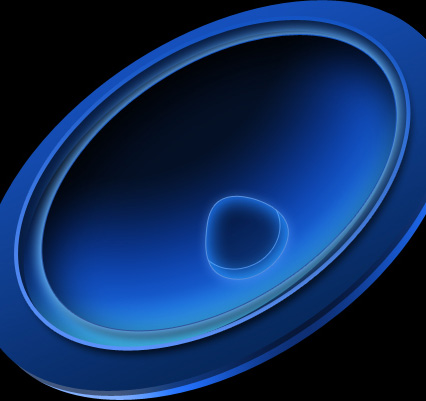
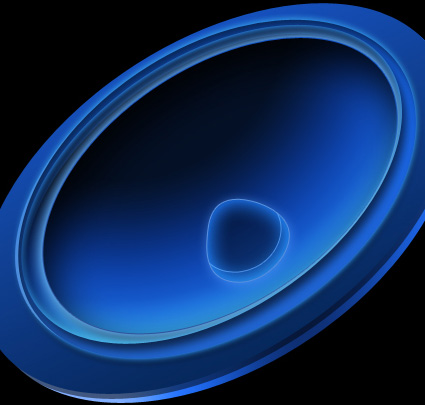
Create Blue Speaker
Make a copy of the last made layer and choose again the Free Transform option to change the copies’ sizes and apply different parameters for the copies.
The layer’s parameters:
Fill 0% on the layers.
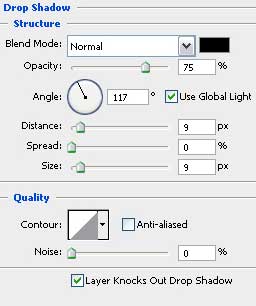
Blending Options>Drop Shadow
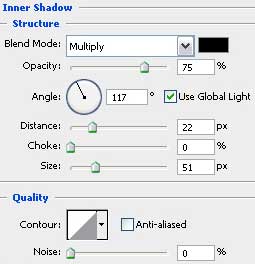
Blending Options>Inner Shadow

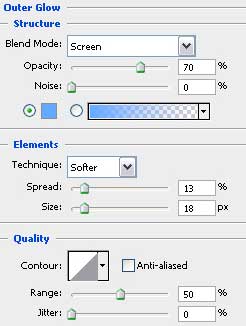
Blending Options>Outer Glow
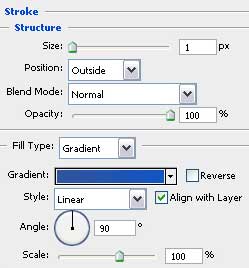
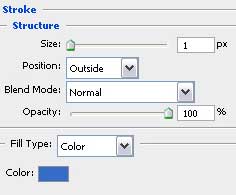
Blending Options>Stroke
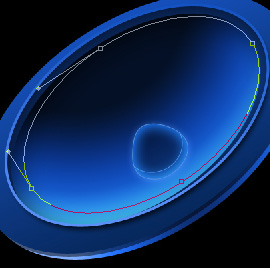
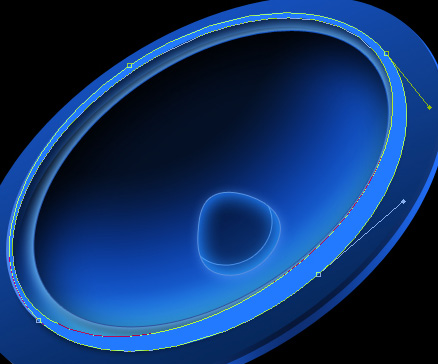
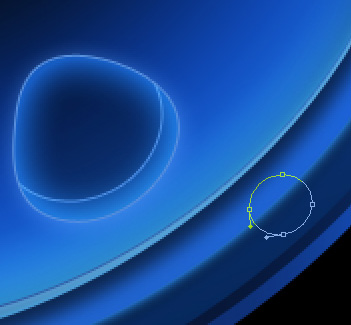
Now we’ll apply the previous instrument (Ellipse Tool (U)) and represent a circle. For the beginning we’ll represent the outside edges and then press on the Alt button to cut out the inside part of the circle.
The layer’s parameters:
Blending Options>Drop Shadow

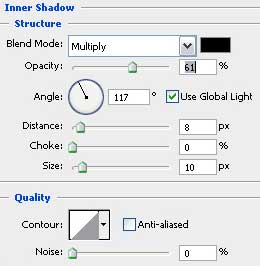
Blending Options>Inner Shadow
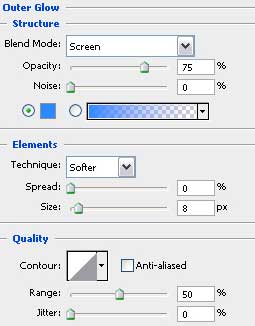
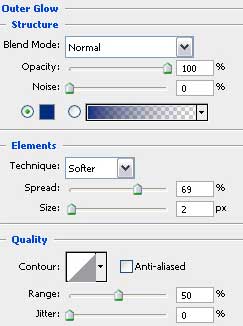
Blending Options>Outer Glow
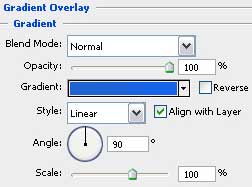
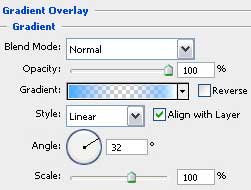
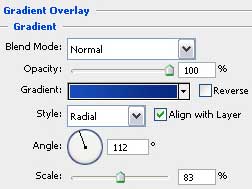
Blending Options>Gradient Overlay
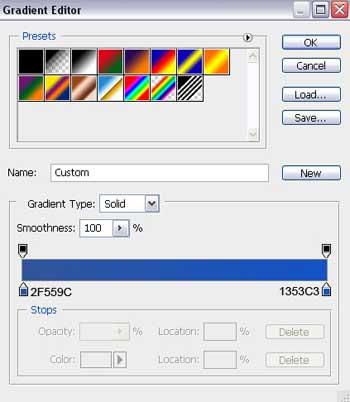
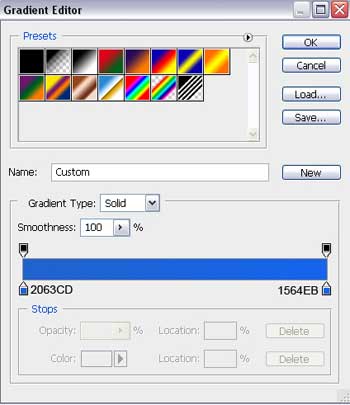
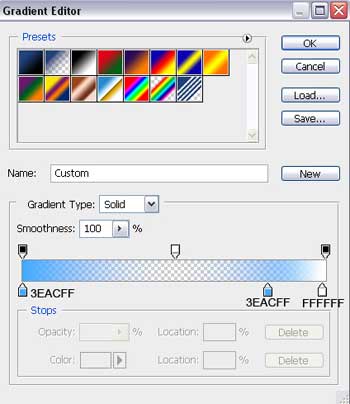
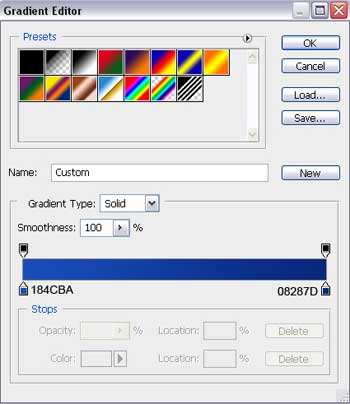
 Gradient’s parameters:
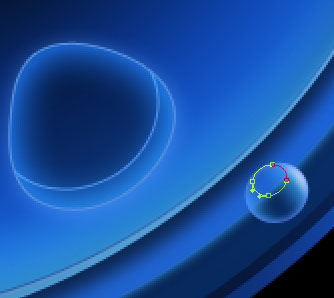
Using the same Ellipse Tool (U), we’ll represent the primary layer of the loud – speaker’s clamp.
The layer’s parameters:
Fill 0% on the layers.
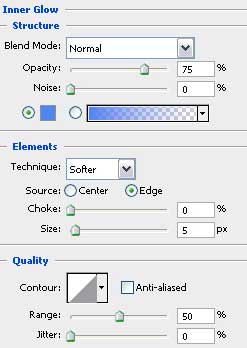
Blending Options>Inner Glow
Blending Options>Gradient Overlay
Gradient’s parameters:
 Applying the last instrument, it’s possible to draw the upper part of the speaker’s clamp.
The layer’s parameters:
Fill 0% on the layers.
Blending Options>Outer Glow
Blending Options>Gradient Overlay
Gradient’s parameters:
Blending Options>Stroke
Now we have to combine in a group all the layers composing the speaker’s clamp (press on Ctrl button and mark out the necessary layers. Then make a click on the left mouse’s button to take the marked layers downside on Create a new group option). The group must get the next parameters:
The Opacity is set on 80%.
Make three copies of the last made group and select Free Transform option to change the sizes for each copy and their position on the picture.
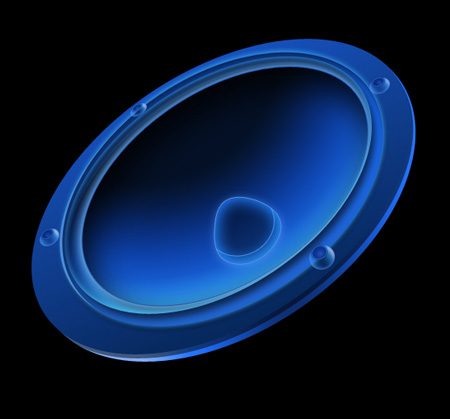
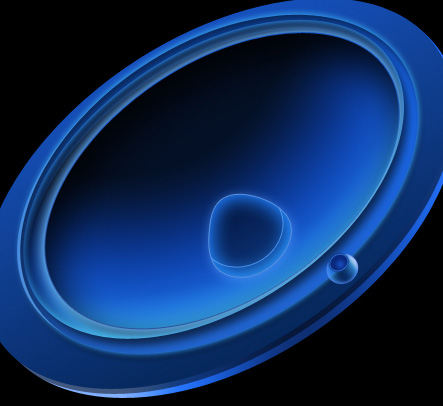
Representing the loud – speaker came to end!
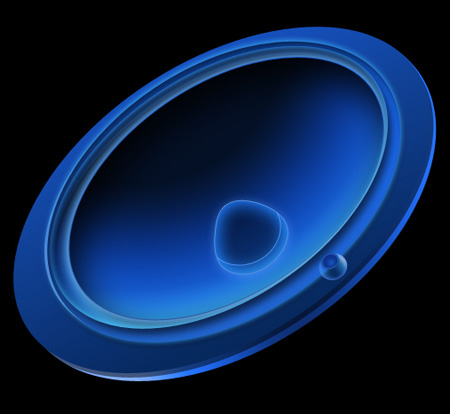
View full size here.
Page: 1 2
Comments