
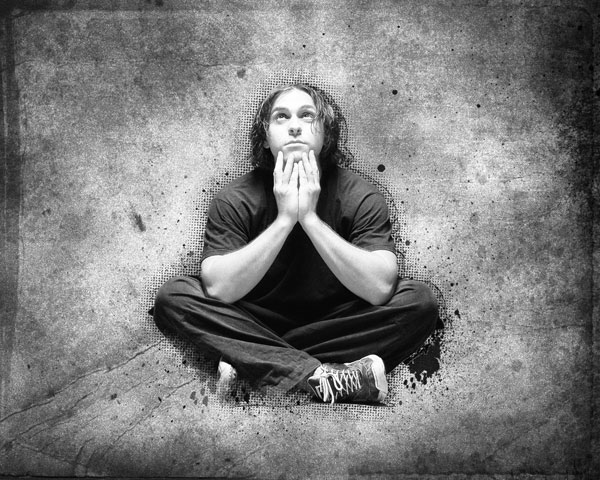
Create Awesome Grungy Style Artwork using Custom Brushes
Create the next new layer and select the next brush from earlier mentioned set (Old_paper_brushes_by_Annette29).
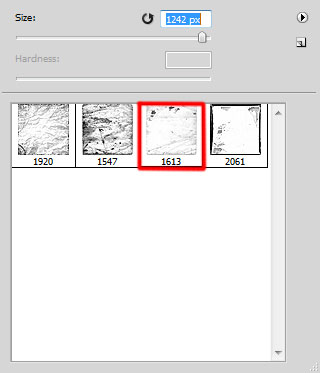
Use this brush to add the next brushstroke as shown. The brushes have black color (Opacity – 50%).
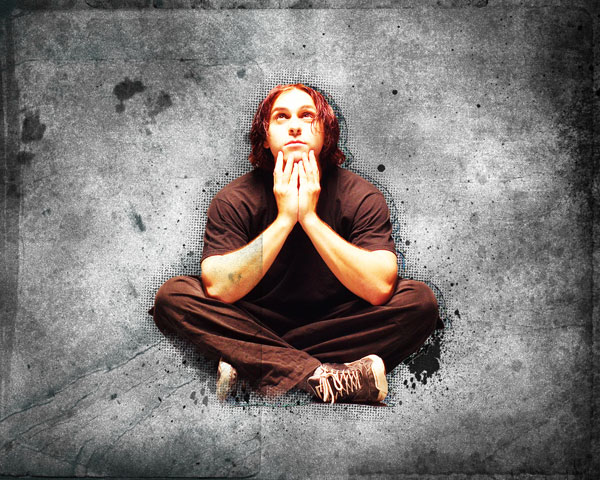
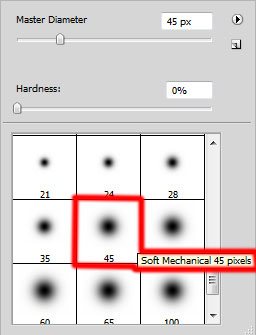
Insert the mask on the layer now the same way we did before and paint in the mask to hide the next zones on the layer with a Soft Round brush of black color.

Click Create new fill or adjustment layer from bottom part of the Layers panel and select Hue/Saturation.
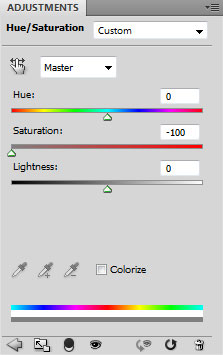
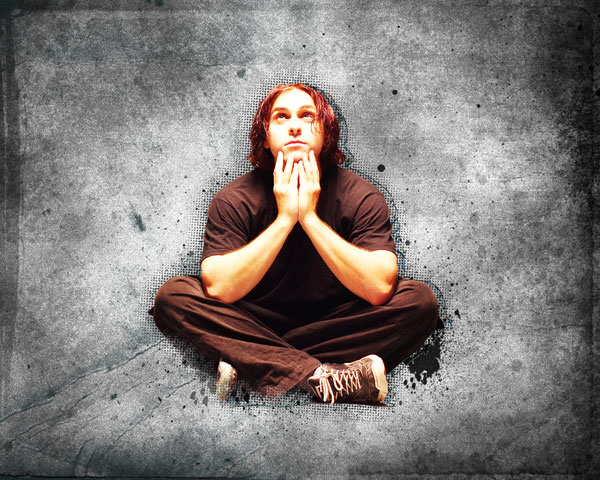
Drag the slider to the left to decrease the Saturation of the color range.
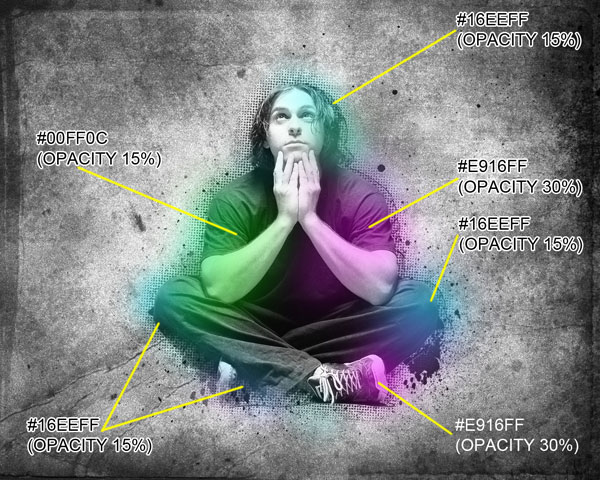
Now we have to create a new layer and select again the Soft Round brush.
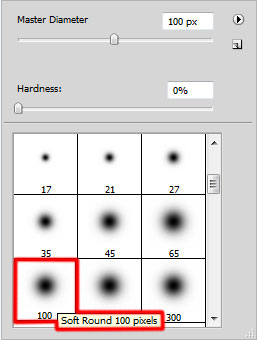
Use this brush to paint the model as shown:
Set the Blending mode for this layer to Color.

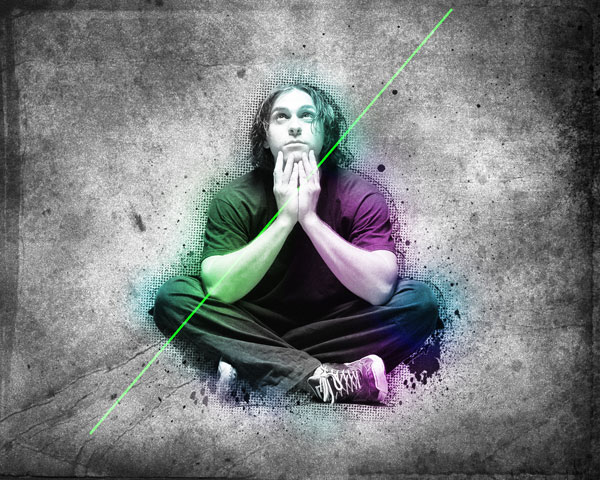
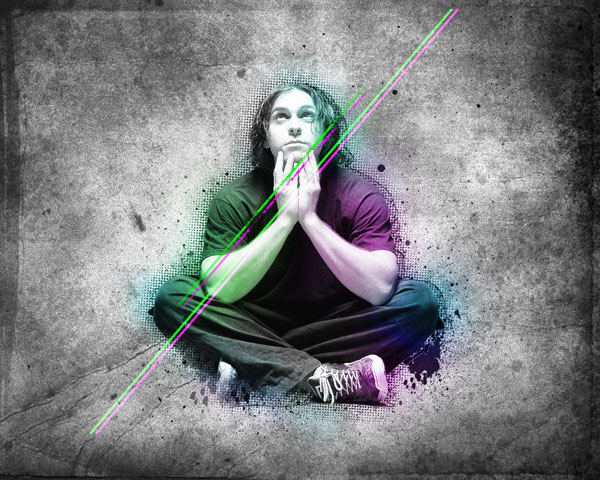
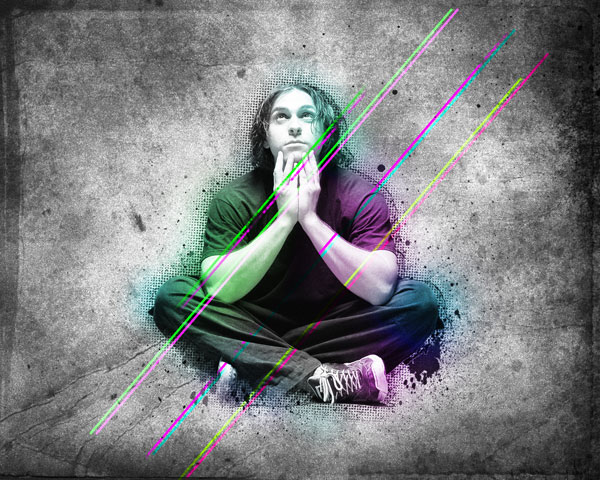
Now we have to draw several lines. Each one should be made on a new layer, because each layer has different settings. The tool in this case is the Line Tool (U), set Wight to 5px in Options bar. The line’s color is #00FF00. Set the Blending mode for this layer to Color Dodge.
The next line has color #FF00FE. Set the Blending mode for this layer to Lighten.

Create a new layer and represent two more lines of the same colors the previous lines have.

Insert the mask on the lines layers by choosing Add layer mask on the bottom part of the Layers panel and choose the Soft Round brush of black color.
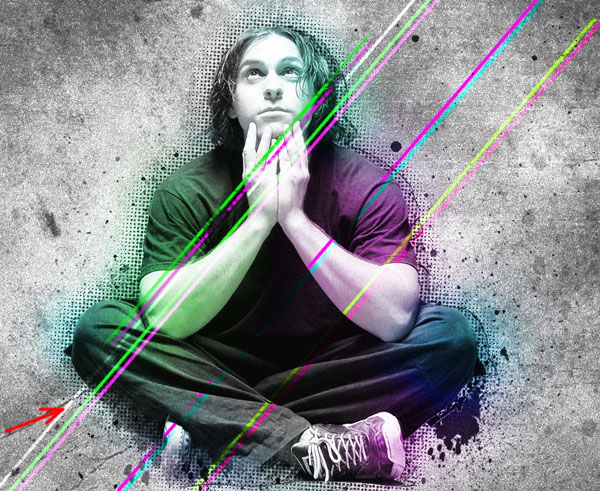
Paint in the mask using Soft Round brush to hide the edges:
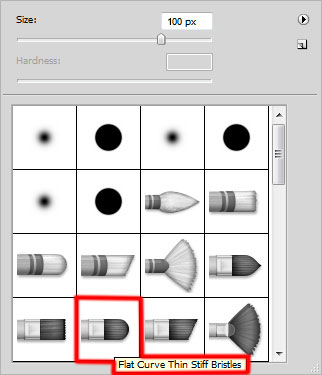
Paint in the mask using Flat Curve Thin Stiff Bristles brush to hide the next zones on the lines:
We’ve got the next result:
The next line has the color #FF00FE. Set the Blending mode for this layer to Darker Color.
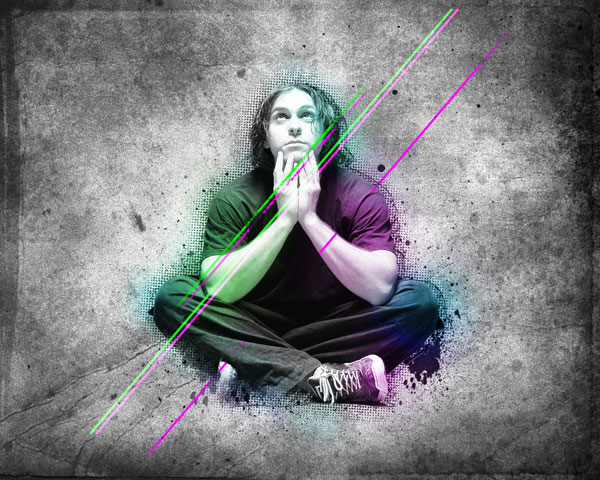
Create a new layer and represent two more lines of the next colors: #00FFEE and #FF00A0. Set the Blending mode for this layer to Color.

Represent now a line of the color #A2FF00. Set the Blending mode for this layer to Overlay.
The next line has the color #BEBEBE, represented with the Line Tool (U) (Weight – 5px). Set Fill to 54% for this layer and change the Blending mode to Color Dodge.
Create a new layer and put on it three more lines, applying the same Line Tool (U) (Weight – 43px). Set the Blending mode for this layer to Overlay.
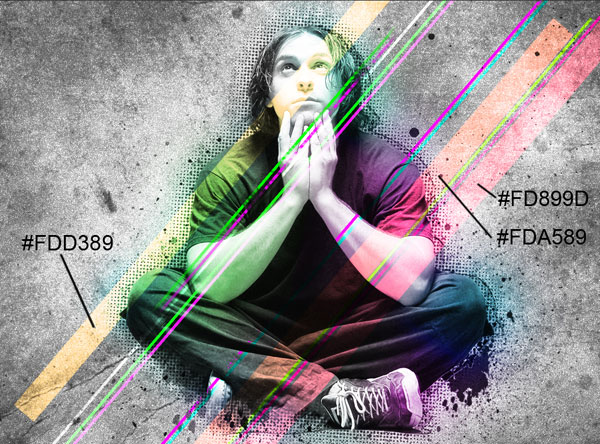
We’ve got the next result:
Insert the mask on the layer by choosing Add layer mask on the bottom part of the Layers panel and choose the Soft Round brush of black color.

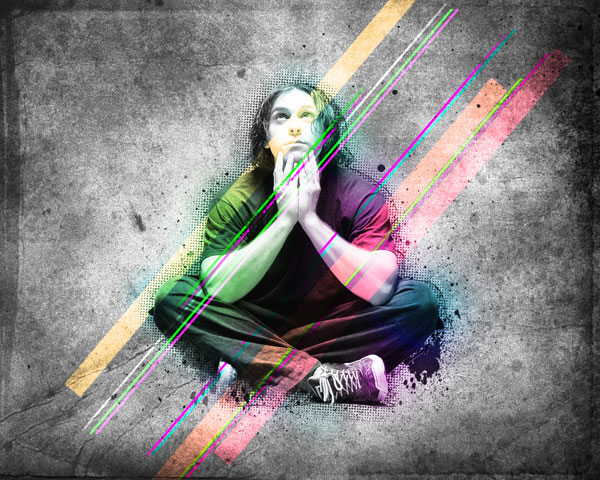
Paint in the mask using this brush to hide the large lines as shown.

Choose the Pen Tool (P), set the drawing mode on Shape Layers in Options bar and draw several triangles of different colors #00FF00, #49FFCE, #FF49D6.

We’ve got the next result:
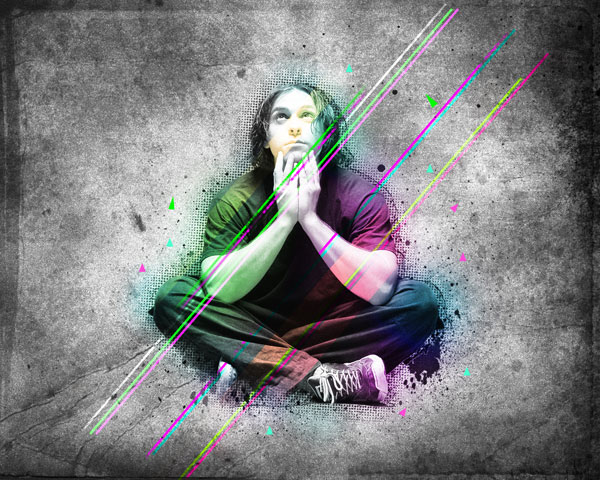
Finished!
View full size here.
Download free Layered PSD file.
Comments