
Create an Awesome Music Poster
The next layer will be represented with the same tool adond the color #808080
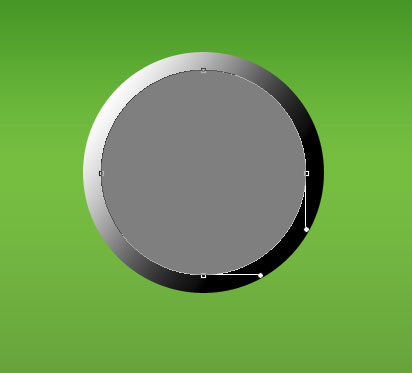
The next new layer will have black color.

The layer’s parameters: Blending Options>Inner Shadow
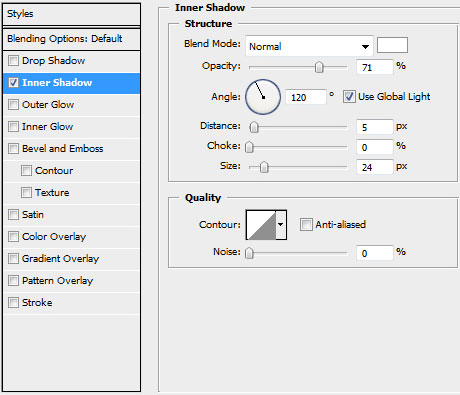

The layer’s parameters: Blending Options>Inner Shadow

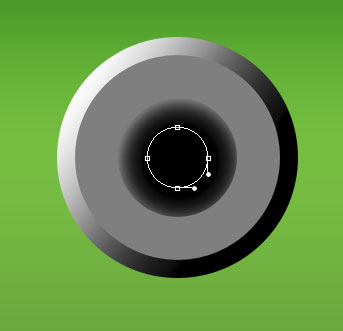
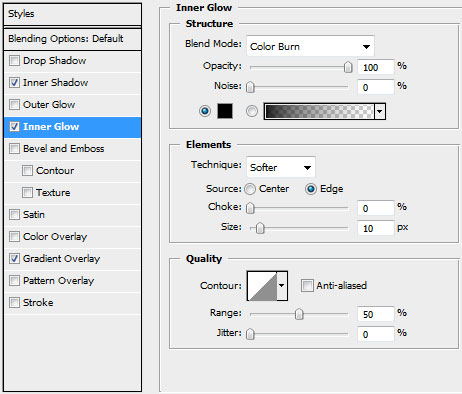
Blending Options>Inner Glow
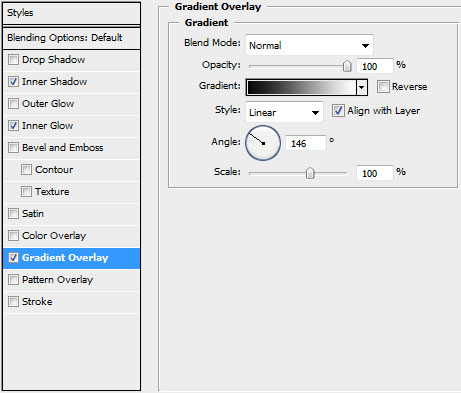
Blending Options>Gradient Overlay
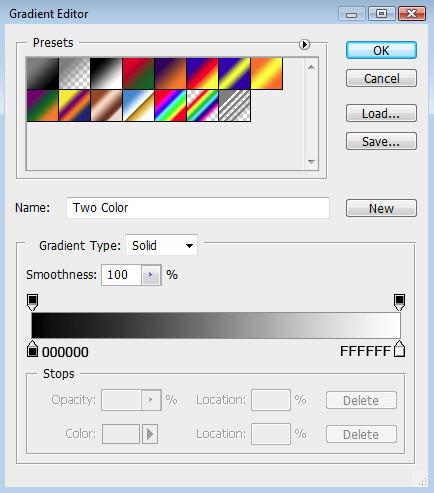
Gradient’s parameters:

Put together the layers representing the dynamic into a rasterized layer. In this case we’ll press Ctrl button to mark out the layers of the dynamic and press CTRL+E. Using the Free Transform option, place this rasterized layer the same way demonstrated next picture.
Make a copy of the layer we’ve got and choose after that the Free Transform option to place the copy above.
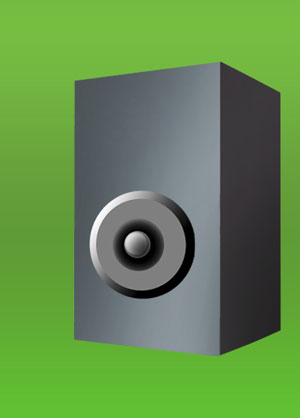
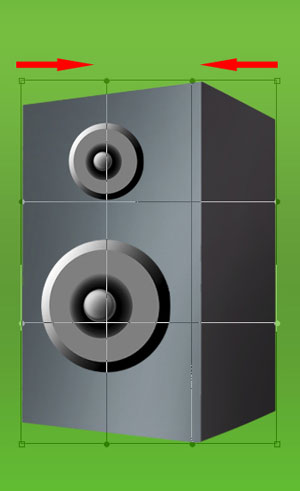
Put together three layers into a single one (the layers of both dynamics and the layer of audio speaker). Apply the same methods described above for this operation. Switch between Free transform and Warp modes to bring the top corners of the audio speaker to the middle part, getting the same element shown below:
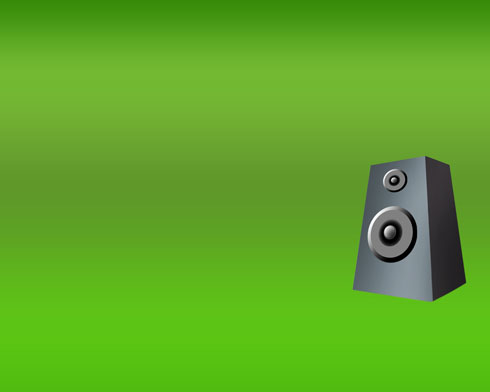
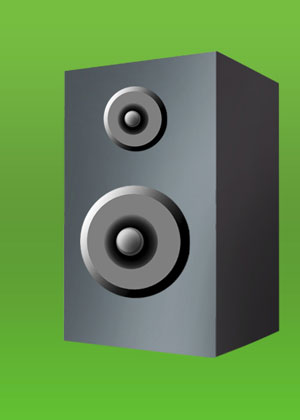
Make a copy of the layer containing the audio speaker and then applying Free Transform option try to move the copy lower than it is now. The copy’s layer should be situated lower than the previous layer on the layers’ panel:

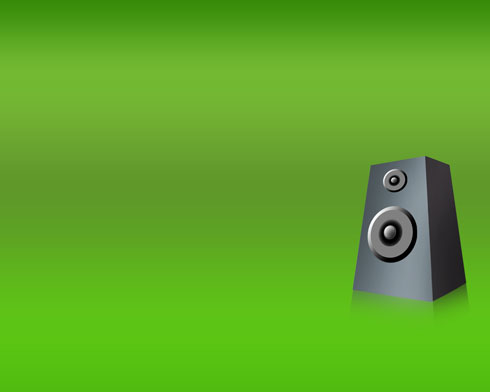
Click on the same layer on Add a Mask selection on the bottom part of the layers’ panel and select the Brush Tool (B) with Opacity of 60% to clean out the copy’s layer, giving it black color.

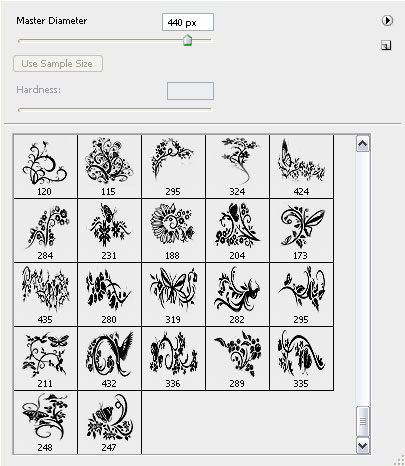
Download a set of ready to use brushes in Adobe Photoshop, the ones you may see in the next table. Create a new layer, applying on it the brushes out of the set we have, to represent several ornaments. The ornaments’ layers will be placed lower than the layers of the audio speaker and its shadow:
Comments