
How to create an abstract composition using Photoshop
Add layer mask on each layer with the line and paint in the mask with Soft Round brush of black color (Opacity 20%) to hide the lines edges the same way as on the next picture.
Next we’ll create another pattern. Create a new file (File>New) with the size 38px by 38px (RGB color mode) at a resolution of 72 pixels/inch and choose here the Ellipse Tool (U) to create four small ellipses.
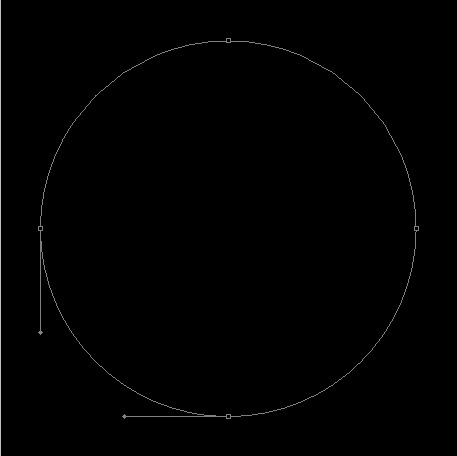
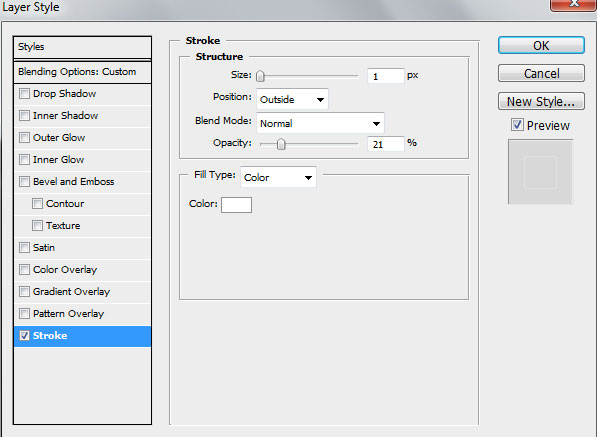
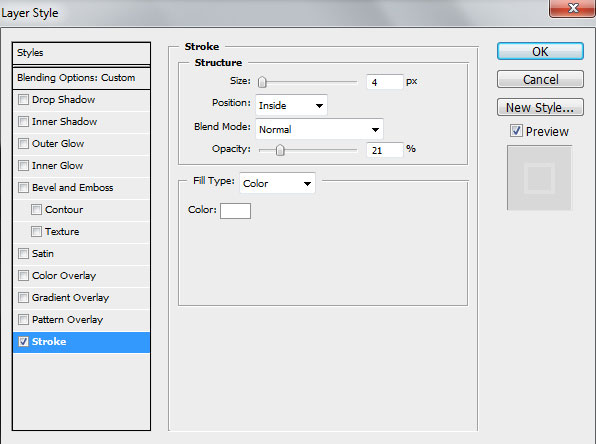
For first ellipse set Fill to 0% and go to Layer Style > Stroke
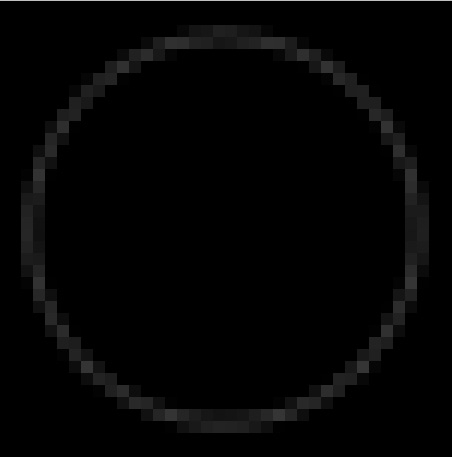
We’ve got the next result:
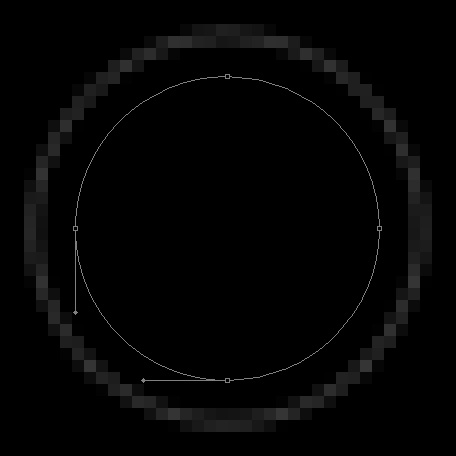
Draw the second ellipse:
Set Fill to 0% for this layer and click Add a layer style icon from bottom part of the Layers panel to select Stroke:


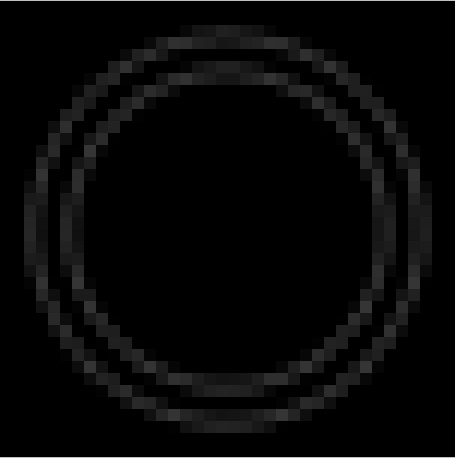
We’ve got the next result:
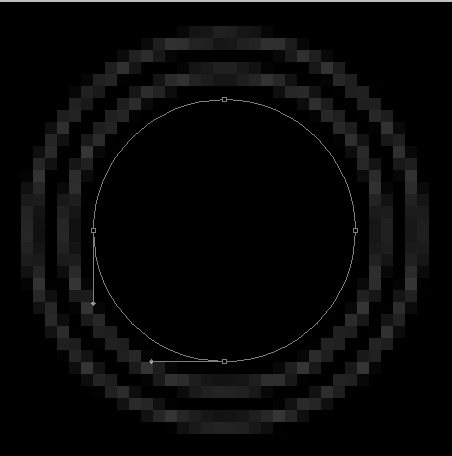
Draw the third ellipse
Set Fill to 0% for this layer and go to Layer Style>Stroke
We’ve got the next result:

Draw the last ellipse:
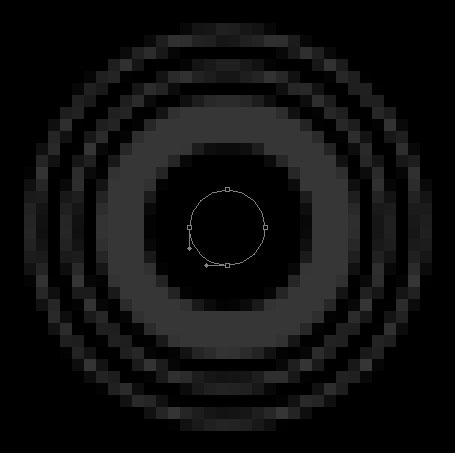
Set Fill to 0% for this layer and click Add a layer style icon from bottom part of the Layers panel to add Stroke:

We’ve got the next pattern:
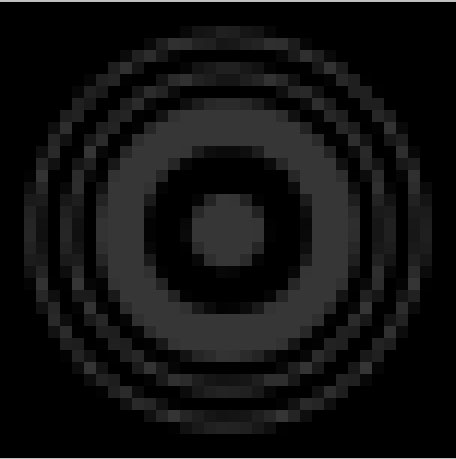
Remove the black background’s layer and choose Edit > Define Pattern. Enter a name for the pattern in the Pattern Name dialog box.
Use the Rectangle Tool (U) to create the next demonstrated rectangle.
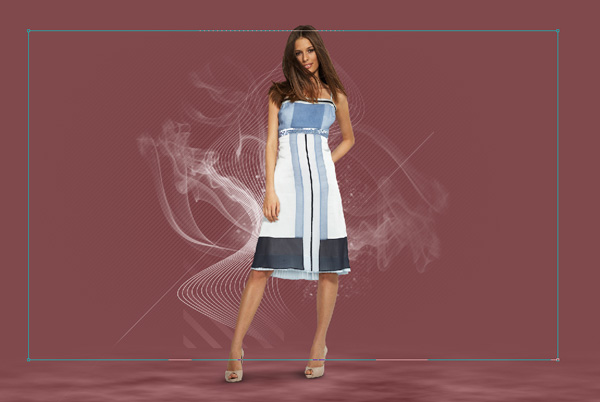
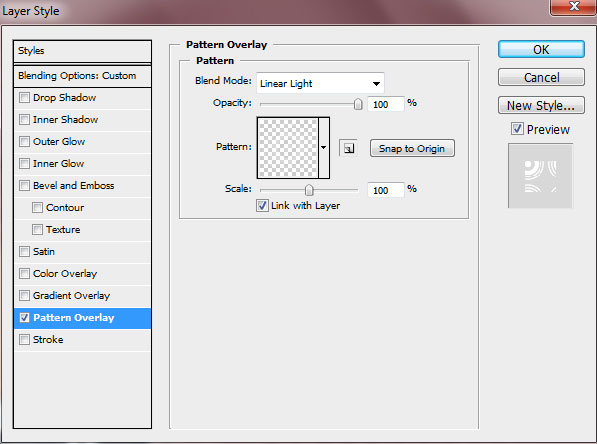
Set Fill to 0% for this layer and click Add a layer style icon from bottom part of the Layers panel to select Pattern Overlay. Go to Pattern Picker, and recent created pattern can be added by loading them from the Picker‘s sub-menu.
We’ve got the next result:
Click on the same layer on the bottom part of the Layers panel on Add layer mask icon and paint with Soft Round brush of black color (Opacity 30%) to hide the right side of the layer containing the texture.

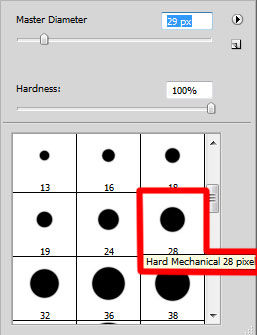
Paint with Hard Mechanical brush in the mask to hide the left side of the layer as shown:
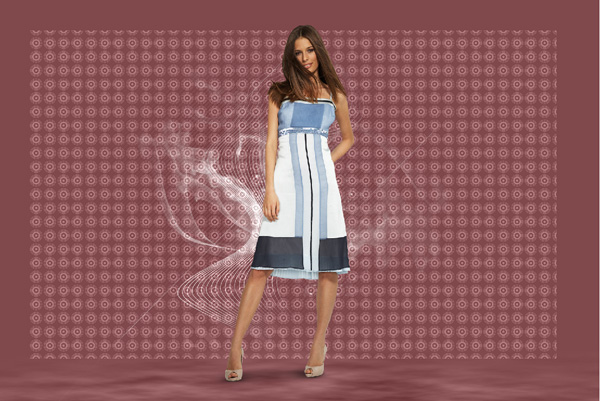
We’ve got the next result:
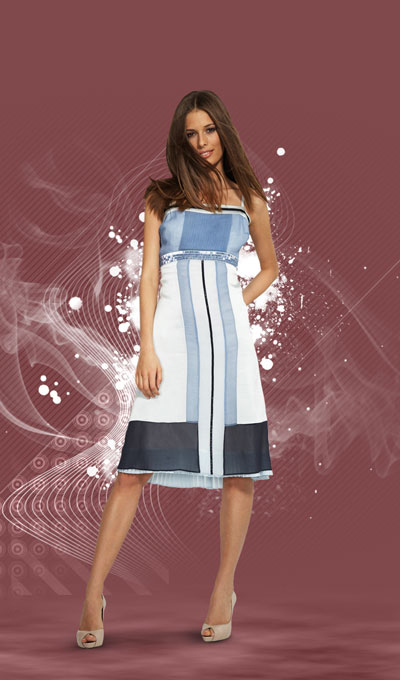
Create a new layer and apply this time the next brushes from manga – blood set. Foreground color is white.
Add some brushstroke as shown. The layer will be situated lower than the very first girl’s layer
Create a new layer and select the Hard Mechanical brush of white color.
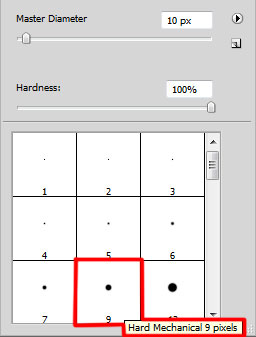
Use this brush to represent many dots on the background.

Set Fill to 50% and change the Blending mode to Overlay for this layer.
Make a copy of the recently made layer and use Free Transform (Ctrl+T) command to turn over the copy’s layer the same way indicated below. Set Fill to 100% and change the Blending mode to Normal for this layer.

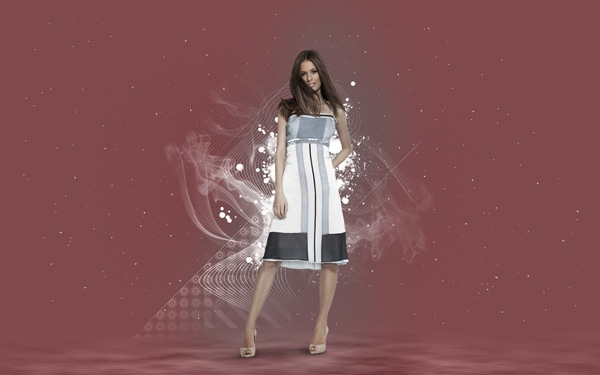
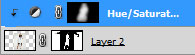
Select Create new fill or adjustment layer from bottom part of the Layers panel and click to Hue/Saturation.
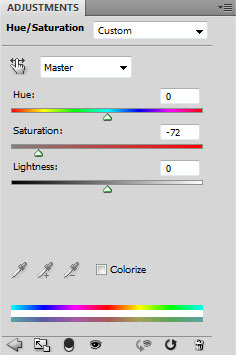
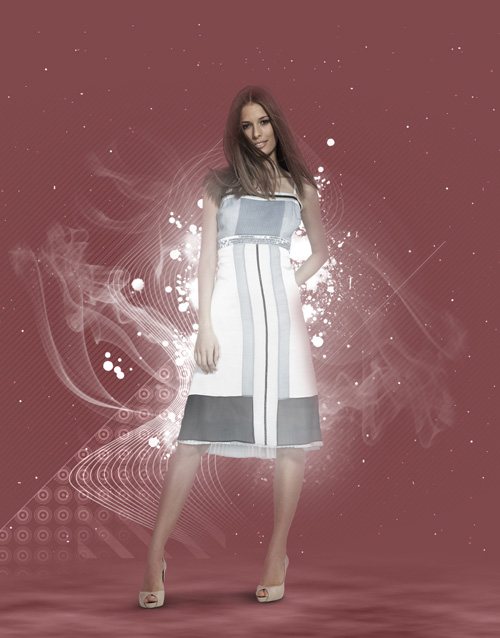
Drag the slider to the left to reduce the Saturation of the color range.
On the layer containing the Hue/Saturation effect we have to add layer mask, select the Soft Round brush of black color (Opacity 20%)

Use this brush to paint in the mask to hide the layer content around the girl.
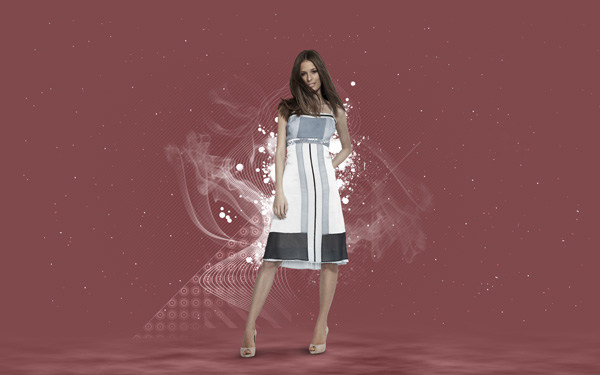
Let’s create a clipping mask to make the content of the layer containing the Hue/Saturation effect only visible within the content of the layer containing the girl. Hold down Alt (Windows) or Option (Mac OS) and click between Hue/Saturation layer and the layer with girl (on the Layers panel).
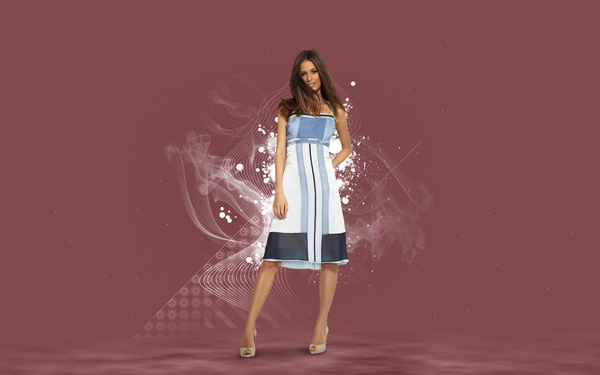
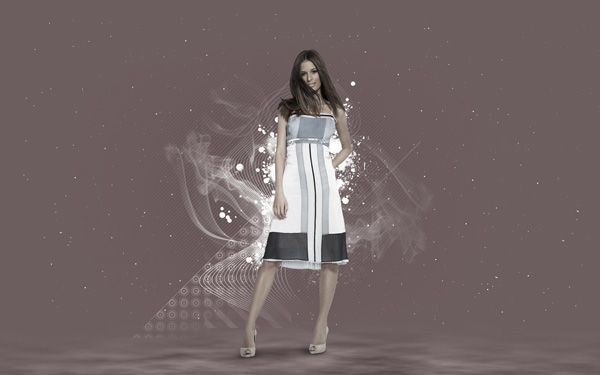
We’ve got the next effect:
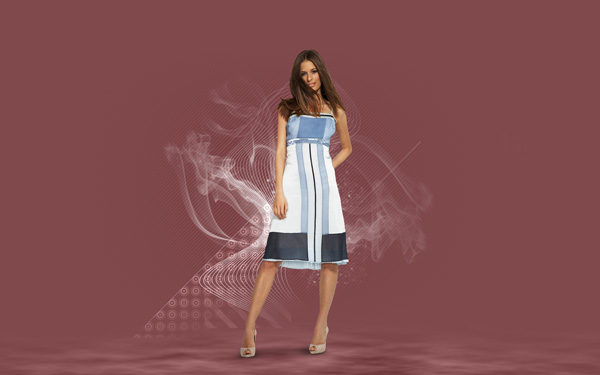
Create a new layer and use here the Soft Mechanical brush of the color #8A585B (Opacity 15%).

Paint the background around the girl, representing a kind of background’s reflection on the girl’s contours.
Create a clipping mask, hold down Alt (Windows) or Option (Mac OS) and click between the last made layer and the layer with girl (on the Layers panel).
We’ve got the next result:

Crate a new layer and select for it the Soft Round brush and white color (Opacity 15%).

Paint with this brush to make lighter the girl’s dress.
Set the Blending mode to Overlay for this layer.
Create a new layer and select here the Soft Round brush of the color #8A585B (Opacity 15%).

Paint the layer before the girl and then use the Rectangular Marquee Tool (M) to make the selection as shown and press DELETE. Repeat these actions three times on the layer.
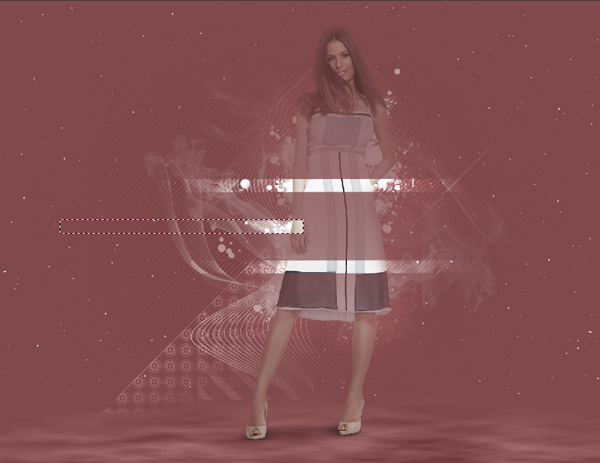
Select the Free Transform (Ctrl+T) command and place the layer the same way as below, changing the Blending mode to Screen.
Create a new layer, choose the next brush from MVbrush0809 set of white color:
Use this brush to paint the next shown corners as below:
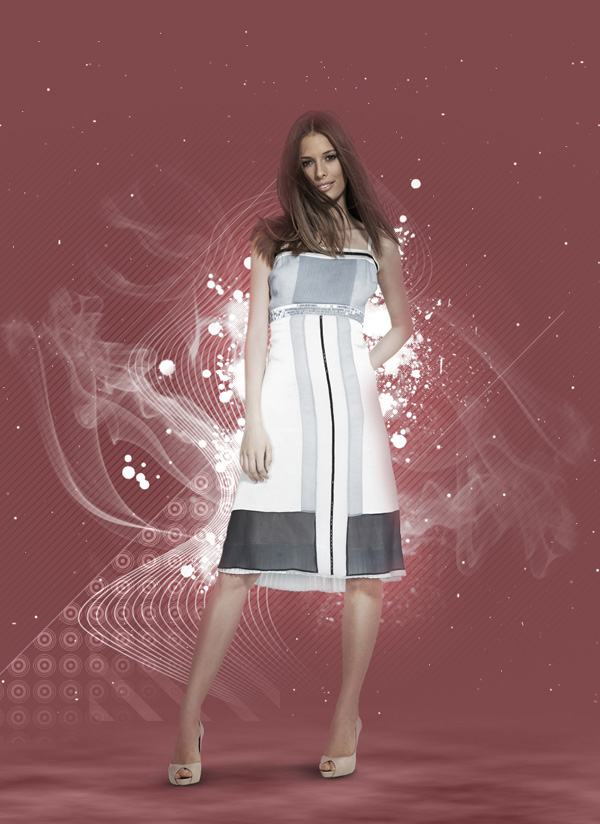
Click Create new fill or adjustment layer from bottom part of the Layers panel and select Curves to adjust the curve shape as shown to make a little color corrections.
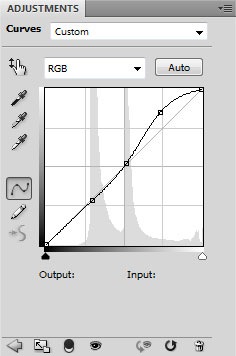
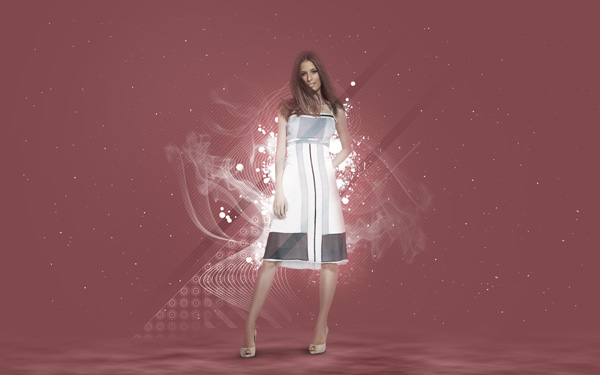
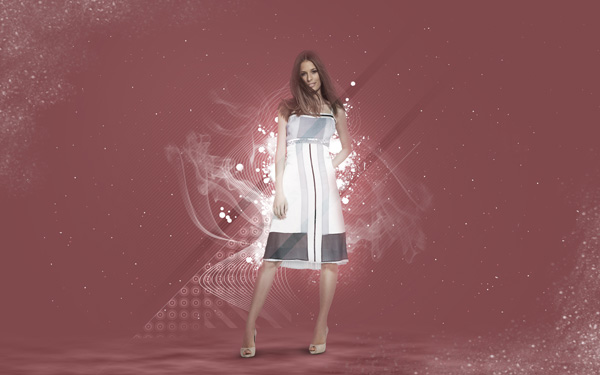
We’ve got the next result:
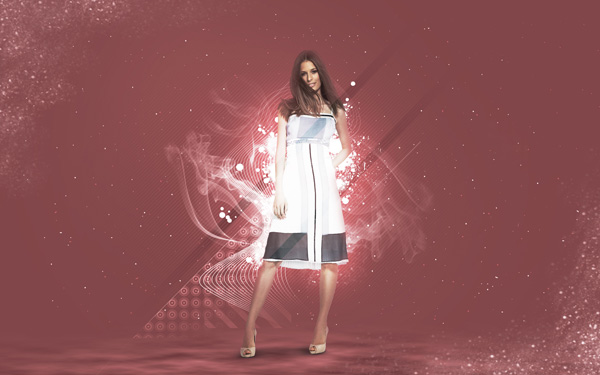
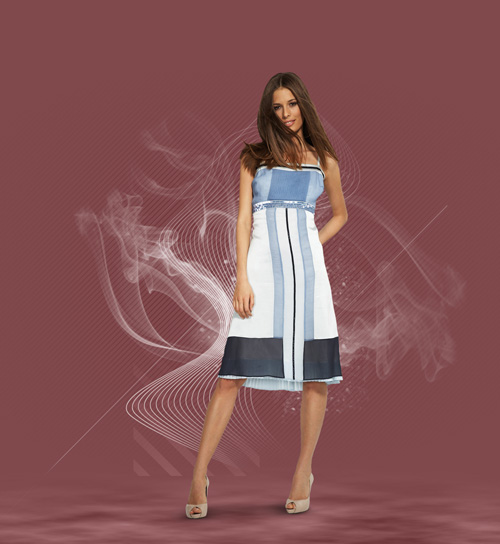
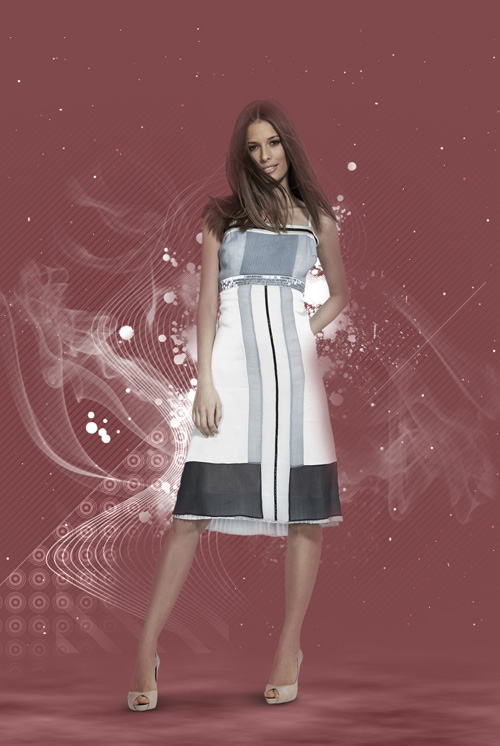
Finished!
View full size here.
Download free Layered PSD file.
Page: 1 2
Comments