
Create amazing cosmic-inspired scene in Adobe Photoshop CS5
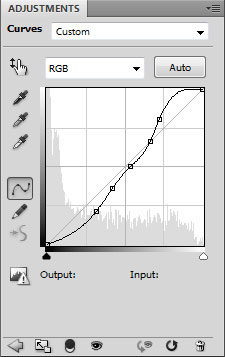
Select Create new fill or adjustment layer from bottom part of the Layers panel and click to Curves to adjust the curve shape as shown to make a little color corrections.
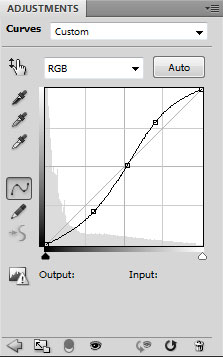
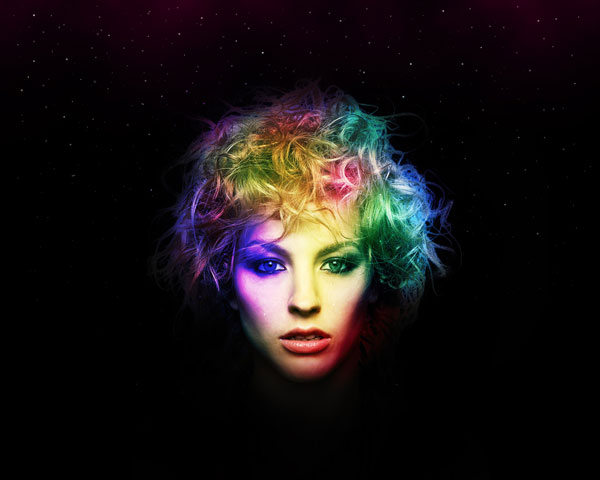
We’ve got the next result:
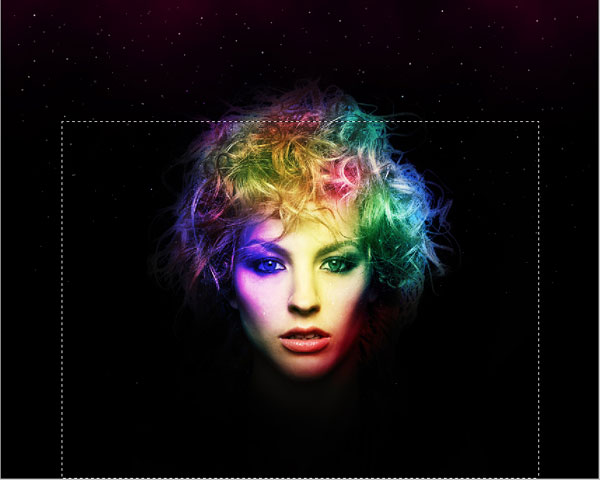
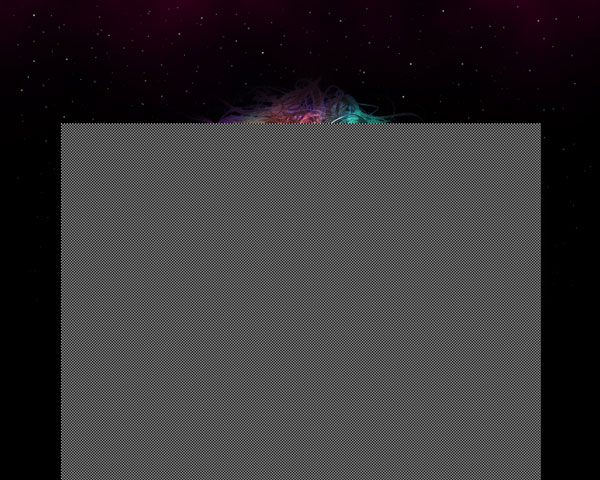
Create a new layer and select the Rectangular Marquee Tool (M) to make the next selection.
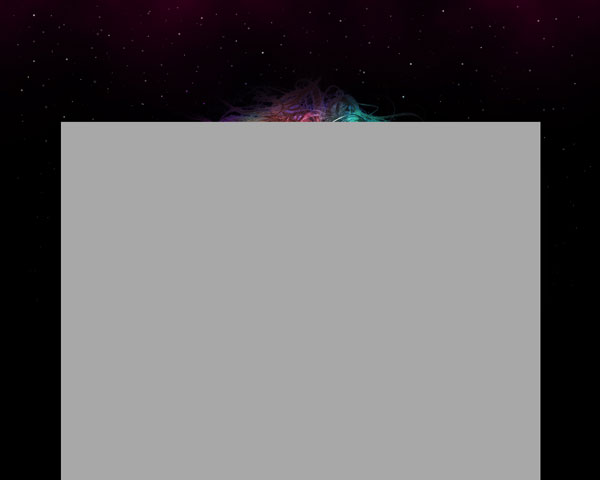
The selection should be filled with #A8A8A8 color, using the Paint Bucket Tool (G).
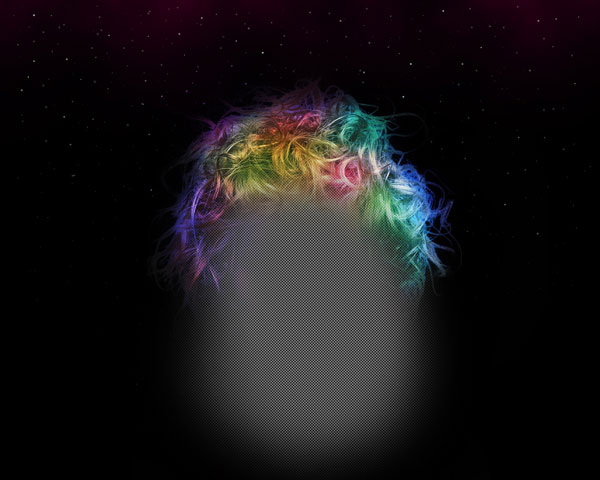
Select for the layer the next options: Filter>Filter Gallery>Sketch>Halftone Pattern
We’ve got the next halftone effect:

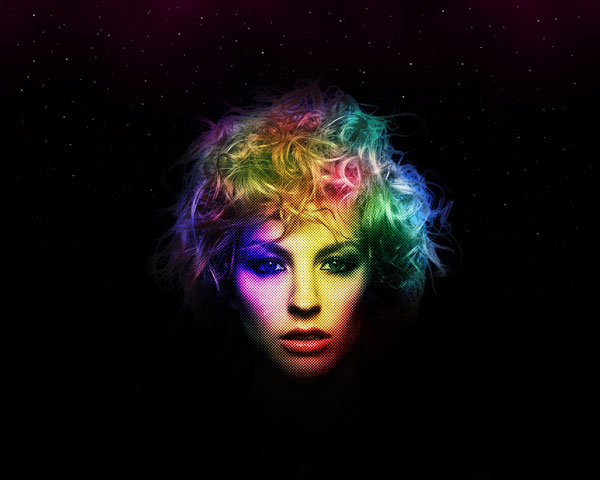
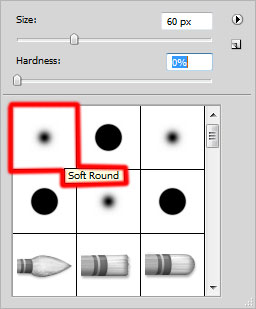
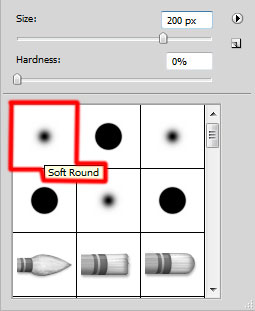
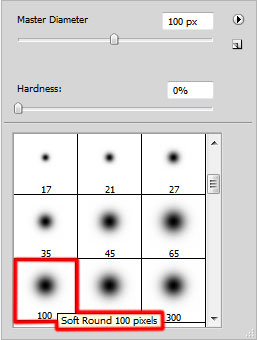
Insert the mask (Add layer mask) on the layer and press CTRL+I to inverse the color. Then select the Soft Round brush of white color.

Use this brush to paint in the mask to hide all content of the layer leaving only the next demonstrated zones on the girl’s face.
Change the Blending mode to Vivid Light for this layer.
Using the Ellipse Tool (U), let’s represent a small ellipse:

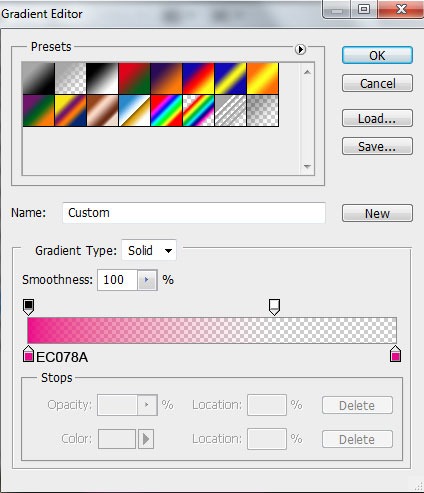
Set Fill to 0% for this layer and click on Add a layer style icon from bottom part of the Layers panel and select Gradient Overlay.
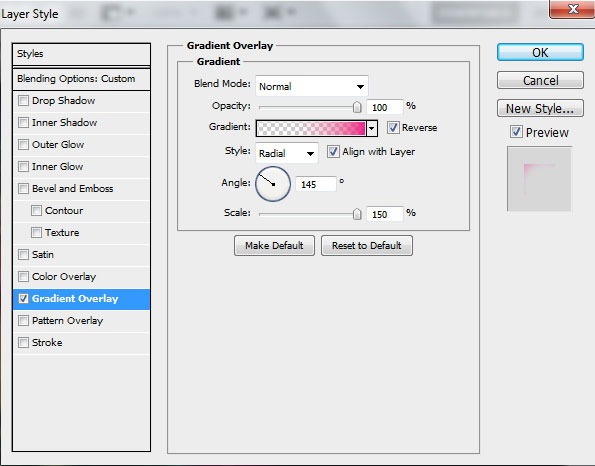
Click in the color bar to open the Gradient Editor and set the color stops as shown. Click OK to close the Gradient Editor dialog box.
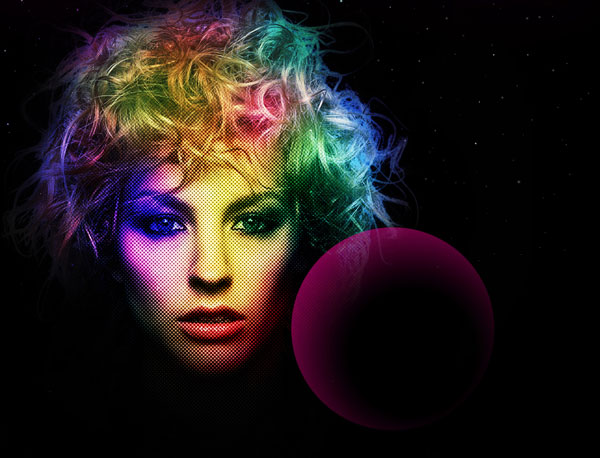
We’ve got the next effect:
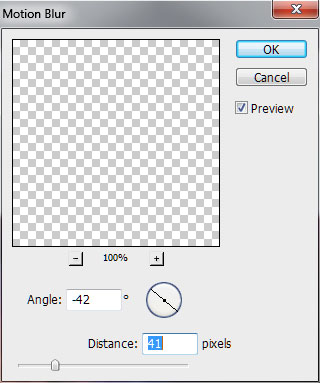
Now we have to rasterize the layer containing the ellipse. In this case we’ll represent a new layer and press CTRL button to select the ellipse layer and the new layer and then finally press CTRL+E to Merge Down. On the rasterized layer we’ll apply Filter>Blur>Motion blur.
Move ellipse on the right bottom canvas’s corner, using the Free Transform (Ctrl+T) command.
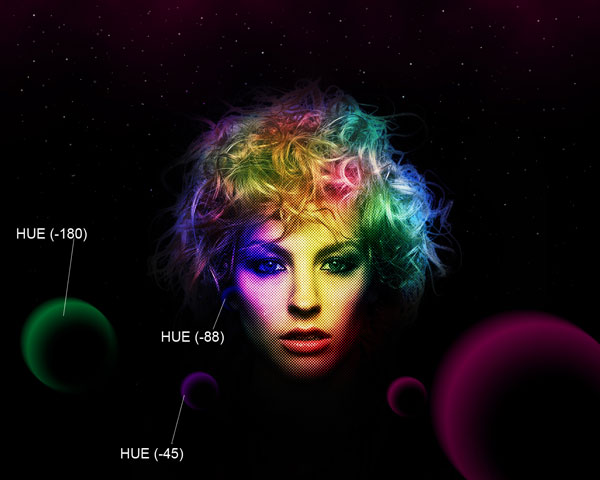
Make four copies of the layer with the ellipse and apply the Free Transform (Ctrl+T) command to change the copies’ sizes. On each layer containing the ellipses we must adjust the color using Hue/Saturation adjustment (Ctrl+U). Select any color that you like, in this example, the Hue slider is moved to -180, -88 and -45.
Insert on each layer with the ellipses the mask (click on the bottom part of the Layers panel on Add layer mask icon) and choose the Soft Round brush of black color, Opacity 50%.
Use this brush to paint in the mask to hide the right part of the ellipses.
Next create a new layer and apply on it the Soft Round brush. The brush should have this color for the beginning #B06AFF (Opacity 50%) and then #105490.
Use this brush to represent two big brushstrokes as shown.
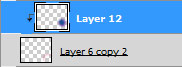
Hold down Alt (Windows) or Option (Mac OS) and click between the brush’s layer and the big ellipse’s layer in the Layers panel to create a clipping mask.
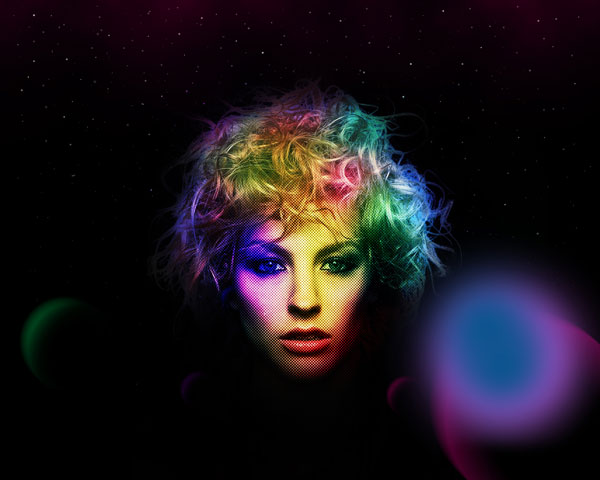
We’ve got the next effect:
Change the Blending mode to Color Dodge for this layer.
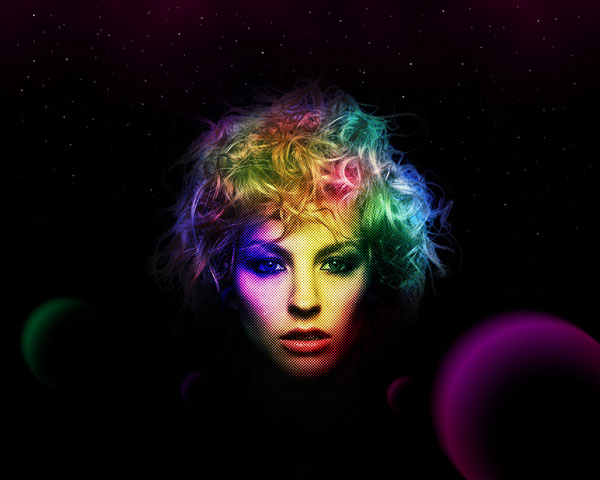
Select once again Create new fill or adjustment layer from bottom part of the Layers panel and click to Curves to adjust the curve shape as shown to make a little color corrections.
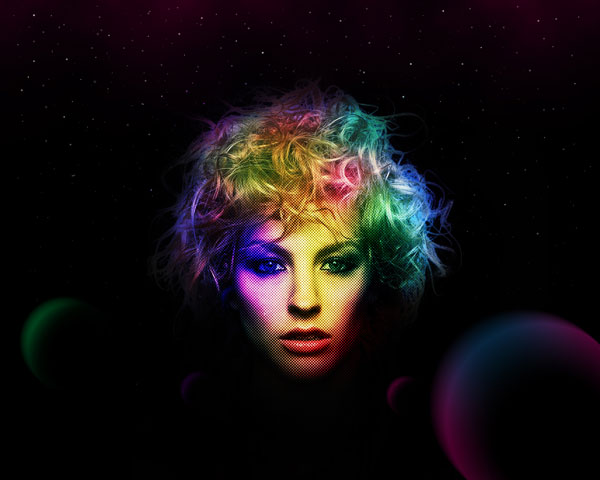
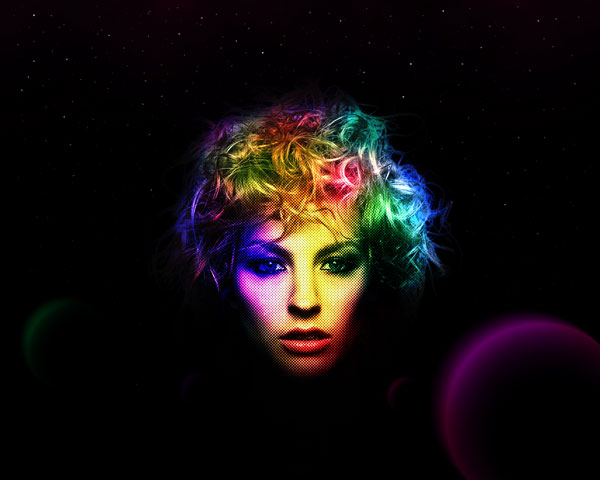
We’ve got the next result:
Insert the mask on the layer (Add layer mask) and press CTRL+I to inverse the color. Select then the Soft Round brush of white color.
Use this brush to paint in the mask to make lighter the demonstrated zones on the girl’s face and the ellipses.

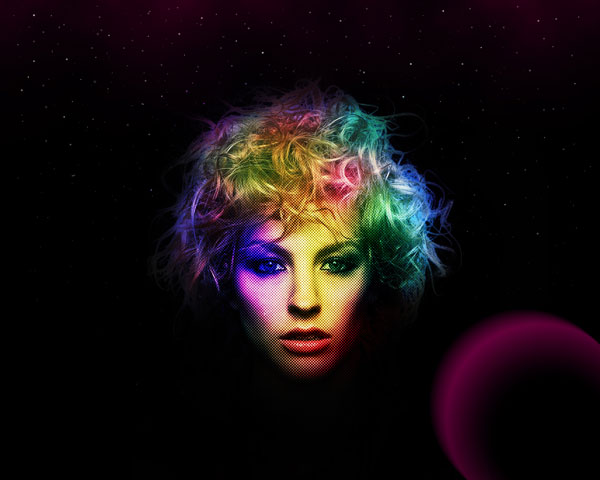
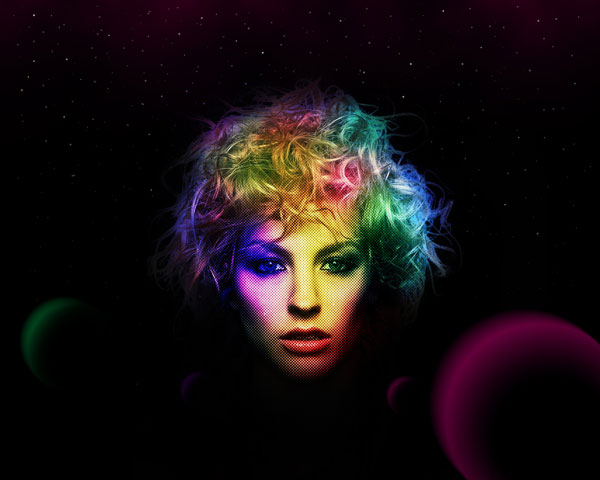
Finished!
View full size here.
Download free Layered PSD file.
Page: 1 2
Comments