
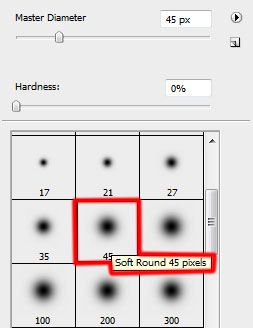
Create a summertime compilation poster
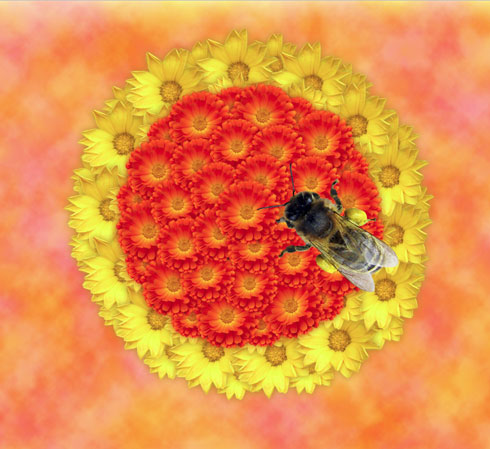
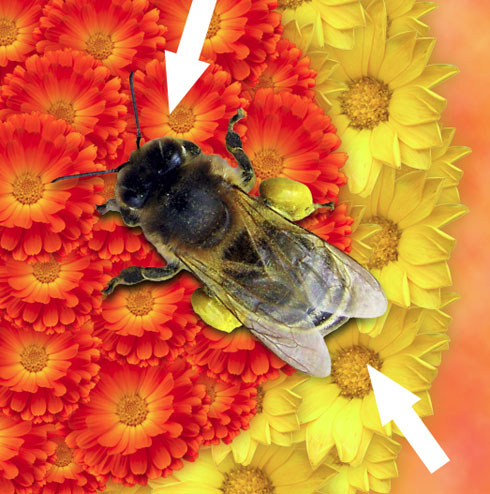
Insert the bee on our picture.
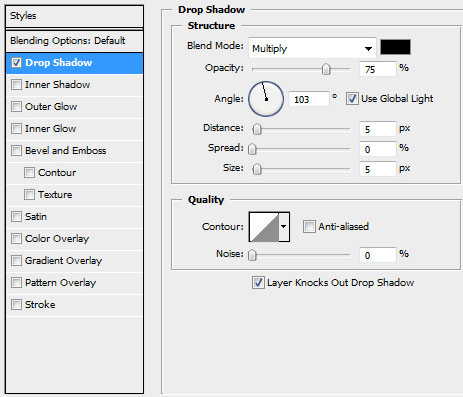
The layer’s parameters: Blending Options>Drop Shadow
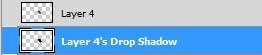
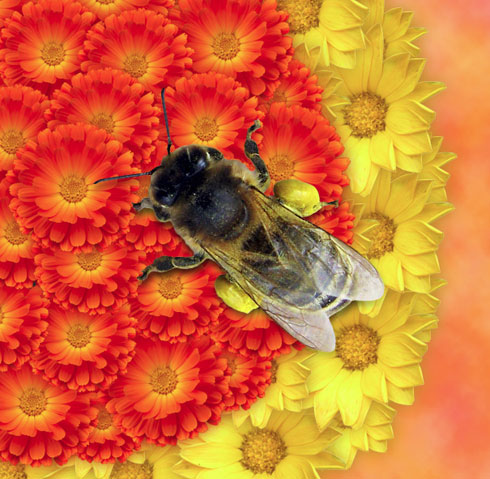
Make a right mouse click on Drop Shadow effect, choosing Create layer. This way we’ll get the bee’s shadow under the bee’s basic layer.

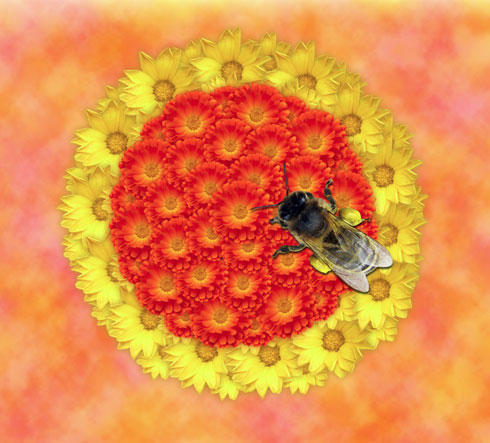
Make a mouse click on the bottom part of the layers’ panel on the layer containing the bee’s shadow on Add a Mask option and select a standard brush of black color to erase the shadow on the area with the bee’s wings and head.
Select the parameters form below for the layer with the bee’s shadow Fill – 75%, Blending mode-Multiply
Create a new layer and select a standard brush to represent the shadow of the flowers’ bouquet. The brush is of the color #AF630D (Opacity 20%). Place this layer under the layers containing the flowers’ bouquet and the bee.

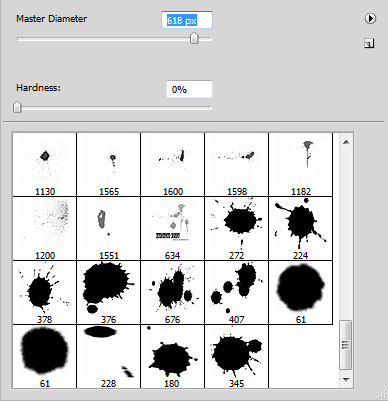
 Download a set of ready to use brushes for Adobe Photoshop, entitled: blood_brush__by_anaRasha and Blood_Brush_by_kabocha.
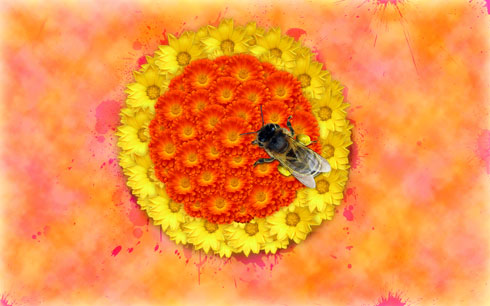
Create a new layer and choose the brushes out of the above mentioned sets on your choice. The brushes have the color #632CD6. This layer needs to be situated under the layers containing the flowers’ bouquet.

Select the next indicated parameters for the layer with the brushes. Blending mode-Color Burn
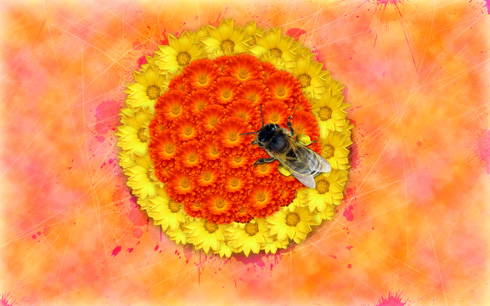
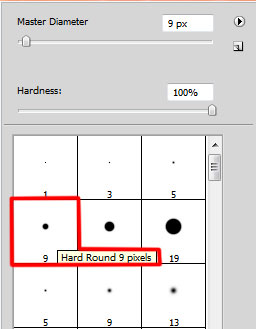
On the next new layer (Create new layer) we’ll apply a standard brush of white color (Opacity 30%) to represent a lot of scratches. This layer will be placed under the layers containing the flowers’ bouquet, but above the previous layer containing the brushes.

Make a mouse click on the same layer on the bottom part of the layers’ panel on Add a Mask option and choose a standard brush of black color (Opacity 15%) to remove several scratches.


The layer’s parameters: Fill 65%

Make a copy of the layer having the scratches on it and choose Free Transform option to turn over the copy, selecting the next parameters: Fill 61%
On the next new layer (Create new layer) we’ll apply a standard brush with the color #F24EC2 (Opacity 50%). It’ll be helpful for representing a lot of dots and short lines.

The layer’s parameters: Blending mode-Vivid Light

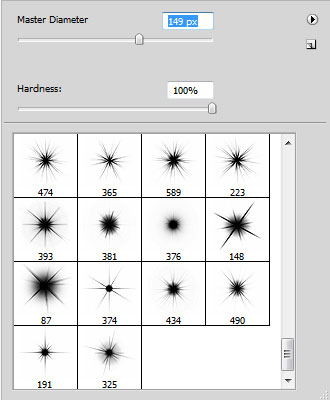
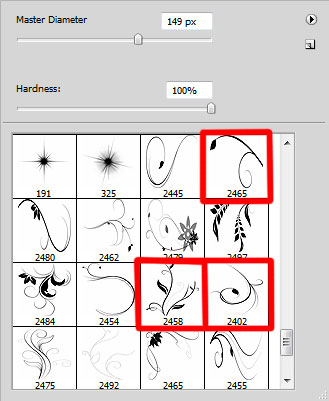
Download a set of ready to use brushes for Adobe Photoshop, named: Star Brushes and AJ_floral-swirl-brushes.
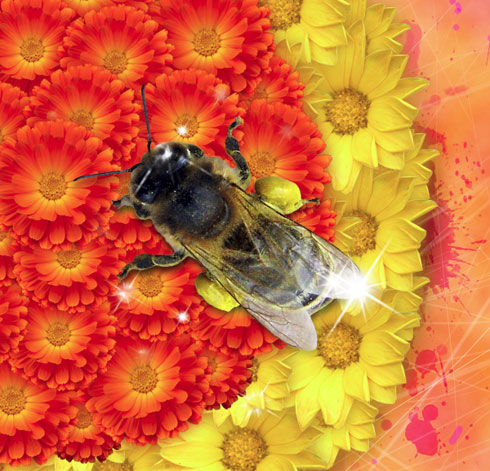
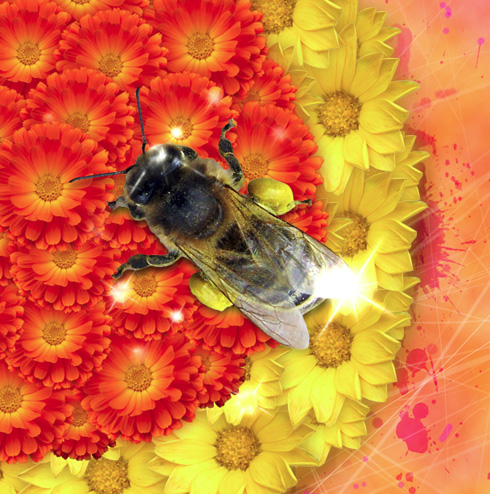
Create a new layer and select the brushes out of the set Star Brushes to draw a shining effect on the bee. The brushes are of white color.
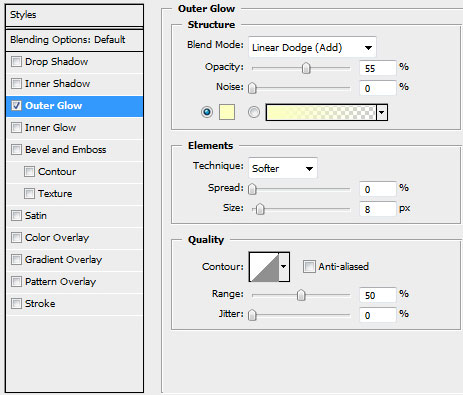
The layer’s parameters: Blending Options>Outer Glow
On the next new layer (Create new layer) we’ll apply the brushes out of the next set: AJ_floral-swirl-brushes, having the color #FE6244.
Make a mouse click on the same layer on the bottom part of the layers’ panel on Add a Mask option and select a standard brush of black color (Opacity 20%) to erase very smoothly the ornament.

The layer’s parameters: Fill – 39%, Blending mode-Color Burn

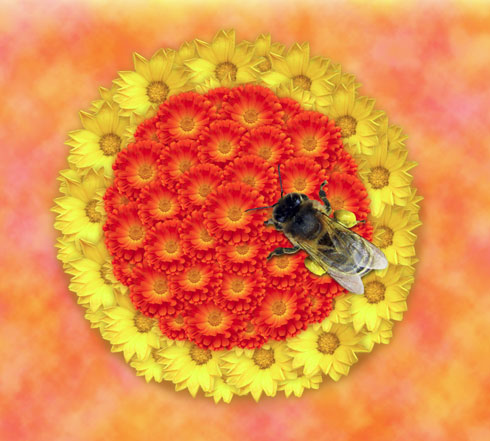
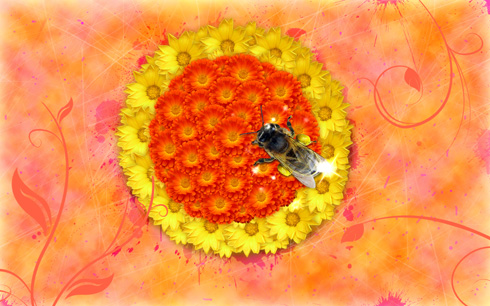
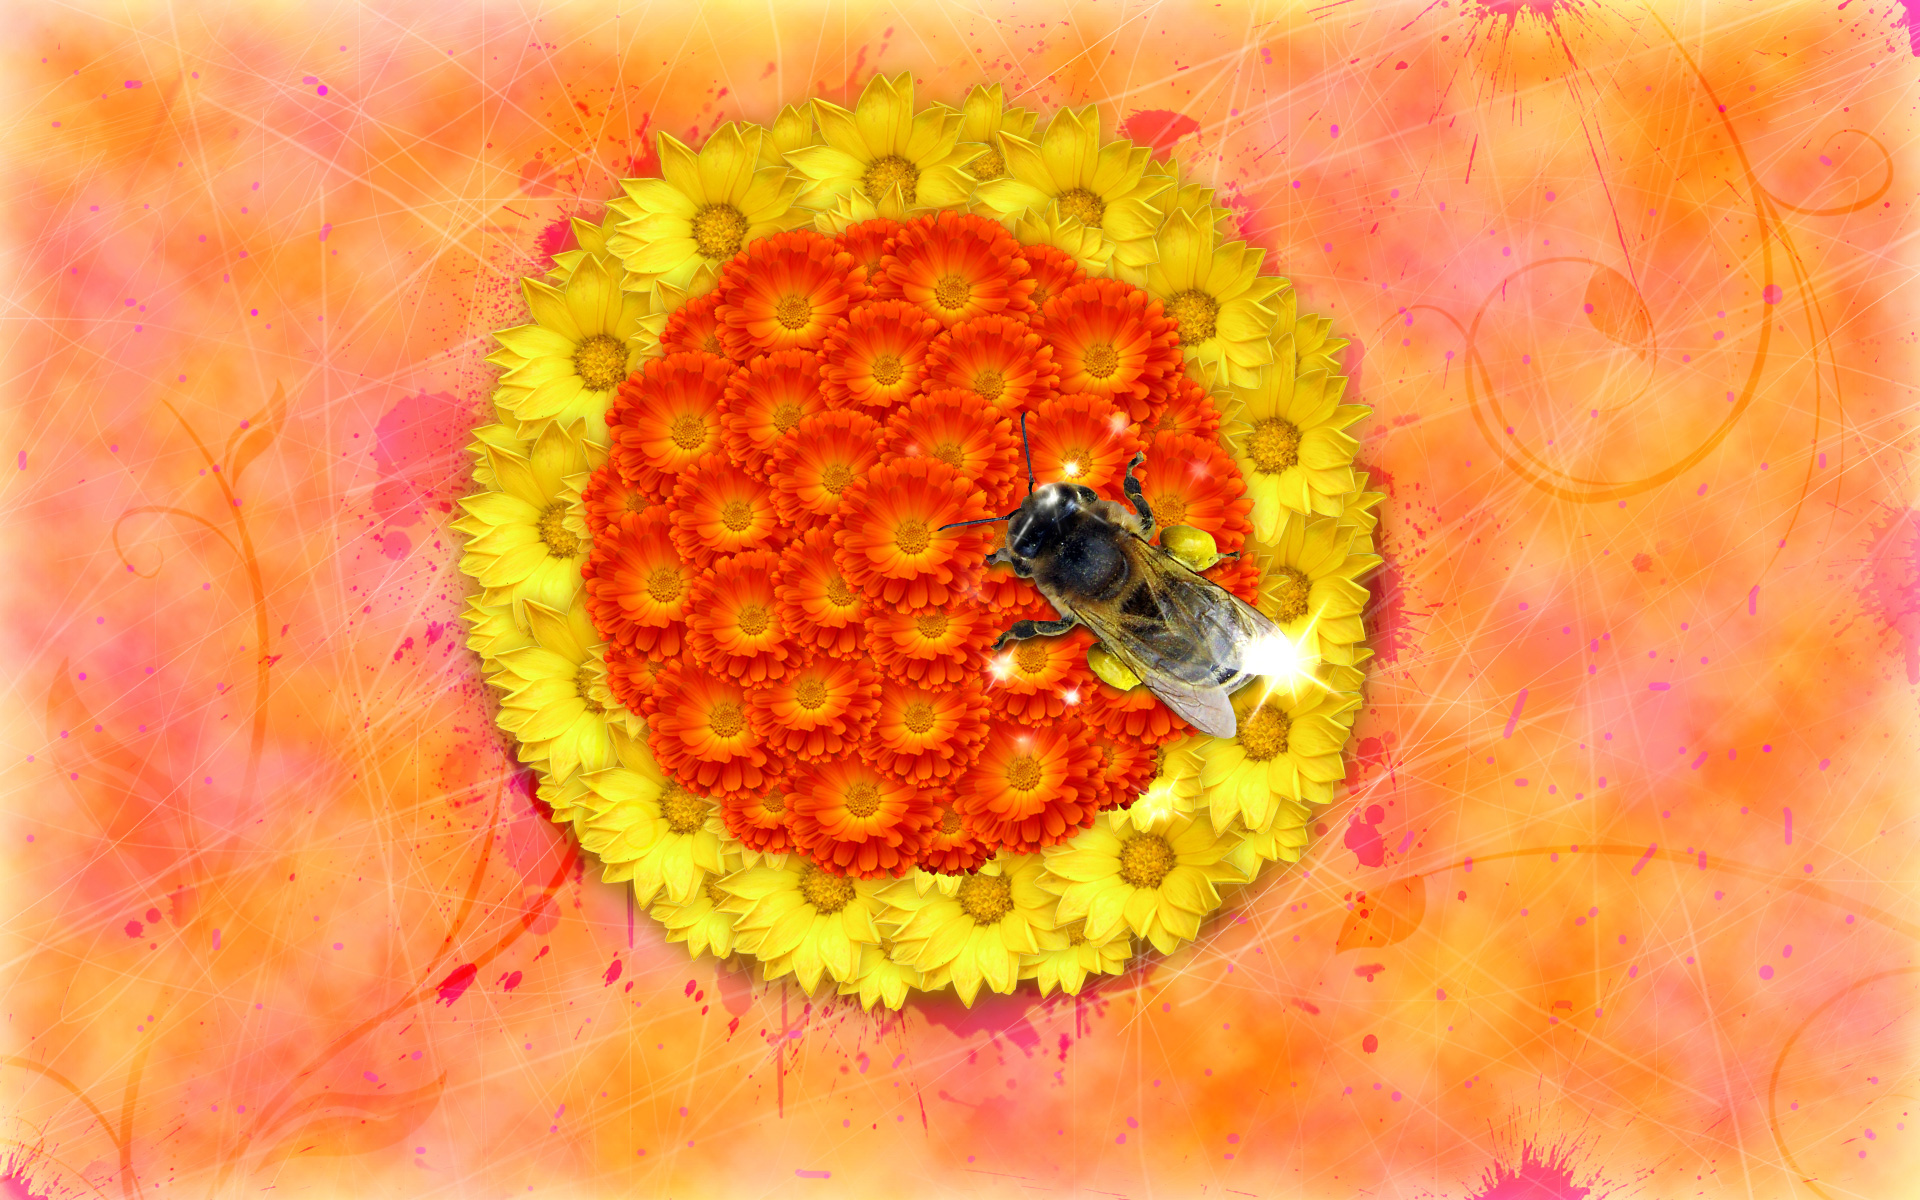
The final result!
View full size here.
Page: 1 2
Comments