Create a smooth colored fusion effect.
1. Create a new image (File > New or Ctrl+N): 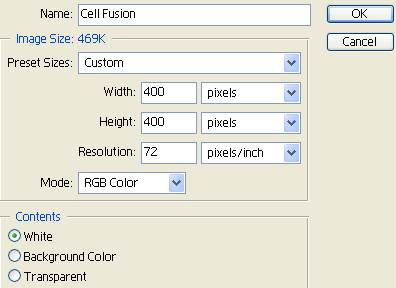
2. Create a new layer (Layer > New > Layer or Shift+Ctrl+N).
3. Press D on your keyboard to reset your colors.
4. Filter > Render > Clouds.
5. Filter > Render > Difference Clouds.
6. Press Ctrl+F on your keyboard to repeat the previous step 20 times.
7. Your result should look similar to the image below: 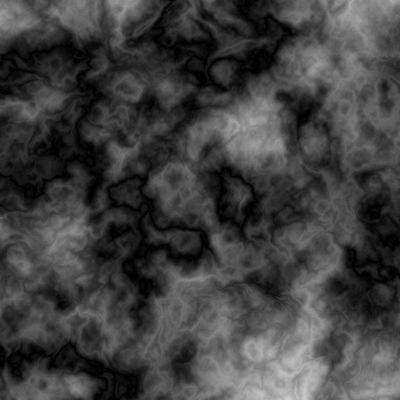
8. Filter > Brush Strokes > Accented Edges: 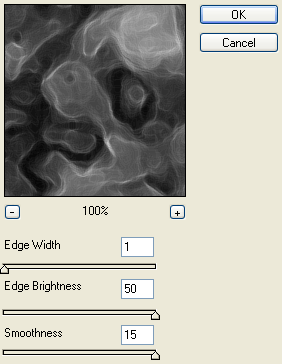
9. Filter > Distort > Wave: 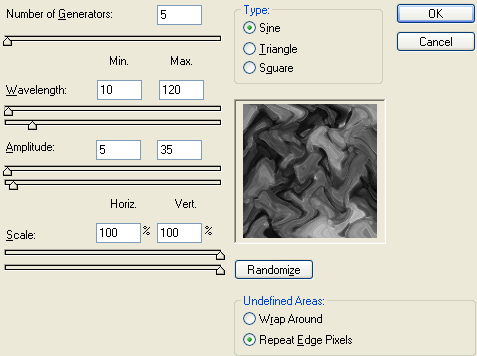
10. Duplicate the layer (Layer > Duplicated Layer or Ctrl+J).
11. Edit > Transform > Flip Horizontal.
12. Edit > Transform > Flip Vertical.
13. Set the layers Blending Mode to Overlay: 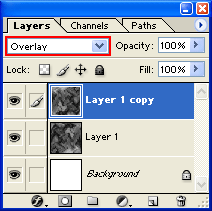
14. Your image should now look similar to the one below: 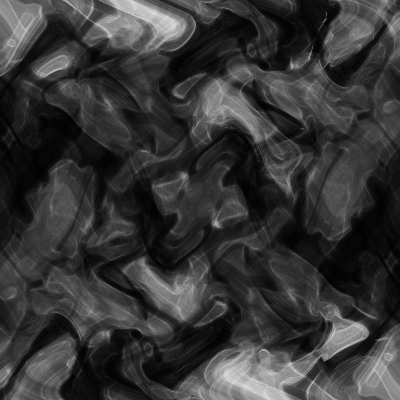
15. Image > Adjustments > Color Balance (you may add your own settings or the ones below):
a} Tone Balance – Shadows: 
b} Tone Balance – Midtones: 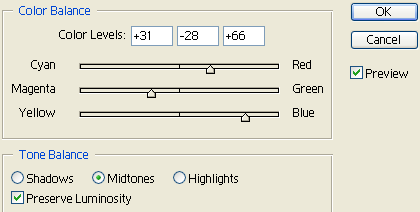
c} Tone Balance – Highlights: 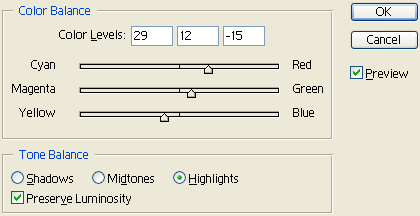
16. Click on the 1st layer we did in the Layers Palette.
17. Image > Adjustments > Color Balance (you may add your own settings or the ones below):
a} Tone Balance – Shadows: 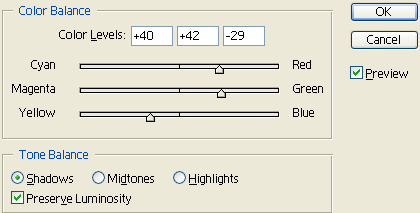
b} Tone Balance – Midtones: 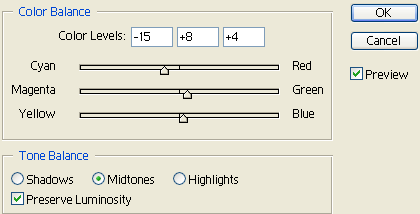
c} Tone Balance – Highlights: 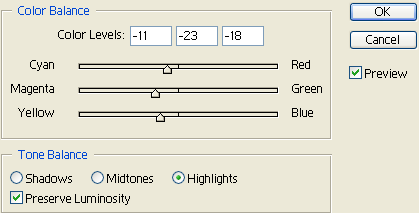
18. If you used my settings for steps 15 and 17 then your final image result should look similar to the image below: 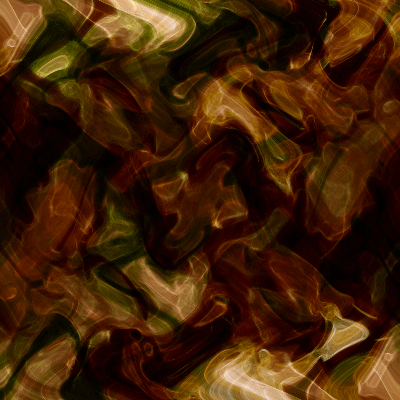


Comments