
Create a sea illustration
Get instant photo effects with this fun photo editing tool.
I would like now to create a sea illustration of some kind. Maybe we will do an underwater landscape.
So in this one, we will practice a lot of filter effects that are available in Photoshop. We will use the effects to build object of the illustration giving them even texture.
So let’s go.

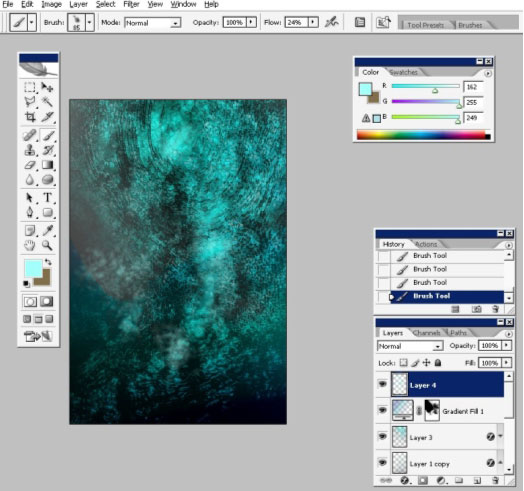
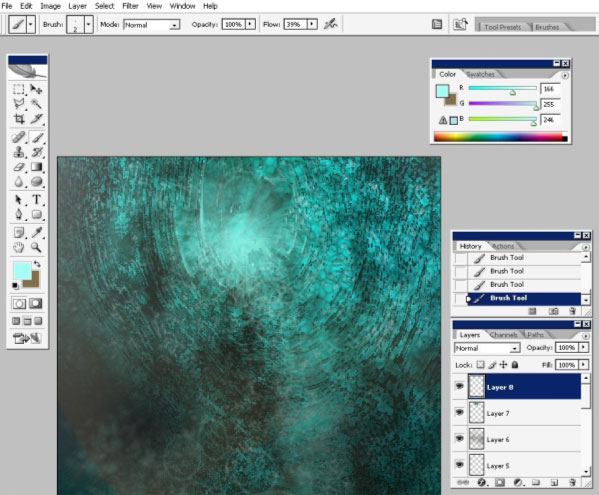
I’m using a custom brush for this. Here you can see the settings. This brush is one of the brushes I’ve downloaded on Deviantart.com.

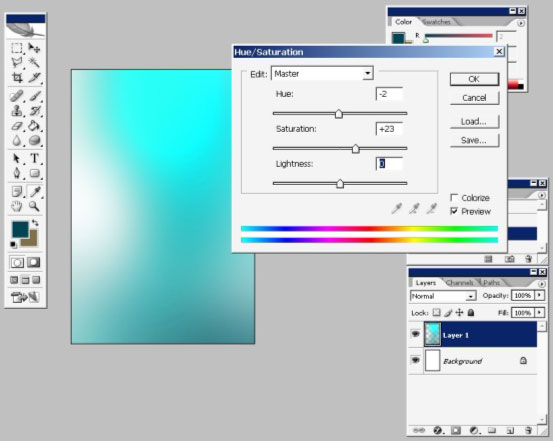
I’ve just clicked several times to form a background color and image.
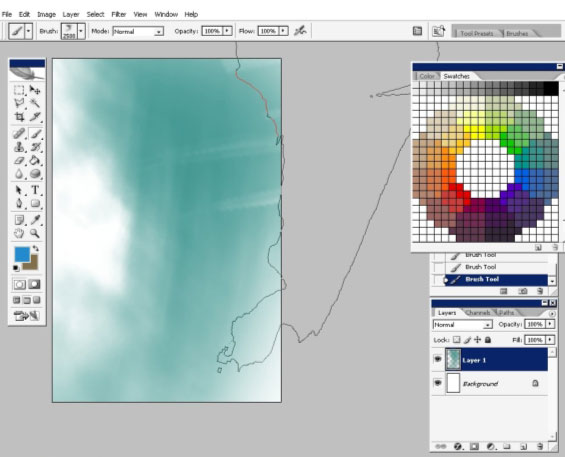
I’m just changing the color and dimension of the brush here.
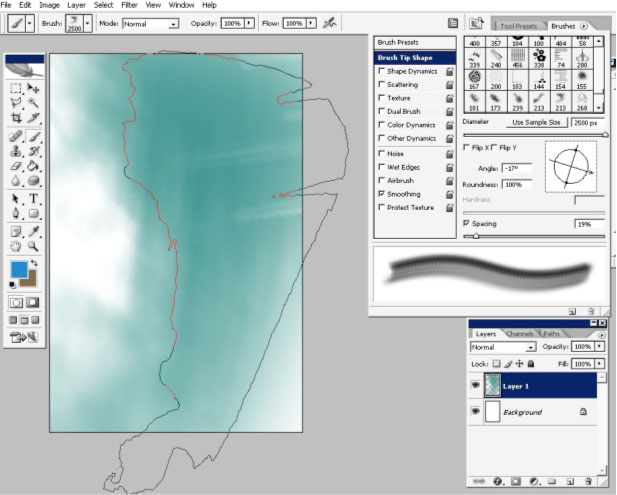
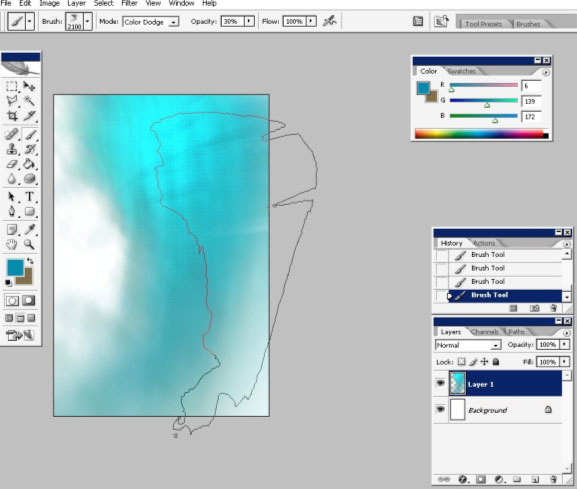
There we have it. You know when you are building a silhouette in the beginning of the image the edges count a lot. You can rotate the brush in brush’s options.
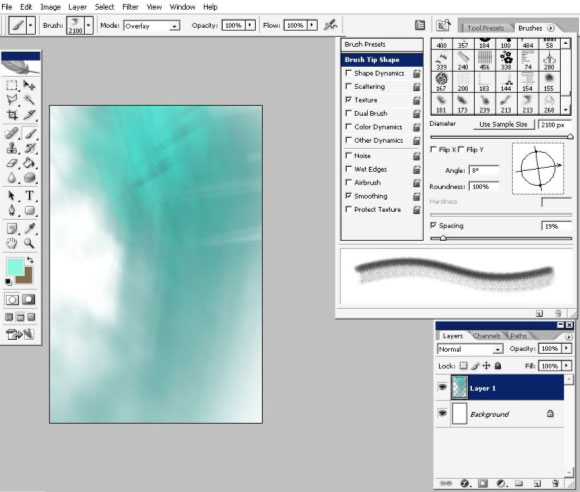
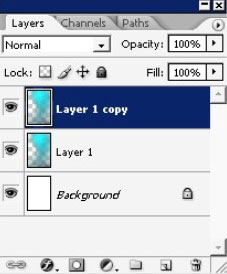
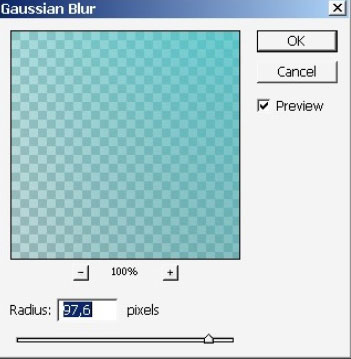
Create a copy of the layer and gibe a lot of blur to it.
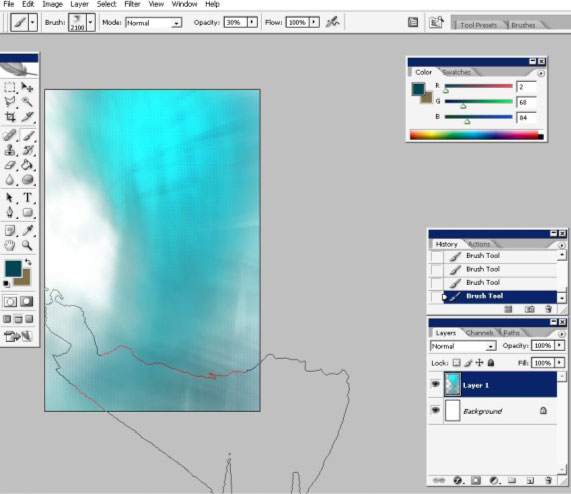
If you having a real problem downloading the brushes you can start from here just painting this silhouette using soft air brush. I’ve also changed the color a little.
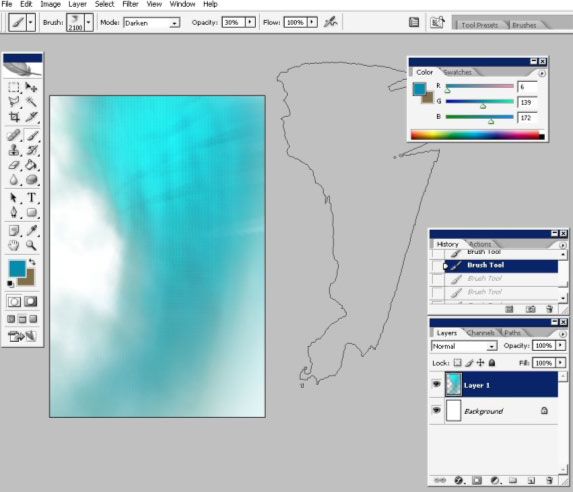
Now I will use Shear filter in Filters > Distort > Shear.
I really like how it looks now but let’s take it a little bit further.
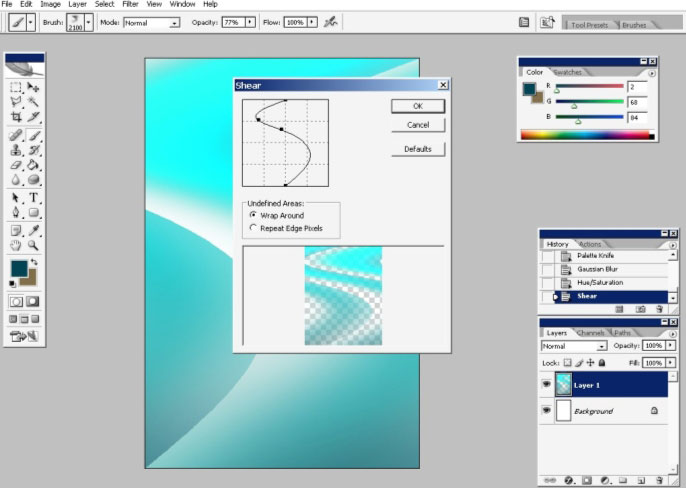
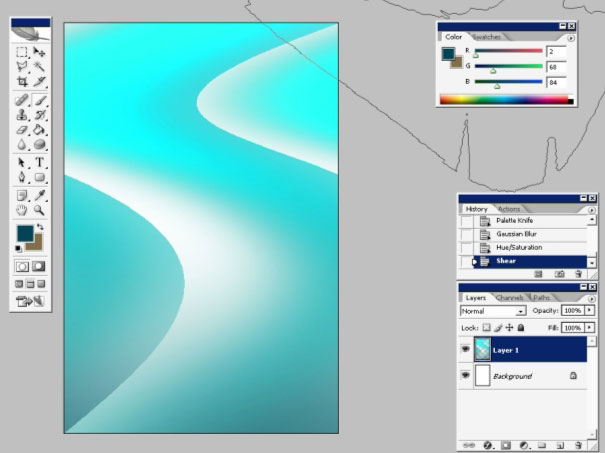
AS you can see I got rid of our layer copy. I usually use the copy to check out the effect.
And now I like to speak about how you can use the filters to transform the shapes and give certain effects to them.
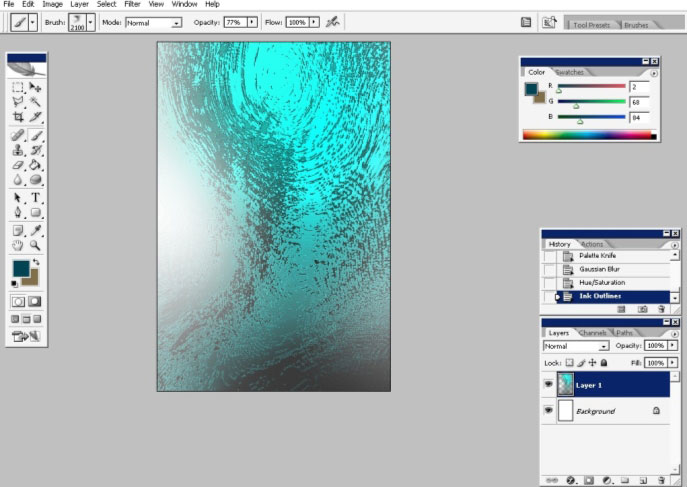
I’ve tested all of the filters but I’ve chosen the best in my opinion – Ink Outlines filter
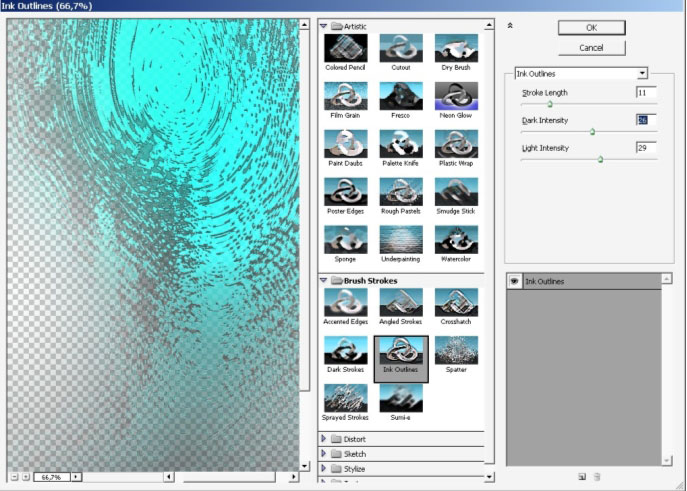
Moreover
I’ve filled my gradient with black to transparency gradient
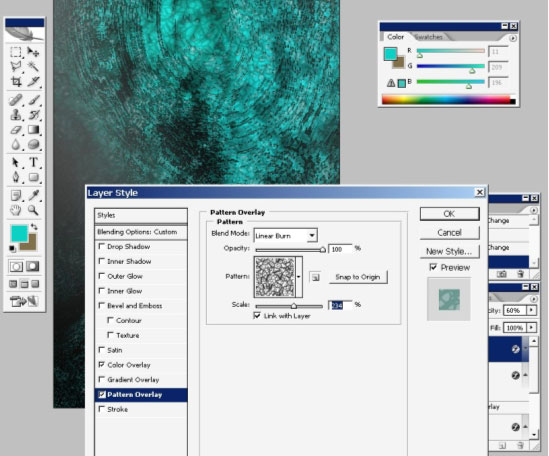
and overlaid the whole layer with pattern in layer styles.
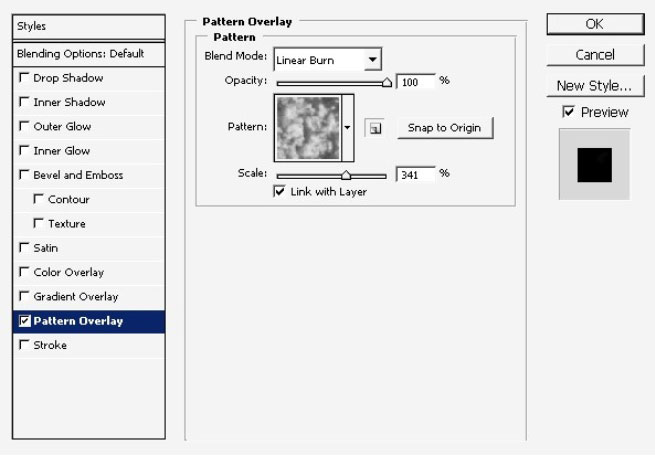
Now make a layer under the firs one and just overlay in with basic black to white gradient.
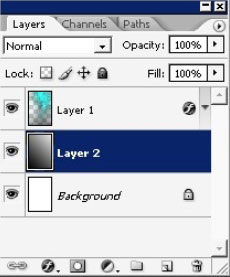
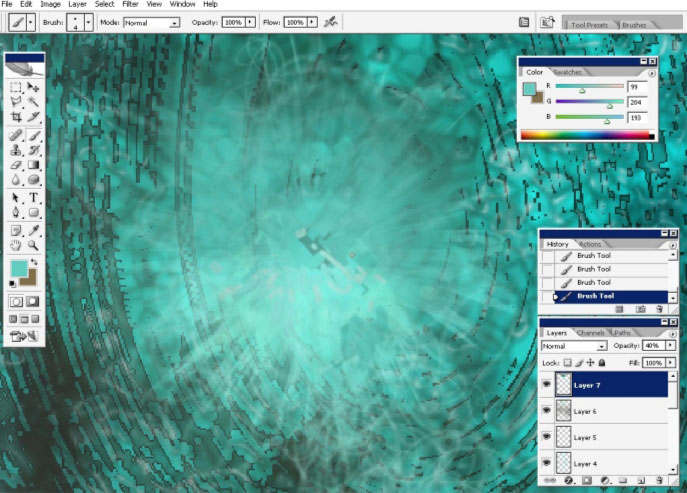
Use plastic Wrap filter on the gradient layer.
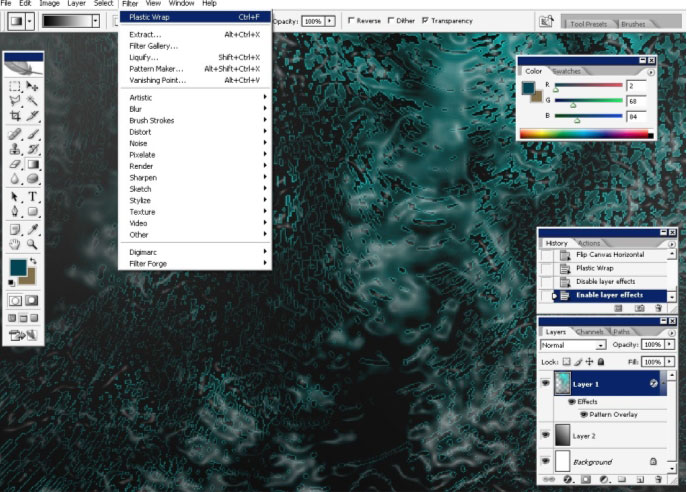
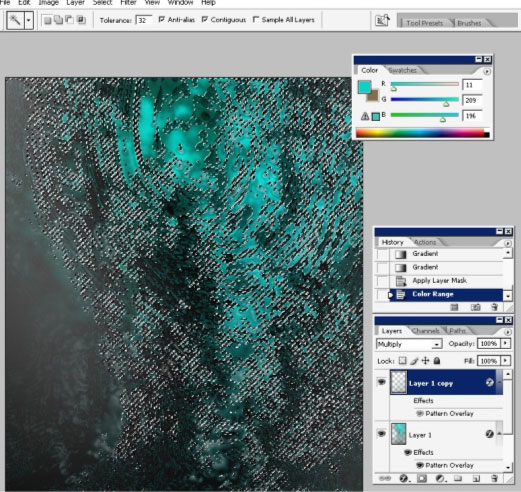
Now the next step; select the color range tool and make a selection similar to that.
Further the selection by 15 pixels and copy it to a separate layer.
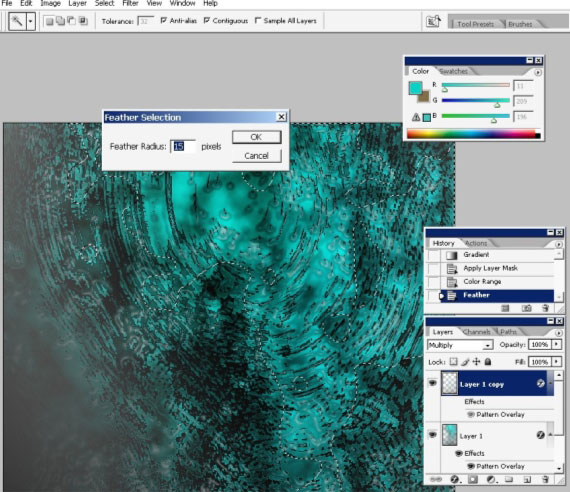
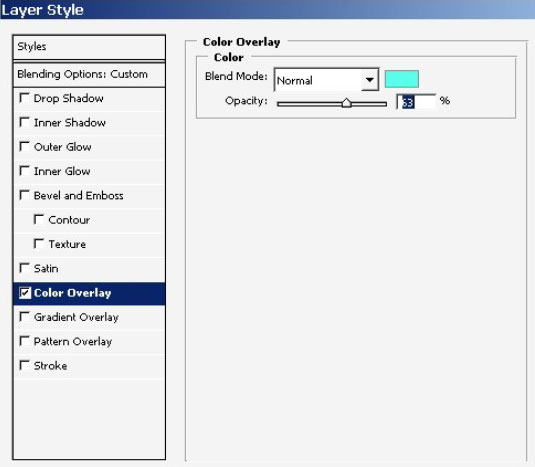
Apply some layer styles to our newly created layer.
I thought that we will do this one without grabbing a pen but think different).
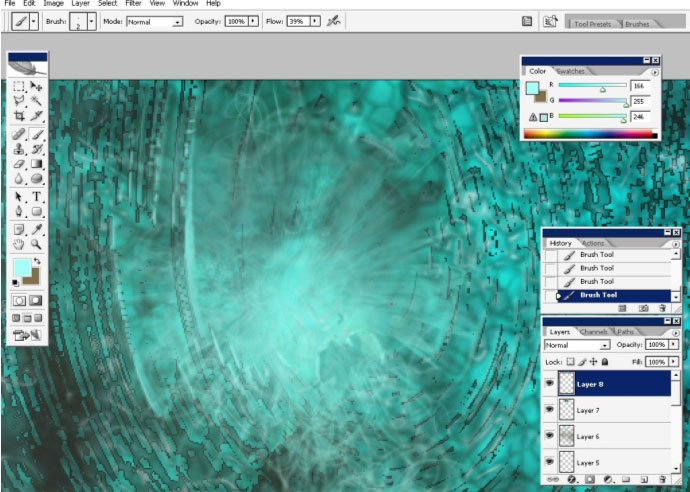
Create a new layer and chose a basic 1 or 2 px brush.
Now,
the task here is to create small surface lights. Surface lights are the
top light gamma spots that stay on the very edge of the object.
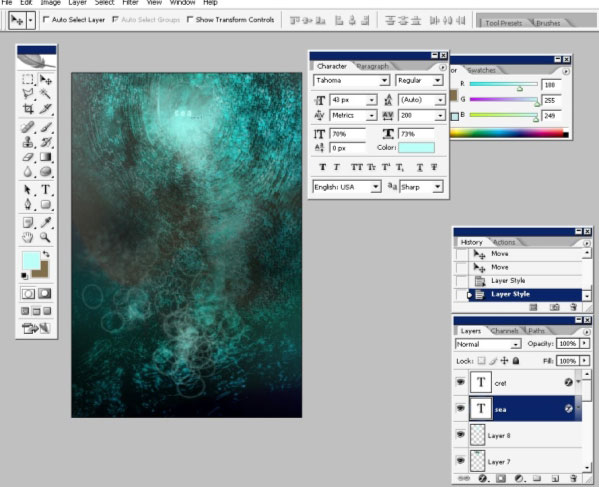
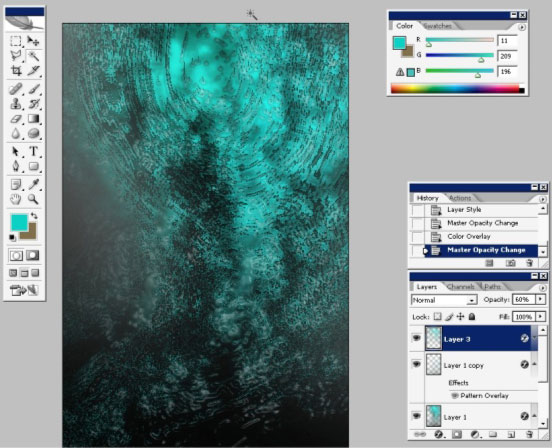
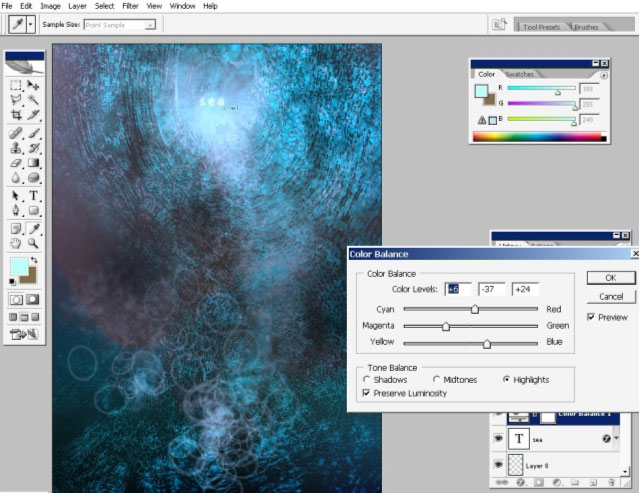
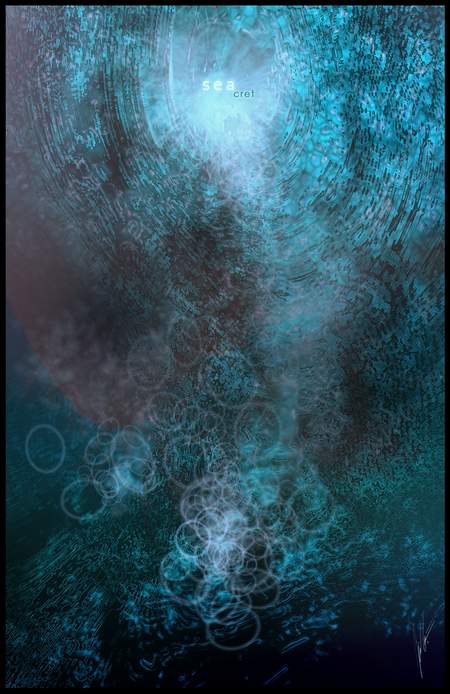
I’ll finally do some color correction and text.
I will use only layer style on my text – Outer Glow, Mode: screen, Color: white.
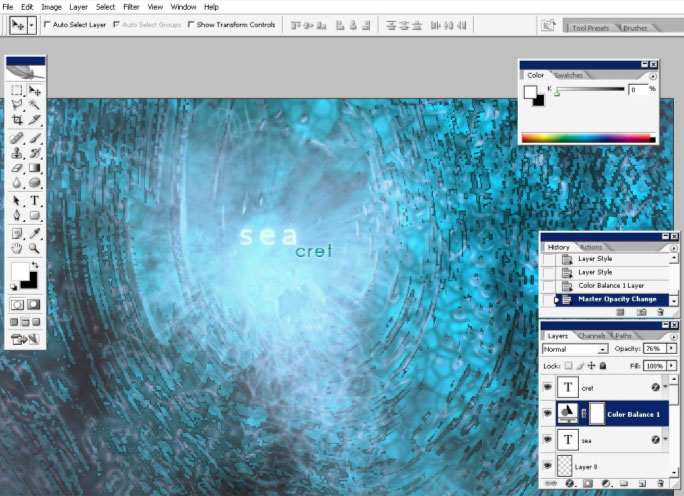
And we are done here. Enjoy.
Comments