
Create a realistic star field with space dust in photoshop (With Action)
Select the large stars and create new layer
At this point we need to isolate the large stars and separate them from their black background, we do this by using the Channels panel to select the stars as a selection, we can then delete the large stars layer, create a new (transparent) layer and fill the selection (the stars) with white.
- With the top (large star) layer select open the Channels panel
- Click on the small circle at the bottom of the window (Load channel as selection)
- You may not see any difference here visibly but Photoshop has selected the large stars as a selection so we no longer need the layer
- Back in the Layers panel Right Click on the top layer and select Delete Layer (confirm yes if prompted)
- Create a new blank layer (at the bottom of the Layers panel click the second button in from the right)
- From the Edit menu select Fill
- Select Color from the Use combo box and choose pure White (hex color code #ffffff)
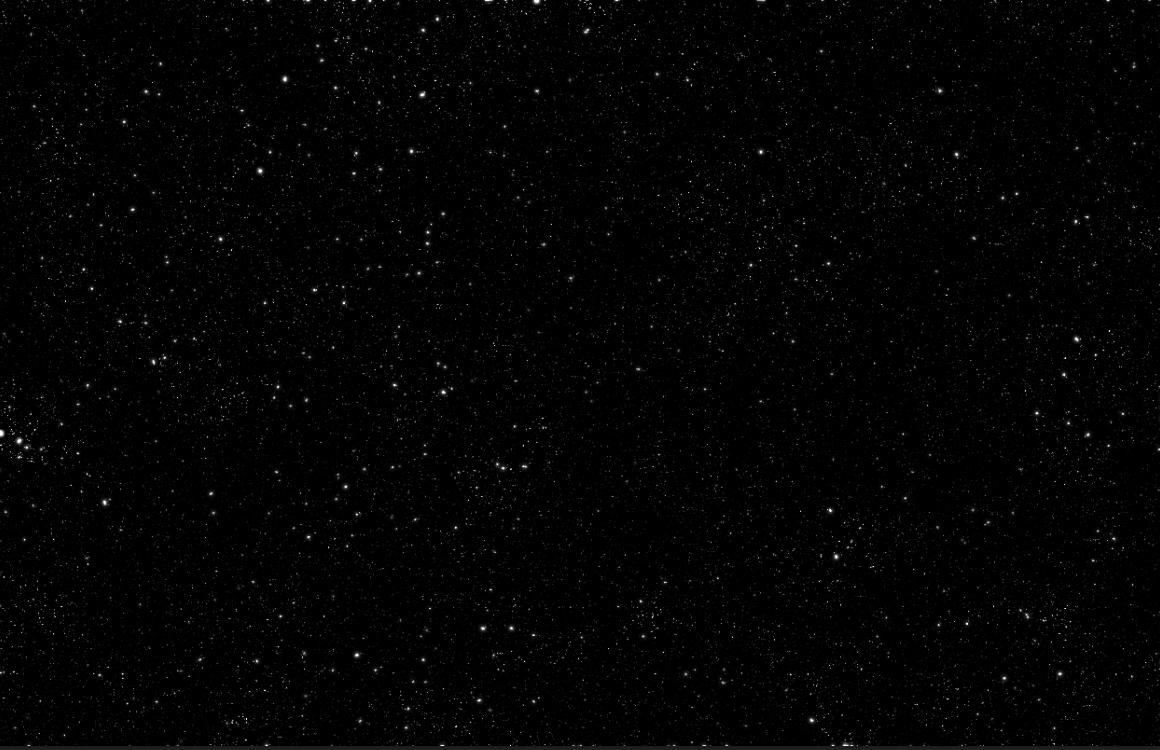
- This will fill the selection (the large stars) with white
- Press Ctrl/Cmd+D to remove the current selection

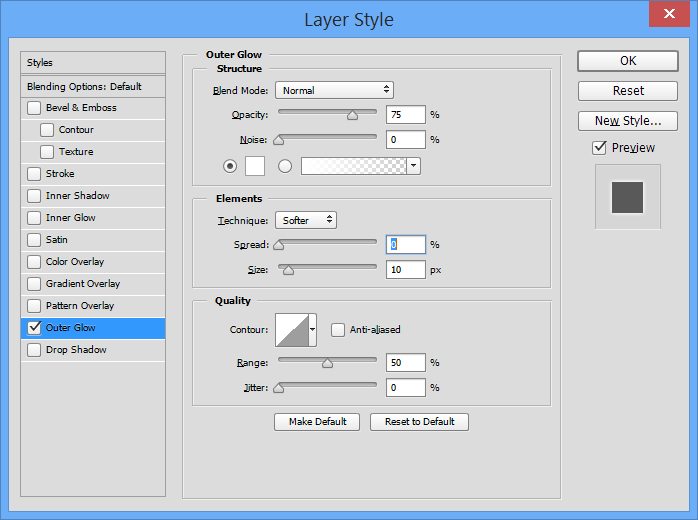
Add some glow to the large stars
- In the layers panel double click on the large stars layer preview to open the Layer Style window
- Click on the Outer Glow text to enable and select the Outer Glow layer style and show it’s properties
- In the color box choose White (#ffffff)
- In the Blend mode option choose Normal
- In the Size box enter 10px
- Press OK
- In the Layers Panel right click on either of the two layers and select Merge Visible to combine the two layers into one
Create some clouds
At this point you might be quite happy with the star effect and of course you could easily use it in your night scene to add a subtle star filled sky, but with a with a little more work we can add some variety to the stars and make them a feel less symmetrical and computer generated.
- Select White as your foreground color (Press D for default colors then X to swap background to foreground)
- Create a new layer (Ctrl/Cmd+Shift+N)
- From the Filter menu choose Render -> Clouds
- In the Layers panel change the new layer’s blend mode to Color Dodge
Now we have a very effective starry sky that can use wherever we need, the use of the clouds is a very effective way to add a more natural feel to the image and make it feel less computer generated.

Warp Speed Mr Sulu!
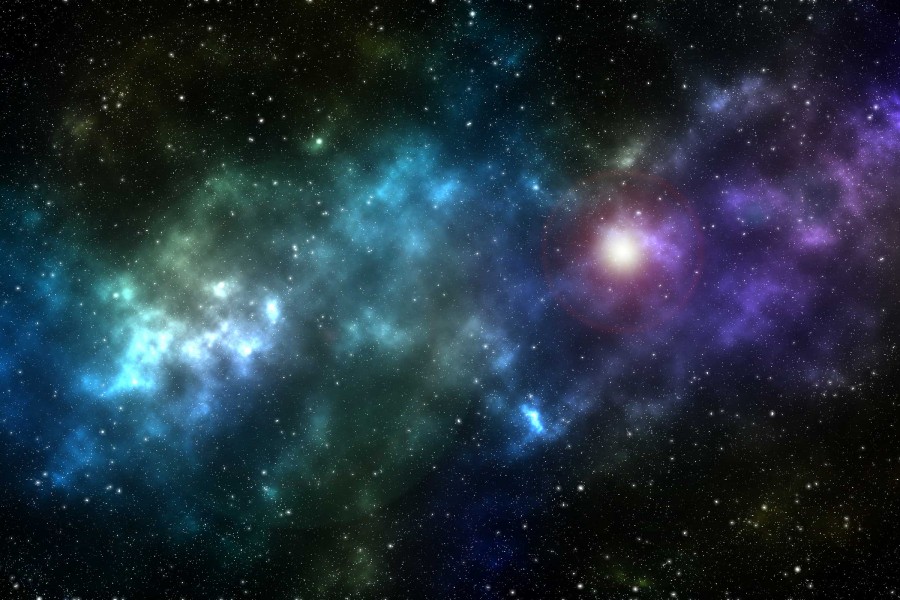
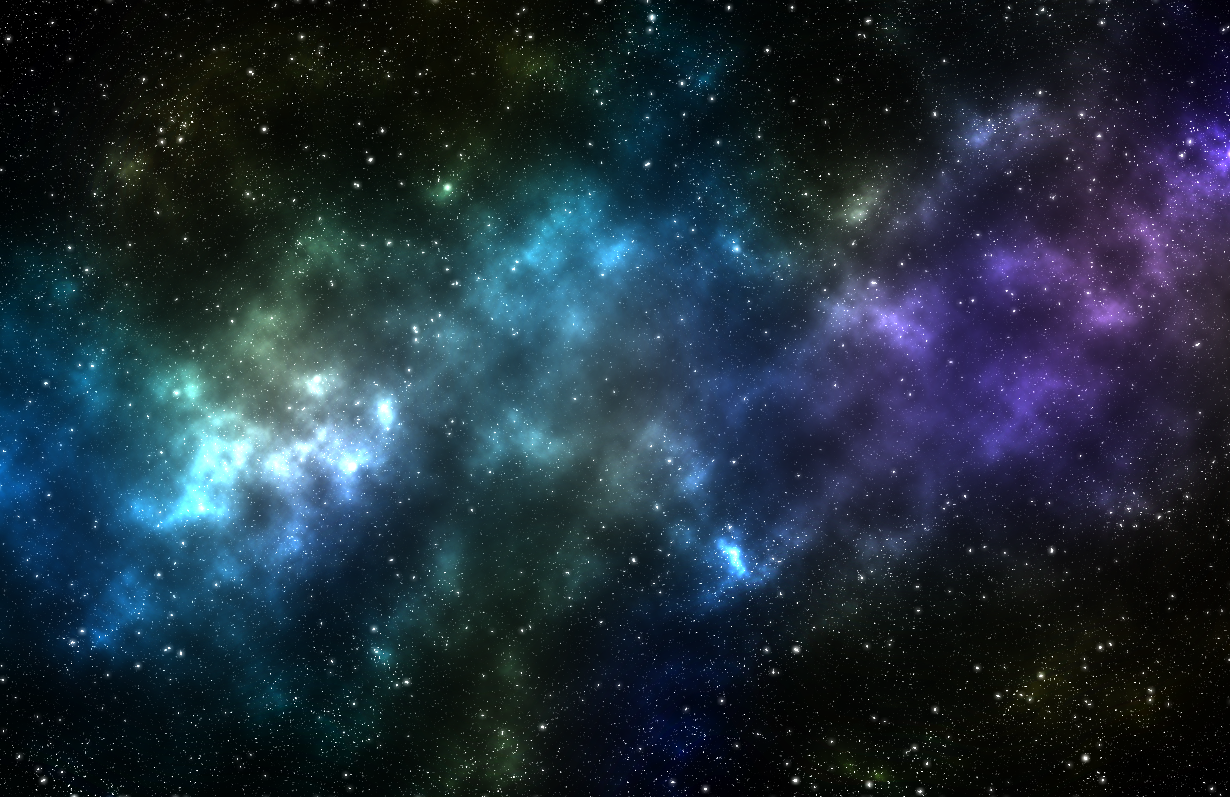
I’m going to take this one step further by adding some some space dust or far off galaxies as seen in the sample image above. Again this is fairly easy but does involve some input by you to decide the look you are going for. The process involves painting into a new layer which sits between the stars and the rendered clouds layer we created earlier. We use the cloud layer to add a ‘dust’ like effect to painted colors.
- Create a new layer between the background layer and the clouds layer (select the background layer and press Shift+Cmd/Ctrl+N)
- Select the new layer and choose the Brush tool (B)
- Set the brush opacity to 10%, hardness to 0% and set the brush size to 450px
- Choose a nice color (dark blues and purples work well here but you can use real hubble images online for reference)
- Lightly paint over the image to create the celestial formations you want
- Vairy the size of your brush to make it look natural
- Repeat from step 4 until you are happy with the look and feel
- Adjust the opacity of the layer if needed
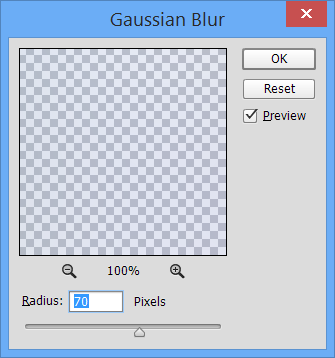
Add some Blur
- Make sure the ‘dust’ layer is selected in the Layers panel
- From the Filter menu choose Blur -> Gaussian Blur
- Enter a radius of 70px
- Press OK
Add a distant star / lens flair
- Create a new layer on top of the layer stack (Select the Clouds layer and press Shift+Cmd/Ctrl+N)
- Select the new layer and from the Edit menu choose Fill
- Choose black as the color and press OK
- Change it’s blend mode to Screen
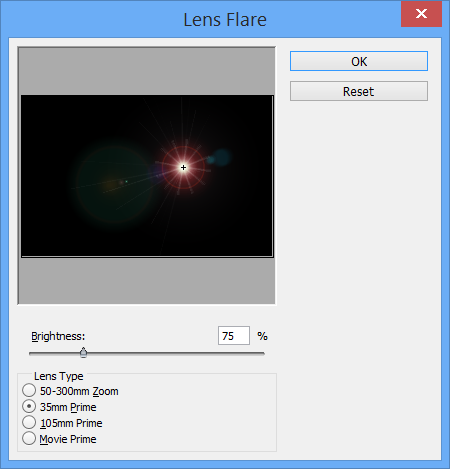
- From the Filter menu choose Render -> Lens Flare
- Place the flare where you want in the image
- Set the brightness to between 50%-75%
- Set the type to 35mm prime
- Press OK
- Because we created the flare in a new layer we can delete the layer and start again if we are not happy or change it’s opacity to reduce the effect
Download the Action
I have created a Photoshop action to automate the majority of these steps (until Warp Speed Mr. Sulu) which takes a lot of the headache out of creating a nice star field.
Download Photoshop Stars Action
Enjoy!
Page: 1 2
Comments