
Create a glossy emblem
One flame is made up. Now we must combine in a group all the layers composing the flame (press Ctrl button to mark out the necessary layers and hold on the left mouse’s button while moving the marked layers on Create a new group option)

Make a copy of this group and turn it over by horizontal position (Ctrl+T, changing the gradient’s direction of the flame’s color)
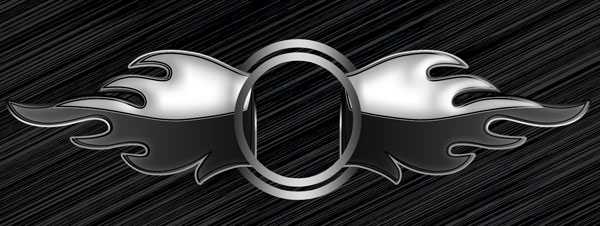
Applying the Ellipse Tool (U), try to represent a circle, placing it under the layers containing the flame:

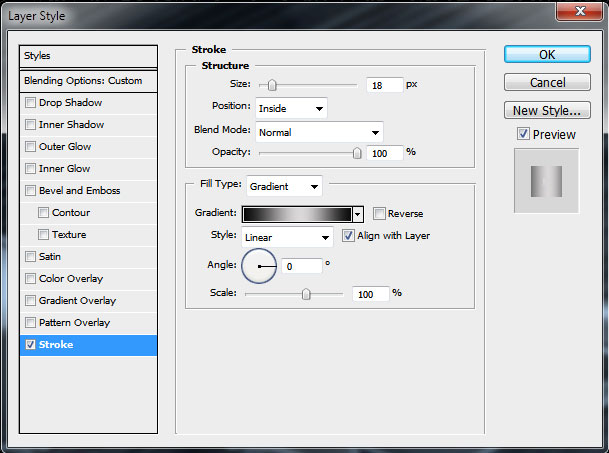
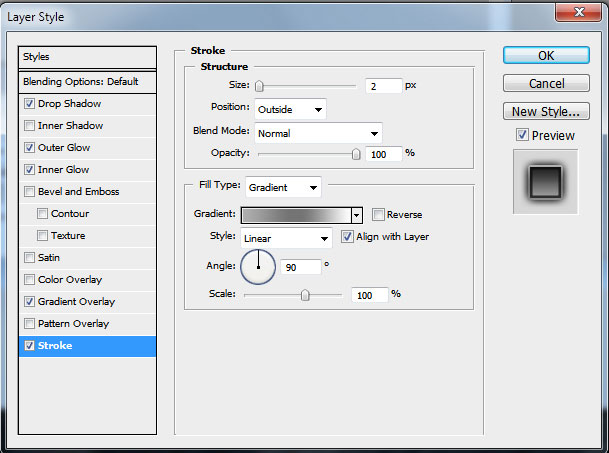
Set the Fill parameter on 0% and choose the next indicated Layer Style:
Blending Options – Stroke

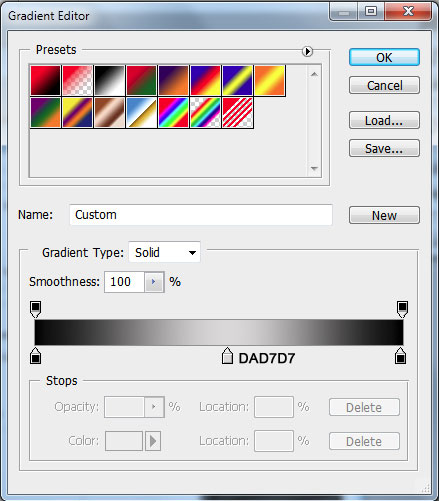
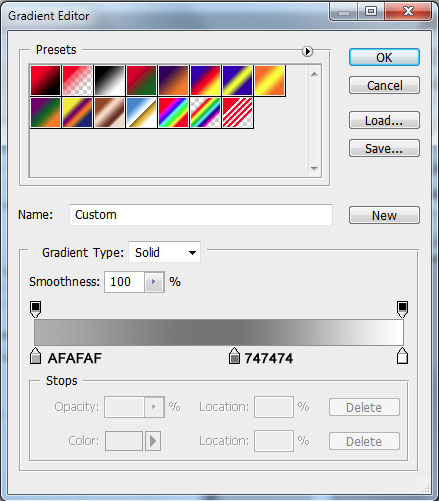
Gradient Editor
It’s the result we’ll get:

Make a copy of this new made circle, making the copy smaller (Ctrl+T) and placing it above all the layers:
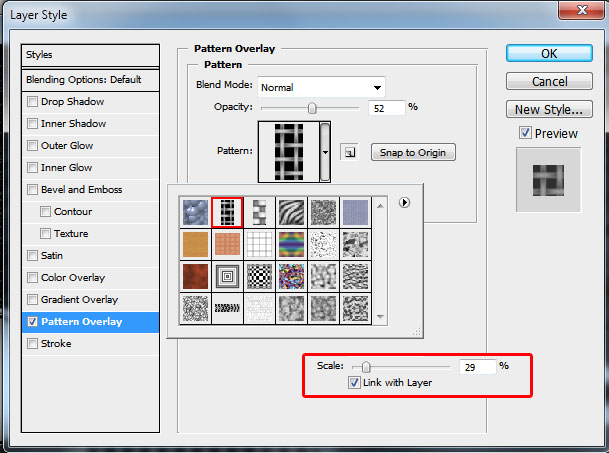
Let’s represent one more circle under the layer containing the first circle’s copy and apply to it the next Blending Options>Pattern Overlay. Choose the appropriate texture in the Patterns library.
Create one more new layer, marking it out both with the grid’s layer, using Shift+left mouse click and then put them together Ctrl+E. The new got layer will be turned over, applying Ctrl+T.

… and then Blending Options>Inner Glow.

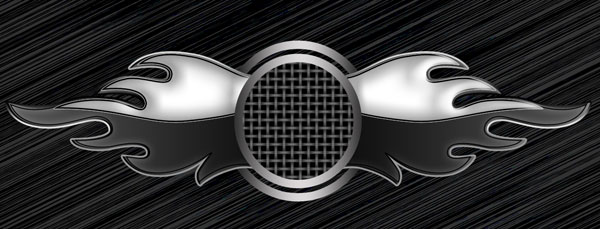
It’s the result we’ll get:
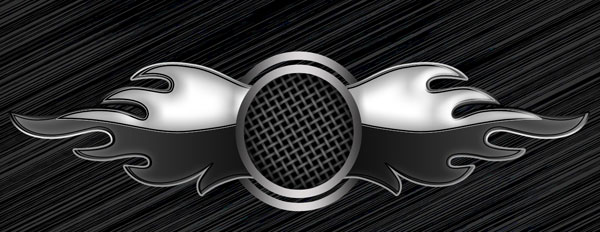
Use now the Pen Tool (P) to represent a lightning:
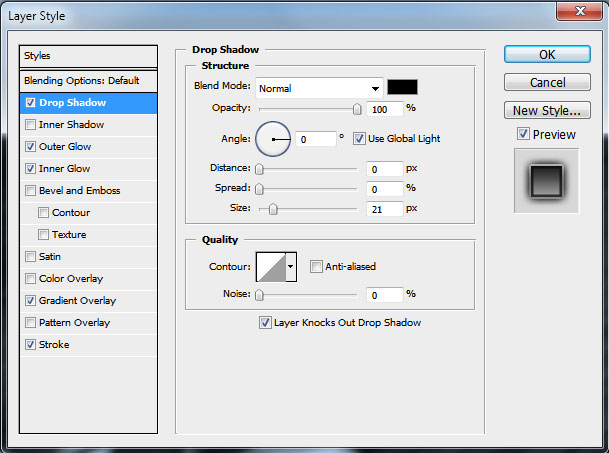
Set the next parameters for Layer Style:
Blending Options – Drop Shadow
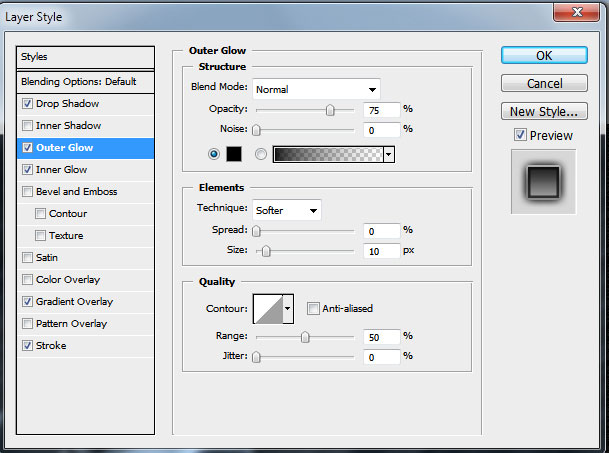
Blending Options – Outer Glow
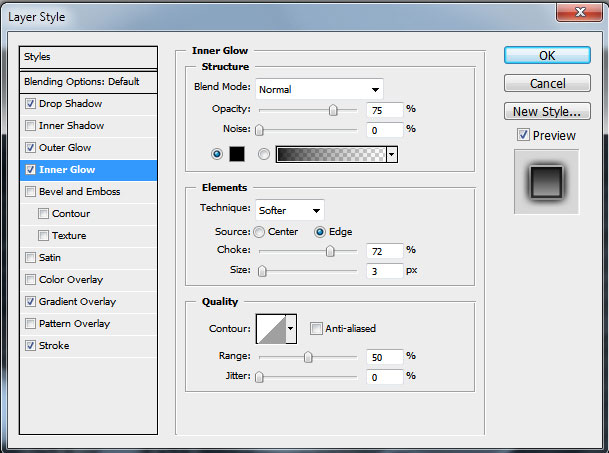
Blending Options – Inner Glow
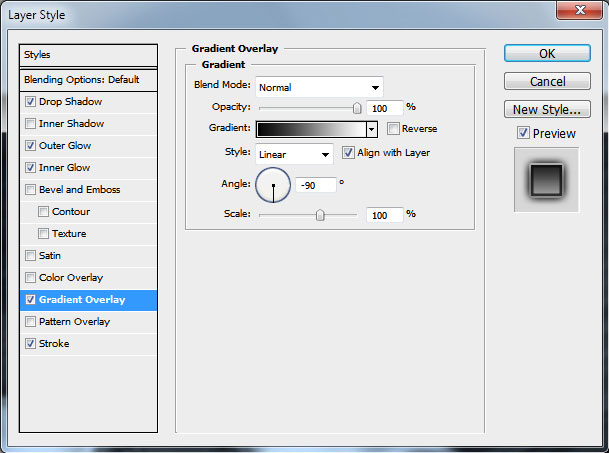
Blending Options – Gradient Overlay
Blending Options – Stroke
Gradient Editor
Now it’s time to insert the last element:
Create one more half of the lightning with Pen Tool (P):

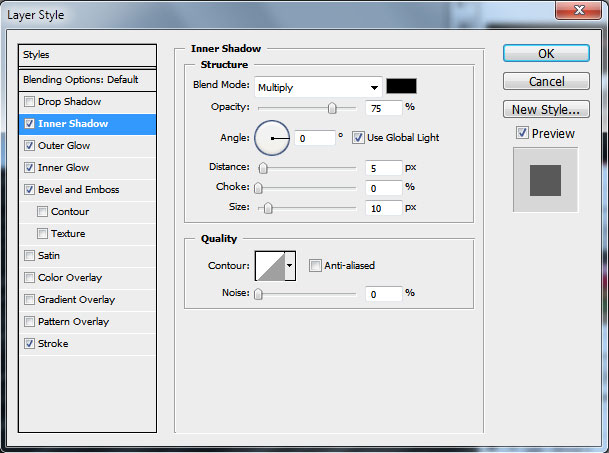
… setting the next Layer Style for it:
Blending Options – Inner Shadow
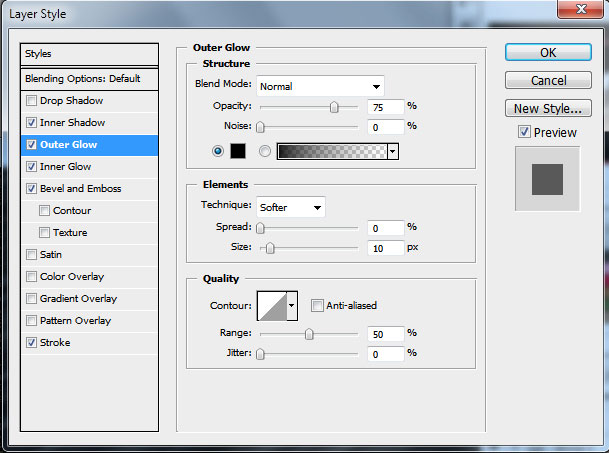
Blending Options – Outer Glow
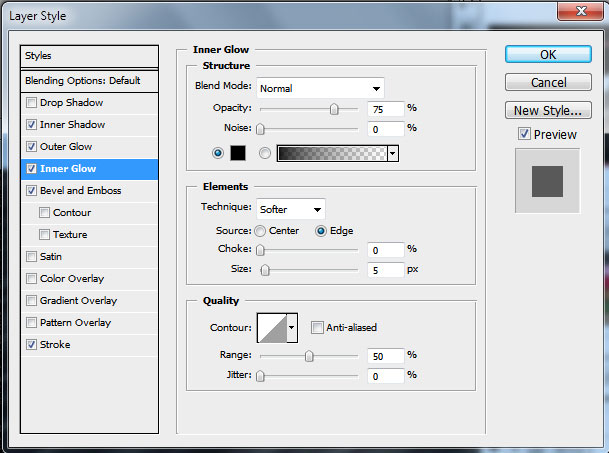
Blending Options – Inner Glow
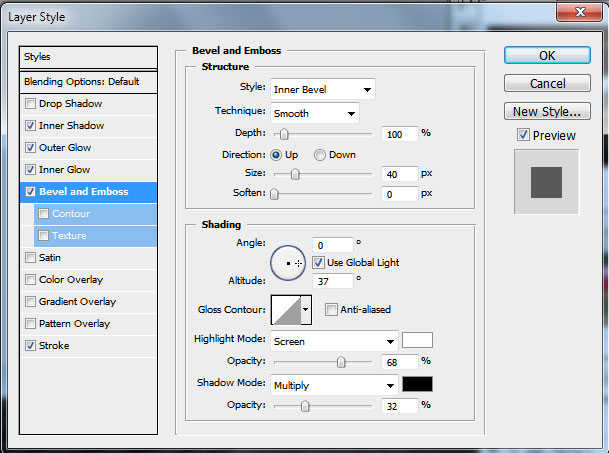
Blending Options – Bevel and Emboss
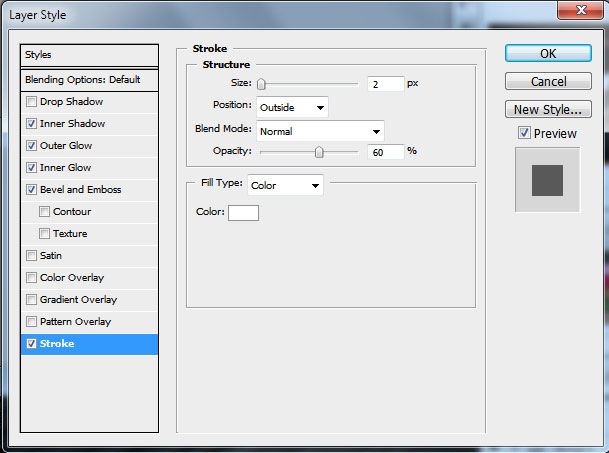
Blending Options – Stroke

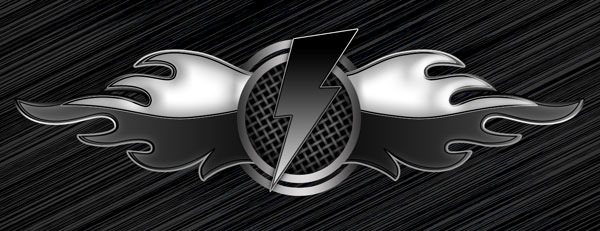
The final result!
View full size here.
Page: 1 2
Comments