
Create a Dramatic and Surreal illustration in Photoshop CS5
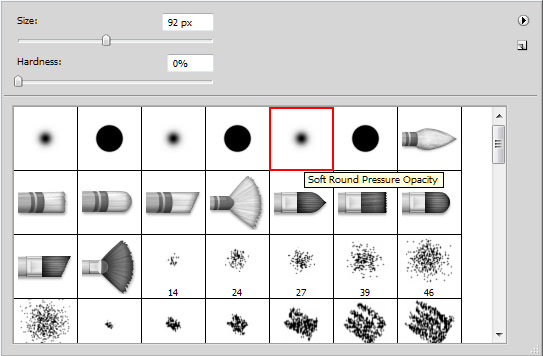
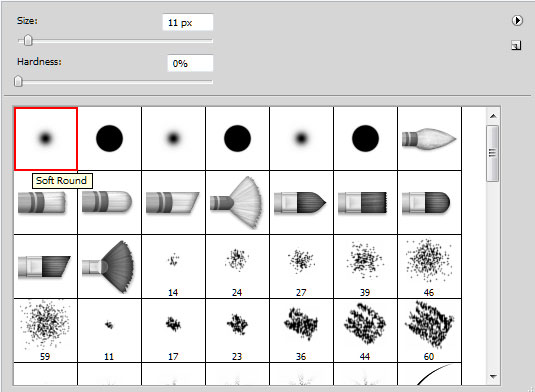
Select now the Soft Round brush of black color and Opacity of 50%.
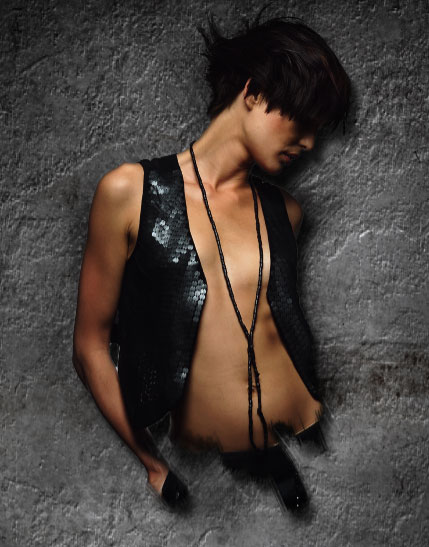
Create a new layer above the girl’s layer, hold down Alt (Windows) or Option (Mac OS) and click between new created layer and girl’s layer in the Layers panel to create a clipping mask. Use the brush along the head’s contour, painting the artifacts left from the background’s removing.

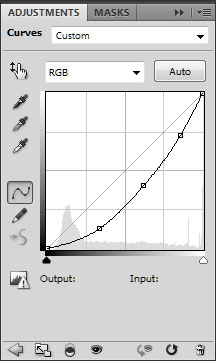
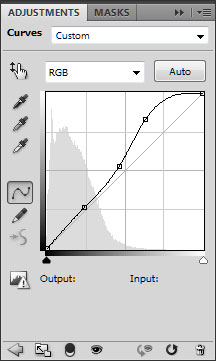
Click Create new fill or adjustment layer from bottom part of the Layers panel and click to Curves to adjust the curve shape as shown to make a little color corrections.
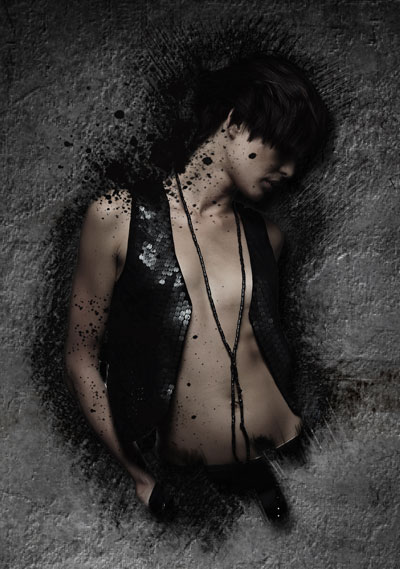
We’ve got the next result:
Select once again Create new fill or adjustment layer from bottom part of the Layers panel and select Hue/Saturation this time.

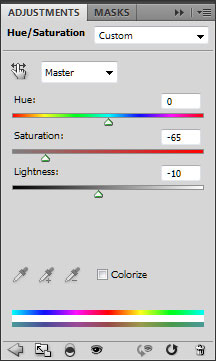
Drag the slider to the left to decrease the Saturation and the Lightness of the color range.

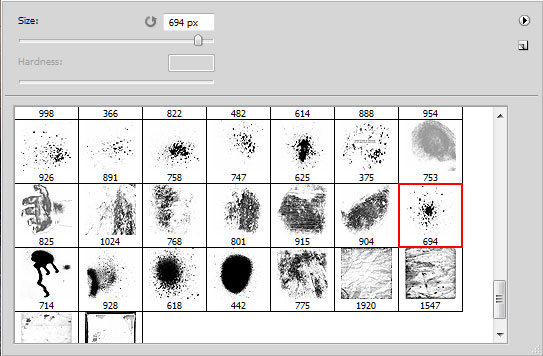
Select the next brush form Seu_Davi set downloaded before:
On a new layer we’ll draw several spots using black color.
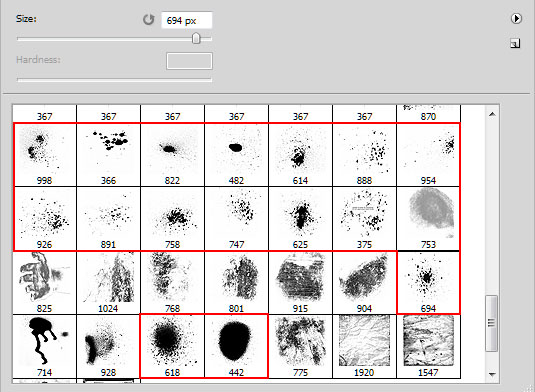
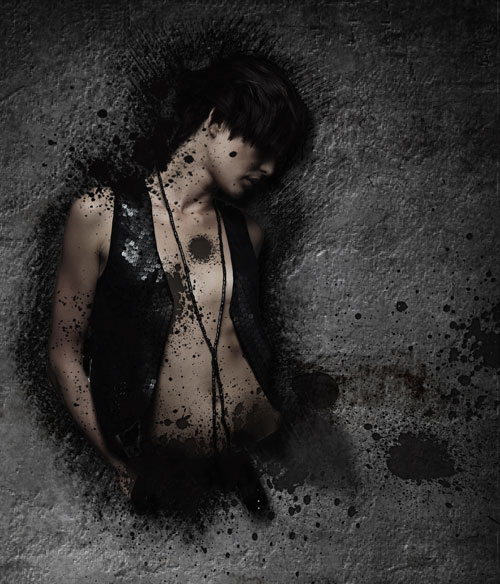
Next try to combine the brushes from c130_splatter set downloaded before, to draw new spots on a new layer. The color is #282320
It’s the result we should get:
Click Add a layer style icon from bottom part of the Layers panel and select Inner Shadow.
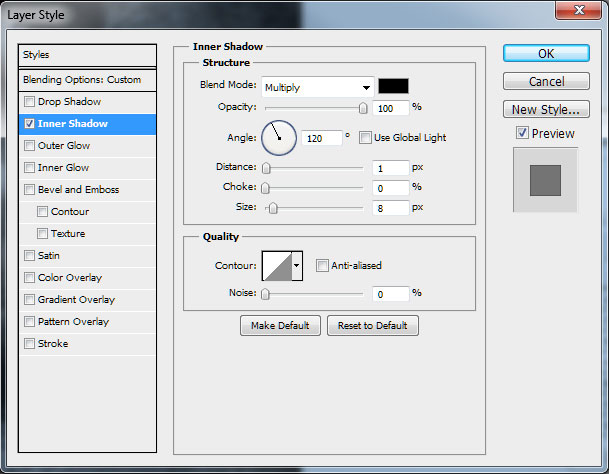
We’ve got the effect of pressed-in texture.
Select now the Soft Round brush with Opacity of 10% and black color.
Now we have to make the next shown arbitrary brushstrokes:

Set the Blending mode to Soft Light for this layer.
Duplicate this layer (Ctrl+J) to increase the effect:

Select once again Create new fill or adjustment layer from bottom part of the Layers panel and click to Curves to adjust the curve shape as shown to make a little color corrections for raising the contrast.
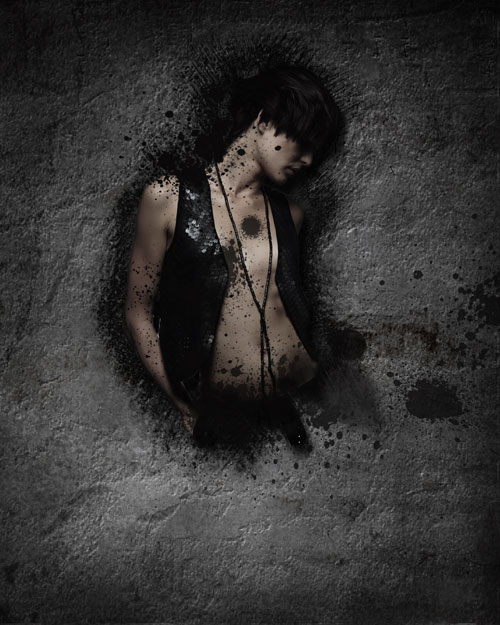
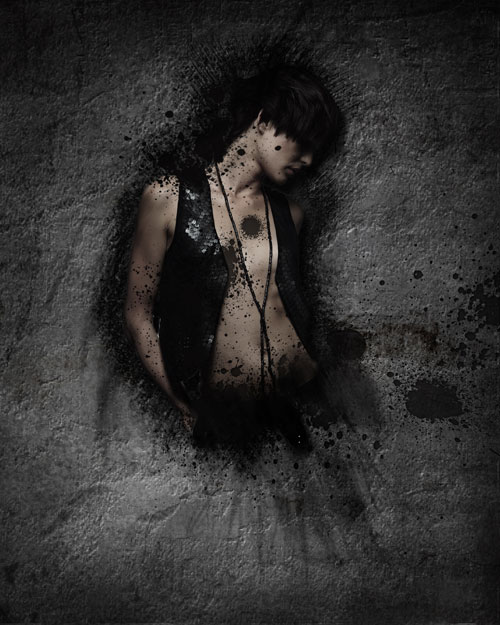
We’ve got the next result:
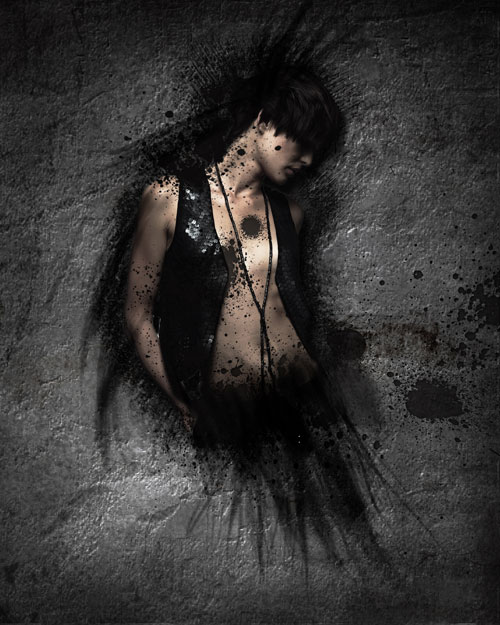
Finished!
View full size here.
Download free Layered PSD file.
Page: 1 2
Comments