

Create a Deer Abstraction with Photoshop
Step 9
Create a new layer on the top. Active the Line Tool with the given settings:
![]()
Draw five lines as shown below:

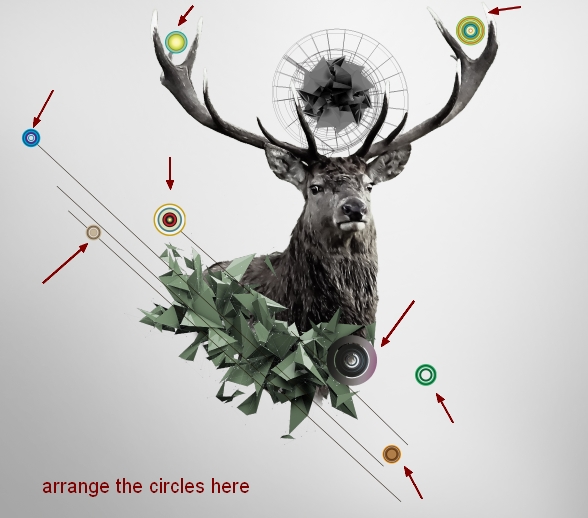
Step 10
Open the circular design pack. Rasterize them as done with the wireframe. Choose the circles you like and arrange them as I did below:
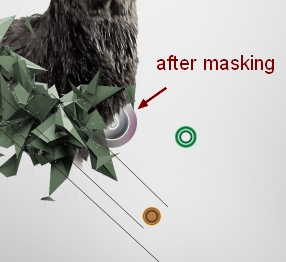
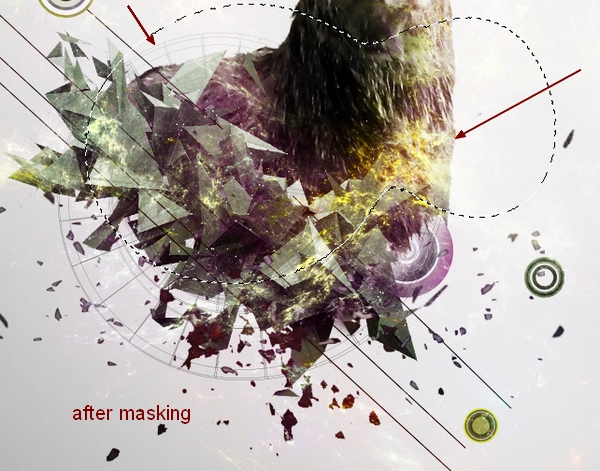
Step 11
I used a layer mask to blend the biggest circle with the deer:

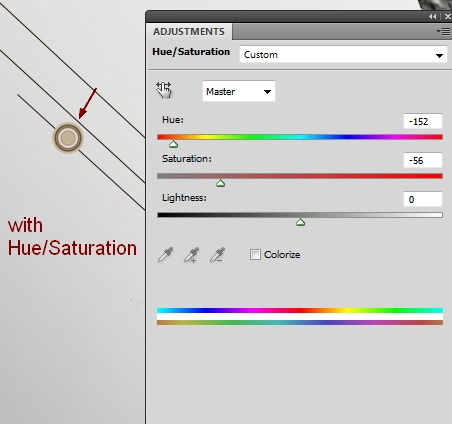
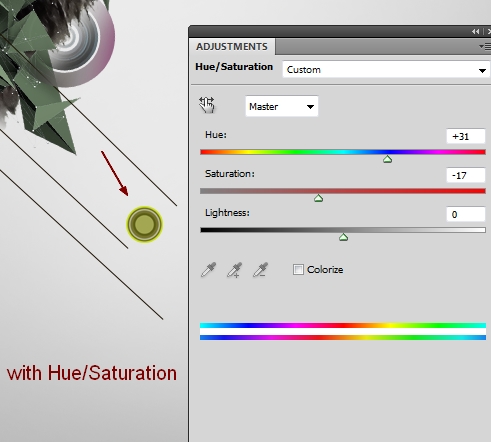
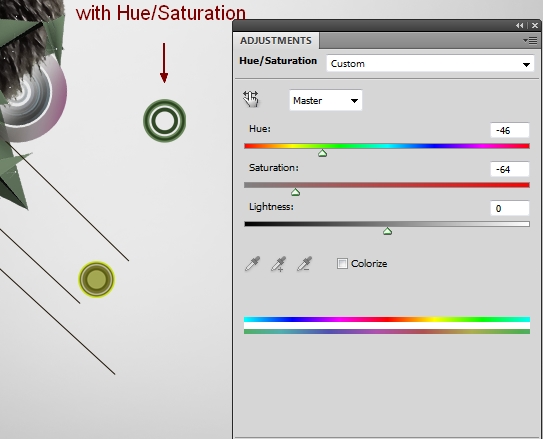
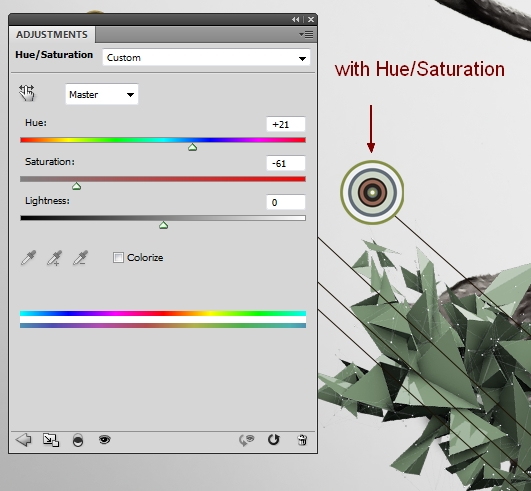
Step 12
I used Hue/Saturation (Clipping Mask) to change the color of some circles:

Step 13
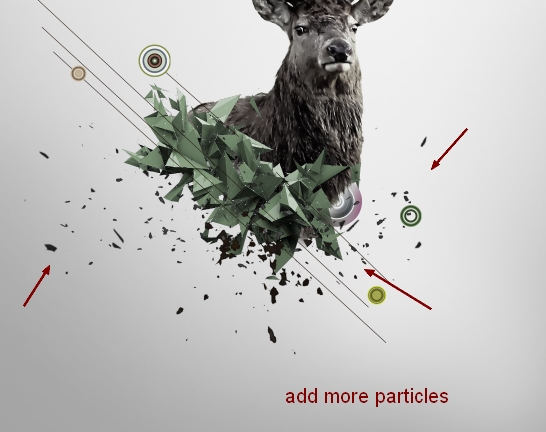
Open the particles pack. I chose the image 023 to place it under the deer (the render and lines parts):
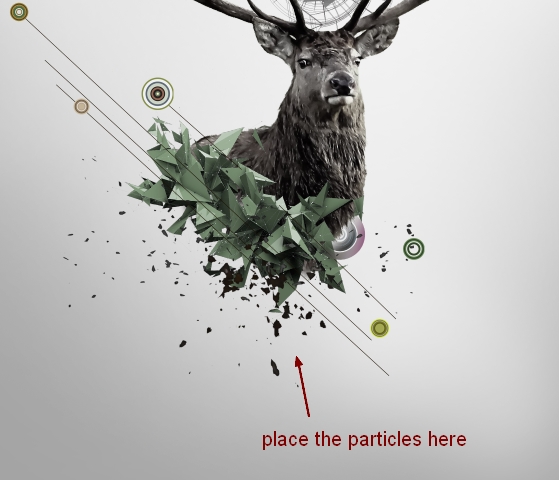
Copy some different parts from this image and arrange them around the deer:
Step 14
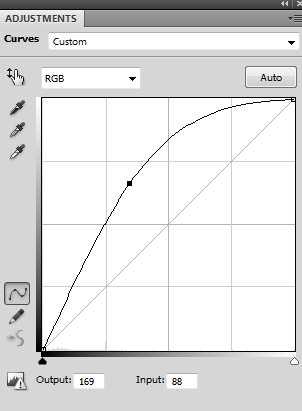
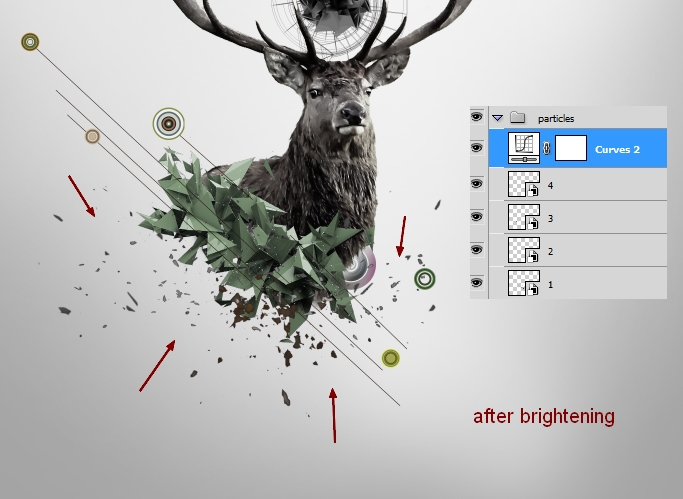
Make all particles layers selected and hit Cmd/Ctrl+G to create a group for them. Change the mode of this group from Pass Through (default group mode) to Normal 100%. Create a new Curves adjustment layer on the top of the layers within this group to brighten them a little:
Step 15
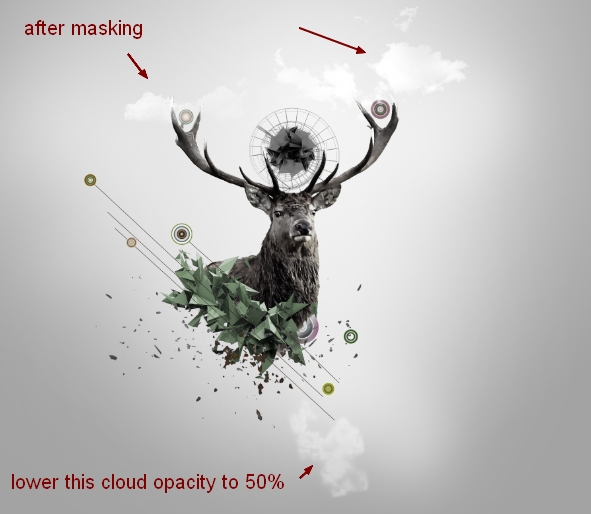
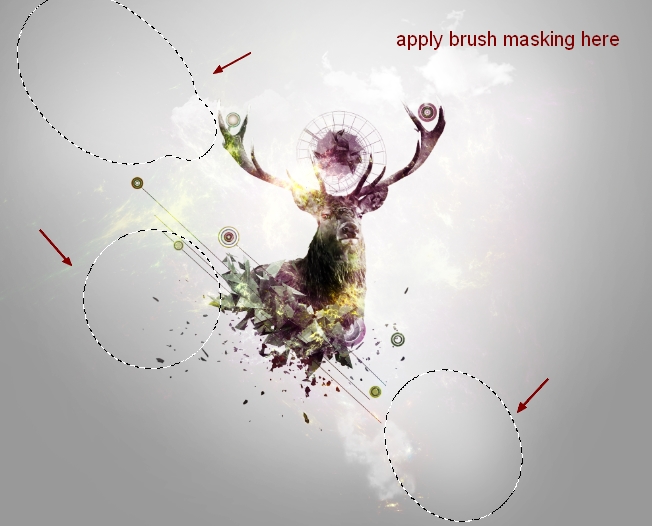
Create three layers on the top. Change the foreground color to white and the brush kind to the clouds one. Use the number 1252, 1369, 1919 to paint on three areas as shown below:
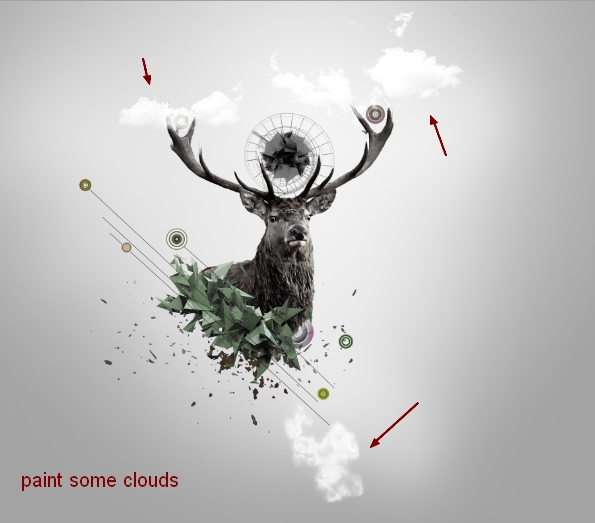
I decreased the opacity of the lower cloud to 50%, also use a layer mask to reduce the intensity of the rest ones:
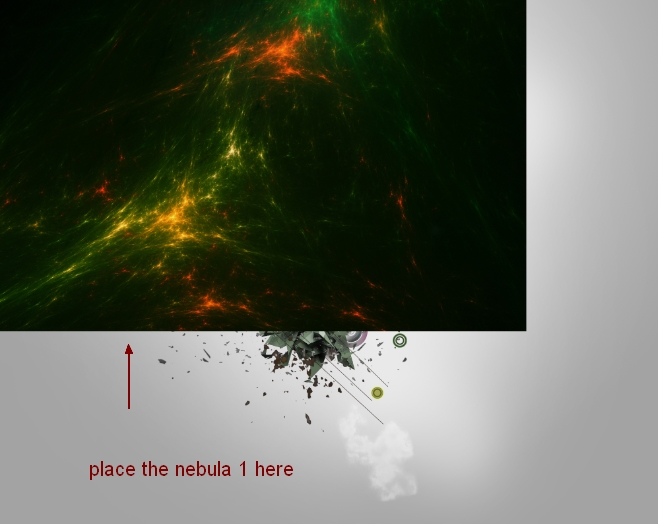
Step 16
Open the nebula 1 image. Drag it onto the top left of the main canvas :
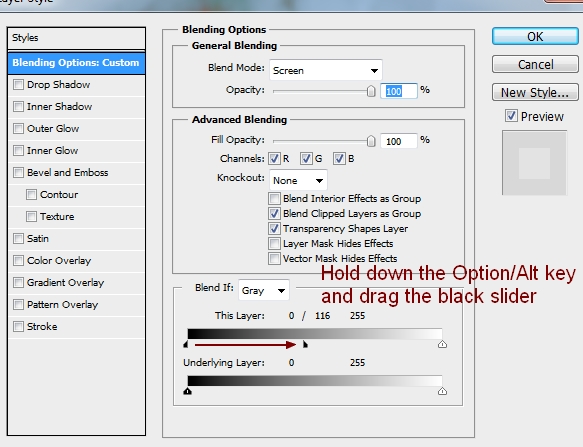
Double click this layer, choose Blending Options. Hold down the Option/Alt key and drag the black slider of This Layer to the right until the most of the dark edges disappear:

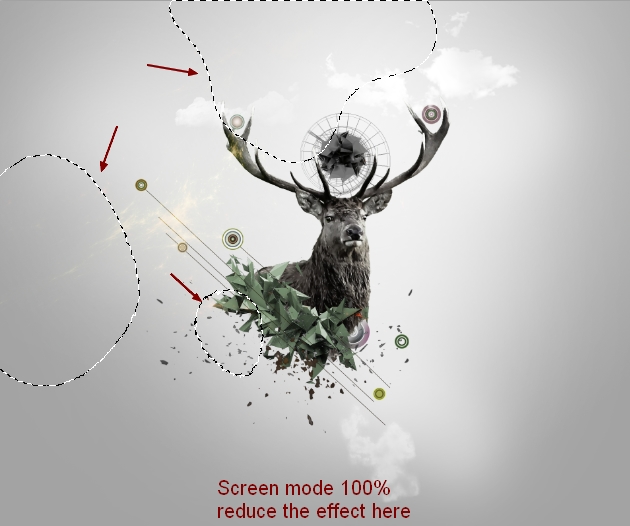
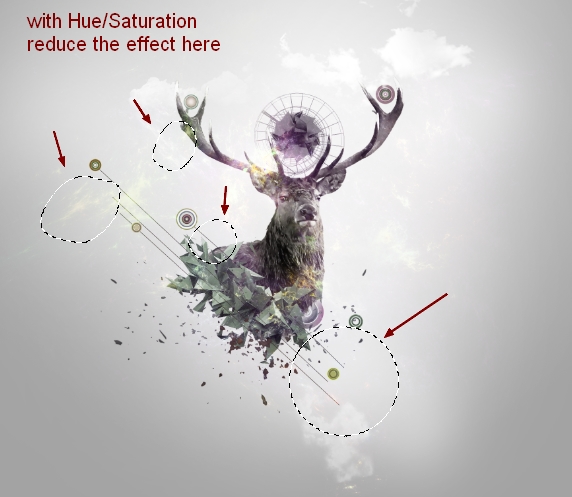
Change this layer mode to Screen 100% and use a layer mask to reduce this effect as the screenshot below shows:
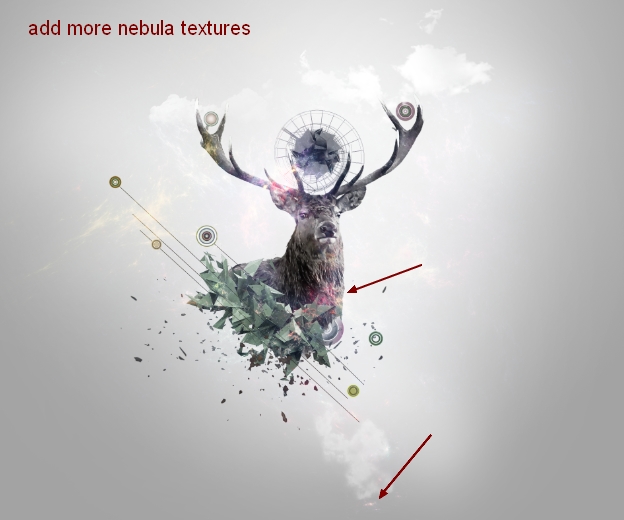
Step 17
Do the same with two other nebula textures:
Step 18
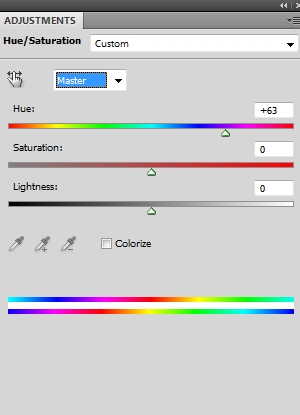
Make a group for the nebula textures and change the mode to Screen 100%. Use Hue/Saturation to change their color:
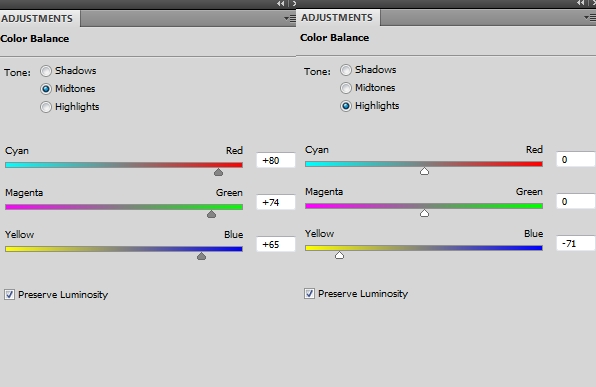
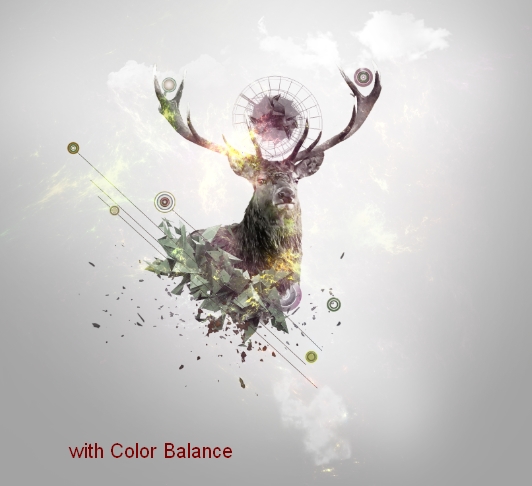
Step 19
I created a Color Balance adjustment layer for the nebula effect:
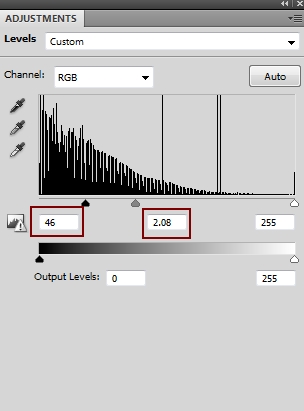
Step 20
Use Levels to increase the lightness of this effect:

Step 21
Make a Curves adjustment layer on the top of the layers to enhance the contrast of the whole picture:

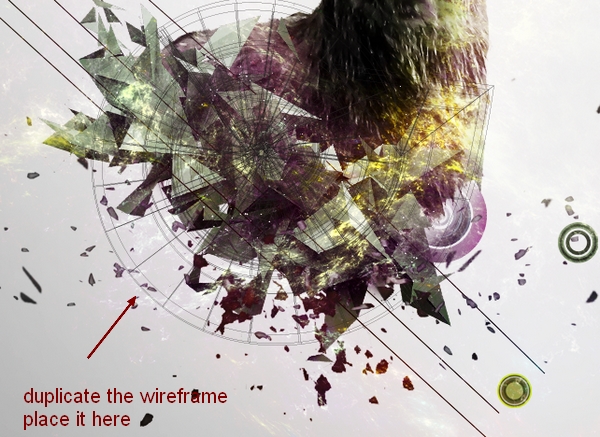
Step 22
Duplicate the wireframe layer and place it above the render , remember to set this layer on the top:
Jenny Le
Self-taught artist from Vietnam who loves drawing and doing photo manipulation. See more of my work at http://jennyle88.deviantart.com/
Comments