
Create a Dark and Surreal Geometric Space Poster using Photoshop
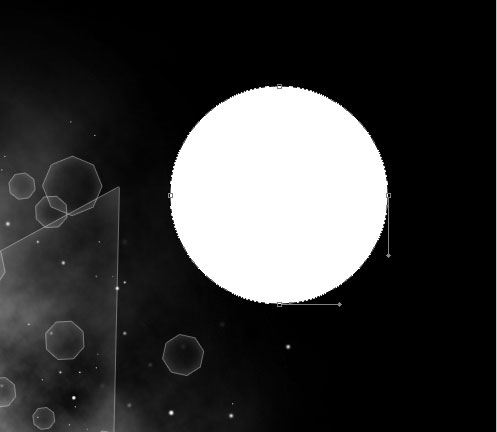
Using the same tool, try to represent another ellipse of white color too.
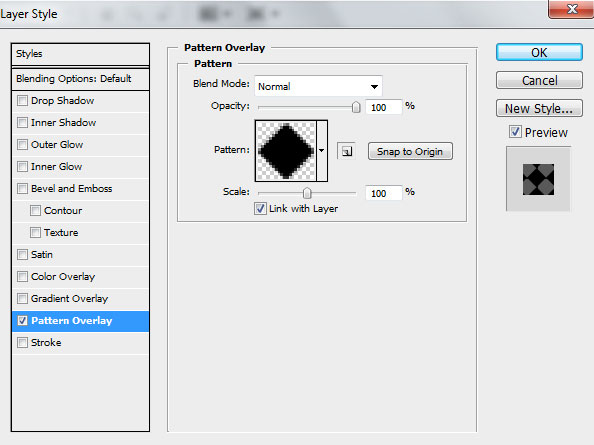
Click on Add a layer style icon from bottom part of the Layers panel and select Pattern Overlay. Go to Pattern Picker, and recent created pattern can be added by loading them from the Picker’s sub-menu.
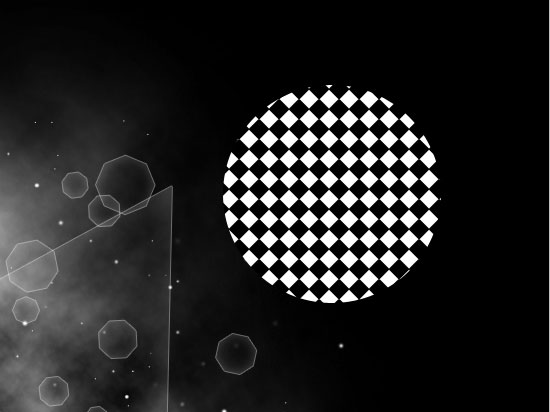
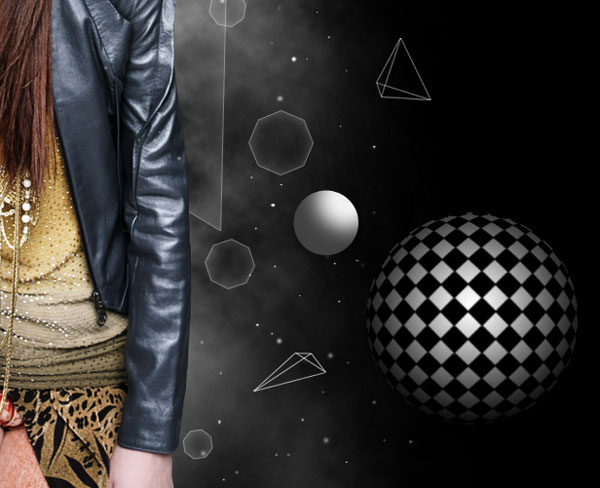
We’ve got the next result:
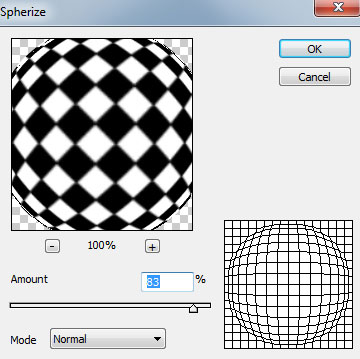
Create a new layer above the recently made one and select both layers in Layers panel, press CTRL+E to Merge Down into one single layer. Apply the next filter for the rasterized layer: Filter>Distort>Spherize.

Using the Free Transform (Ctrl+T) command, place the layer on the bottom part of the canvas.
Click Add a layer style icon from bottom part of the Layers panel to select Gradient Overlay

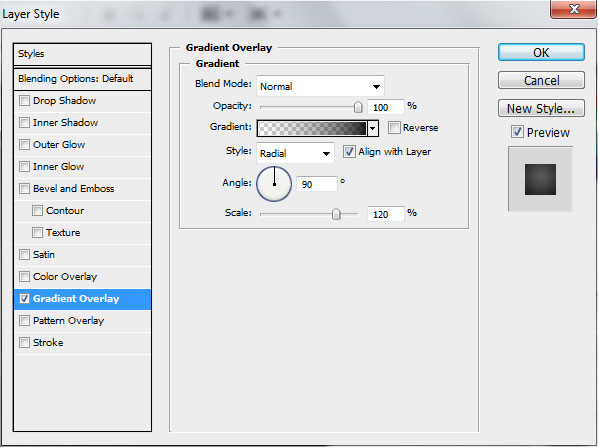
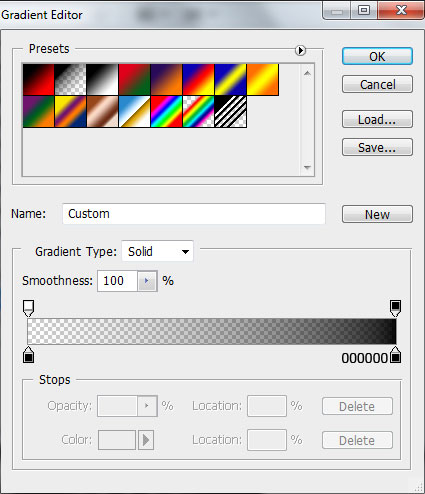
Click in the color bar to open the Gradient Editor and set the color stops as shown. Click OK to close the Gradient Editor dialog box.
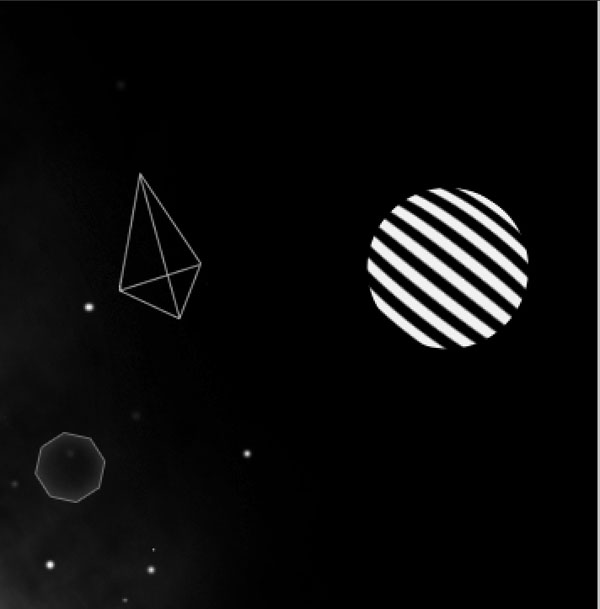
We’ve got the next result:
Using the Free Transform (Ctrl+T) command, we have to make the sphere smaller and situate it as on the picture below:
Take now the Rectangle Tool (U) to draw several rectangles of white color:
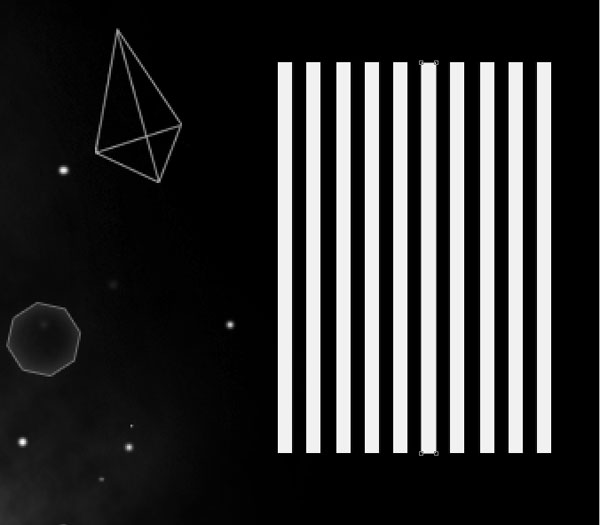
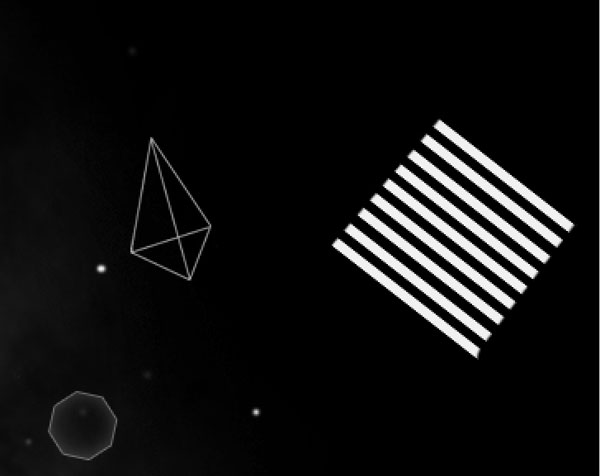
Combine in a group all the layers with the rectangles (press CTRL button to select the necessary layers in Layers panel and then hold on the left mouse’s button to drag the selected layers on Create a new group icon fro bottom part of the Layers panel). Use the Free Transform (Ctrl+T) command to incline the rectangles as on the next picture:
Take the Ellipse Tool (U) to represent another ellipse under the rectangles’ layer. Set Fill to 0% for this layer.
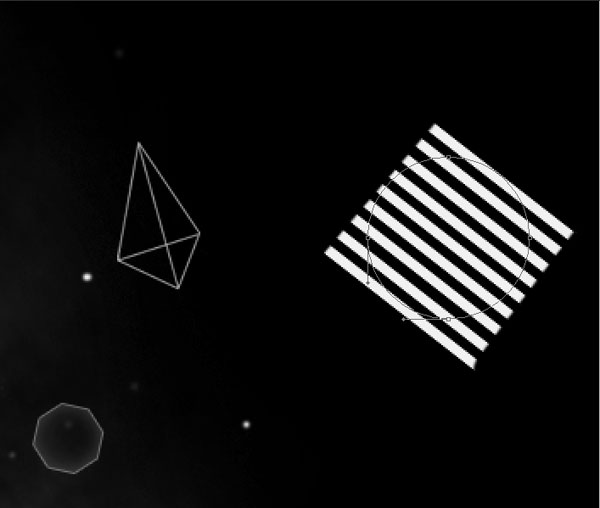
Let’s create a clipping mask to make the content of the layer containing the rectangles only visible within the content of the layer containing the ellipse. Hold down Alt (Windows) or Option (Mac OS) and click between layer with rectangles and the layer with ellipse (on the Layers panel).
We’ve got the next result.
Put both layers into a single layer by selecting them firstly (press CTRL+E to Merge Down). Apply the next filter for this layer: Filter>Distort>Spherize
We’ve got the next result.
Create a new layer and apply on it the Soft Round brush of black color (set Opacity to 20% in Options bar).
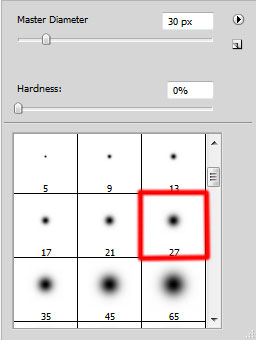
Use this brush to dark out the sphere’s edges.
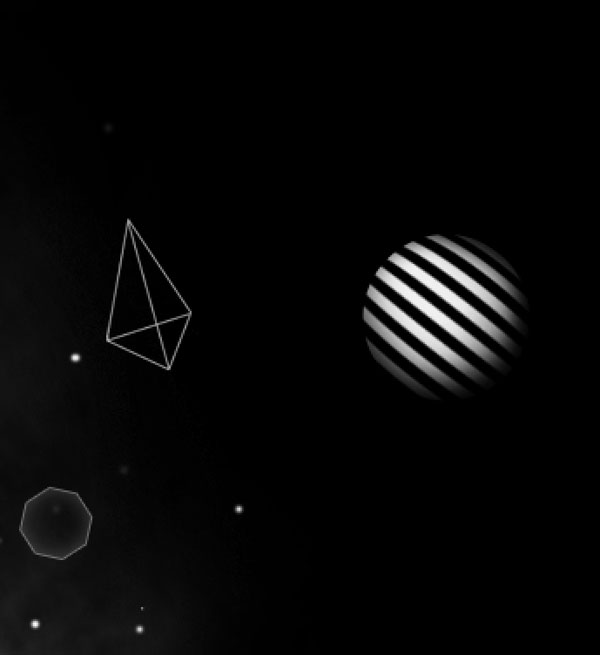
Put together all the layers (Merge Down) containing the sphere to get a rasterized layer the same way we did before. Make a copy of the layer we’ve got and choose Free Transform (Ctrl+T) command to enlarge the copy’s layer, placing it on the left side.

Combine in a group all the layers, except the black background’s one (press CTRL button to select the corresponding layers in Layers panel and then hold on the left mouse’s button while dragging the selected layers on Create a new group icon from bottom part of the Layers panel). Rasterize the group by selecting it firstly and then press CTRL+E to Merge Down.
Choose the Rectangular Marquee Tool (M) to represent on the rasterized layer a selection:
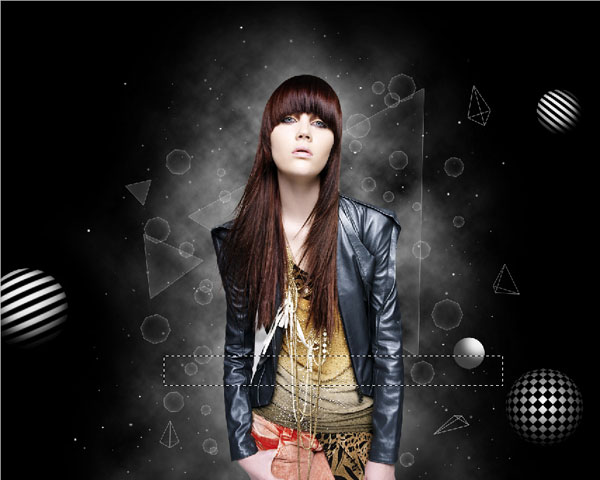
Right click inside the selection to select Transform Selection and place it the same way demonstrated next picture:

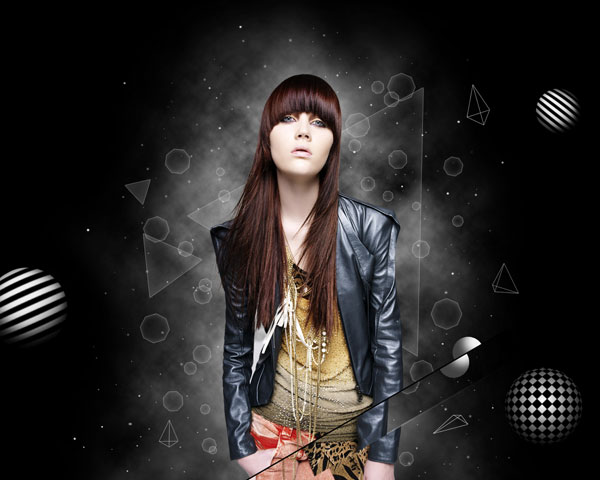
Use also inside the selection the Move Tool (V) and move the line as on the picture below:
Click Create new fill or adjustment layer from bottom part of the Layers panel and select Hue/Saturation.
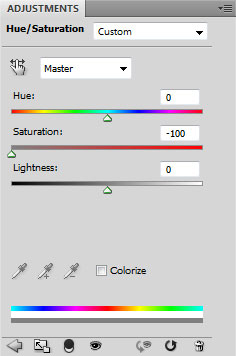
Drag the slider to the left to decrease the Saturation of the color range.
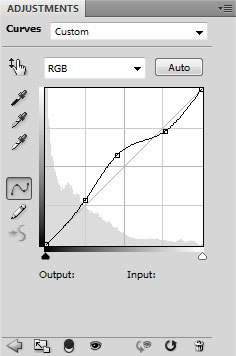
Select once again Create new fill or adjustment layer from bottom part of the Layers panel and click to Curves to adjust the curve shape as shown to make a little color corrections.
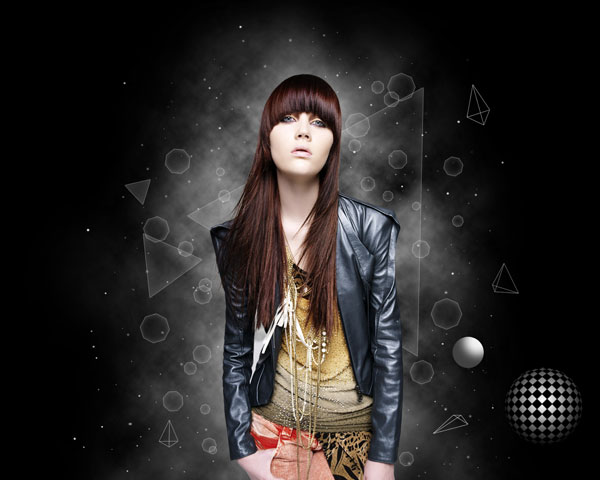
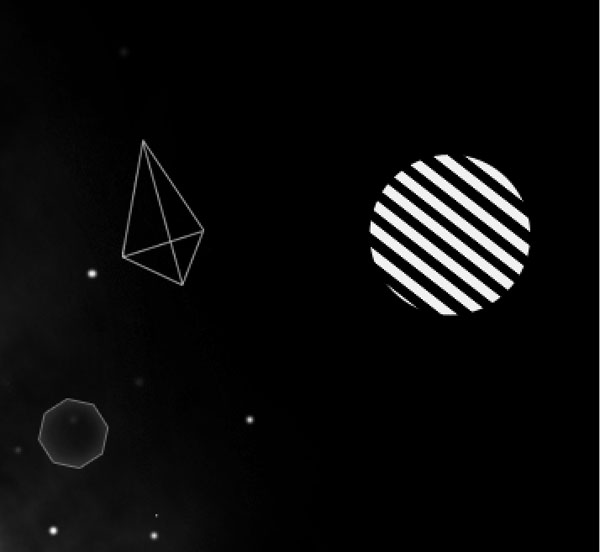
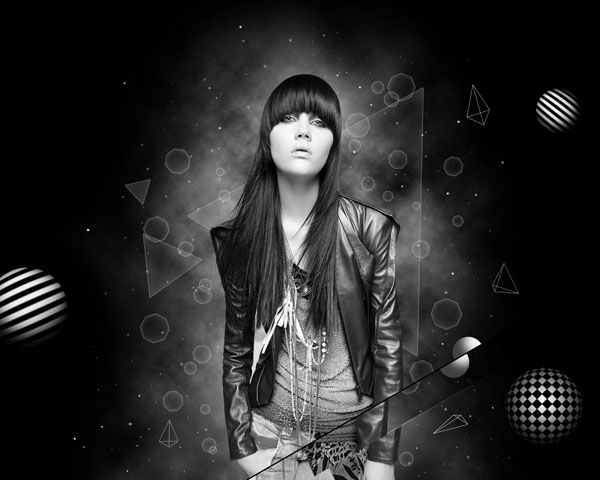
We’ve got the next result.
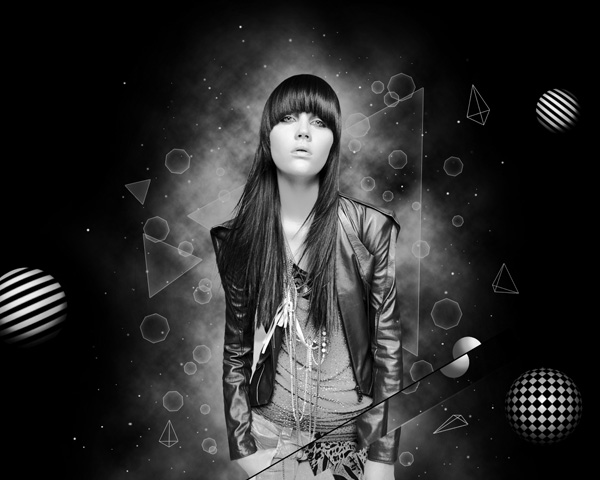
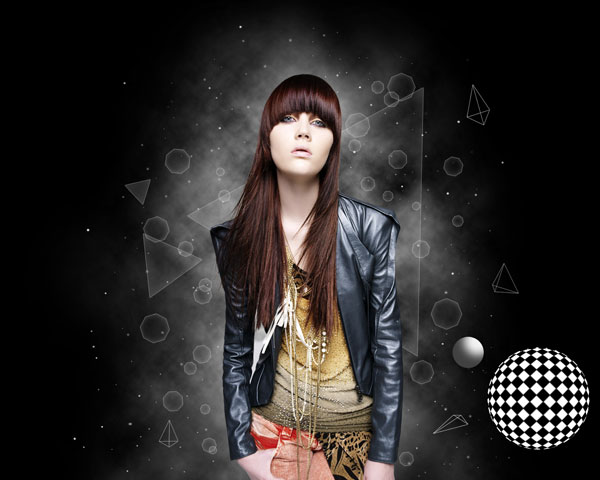
Finished!
View full size here.
Download free Layered PSD file.
Page: 1 2
Comments