
Colorful Glow Text Effects
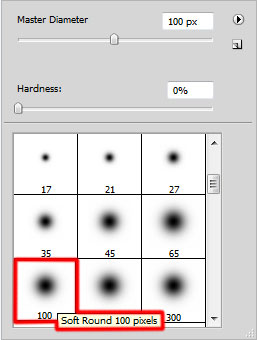
On the next new layer we’ll paint again with Soft Round brush brush of white color and Opacity – 30%.
We’ve got the next result:

Set the Blending mode for this layer to Overlay.

For the next step we need the Adobe Illustrator. Create a new document and use the Pen Tool (P) to draw two lines of black color.

Select now the Direct Selection Tool (A) to select both lines and apply the next option: Object>Blend>Blend Options
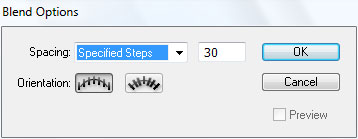
Apply next Object>Blend>Make
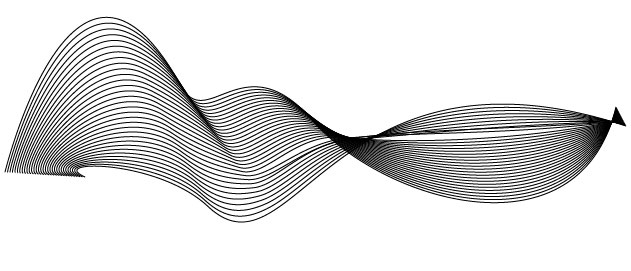
Select the wave’s lines and press CTRL+C to Copy. Then pass to Adobe Photoshop. Press CTRL+V and select Paste As: Smart Object.

Press CTRL+I to Inverse the layer’s color.


Set the Blending mode for this layer to Overlay.

Make a copy of the recently made layer and choose Free Transform (Ctrl+T) command to turn over the copy the same way demonstrated below. Set for the copy’s layer Blending mode to Soft Light.

Insert the mask on each layer containing the wave’s lines by choosing Add layer mask on the bottom part of the Layers panel and choose the Soft Round brush of black color (set Opacity to 20% in Options bar).

Paint in the masks using this brush to clean out the wave’s edges.

Select the Horizontal Type tool (T). Select a font, size and color in the Character panel.
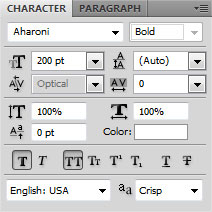
Click in the canvas and type “Colorful”. Press Enter to apply the text.

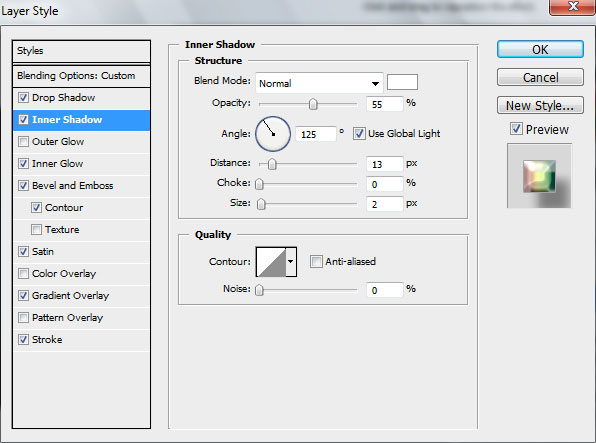
Set Fill to 0% for this layer and click on Add a layer style icon from bottom part of the Layers panel to Drop Shadow.

Add Inner Shadow:
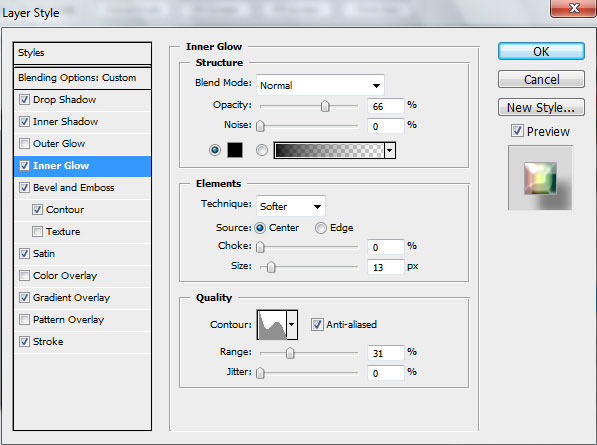
Set Inner Glow:
Comments