
Christmas tree
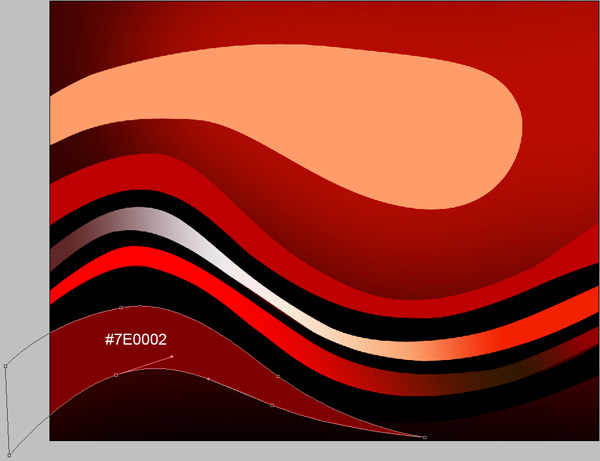
Use the Pen Tool (P) to represent the next shape as shown:
Next we’ll make the next operation: create a new layer above each layer containing the shape. Select the layer with the shape and situated above it the new layer (hold Ctrl button when select the layers) and finally press Ctrl+E to Merge Down into a single layer.
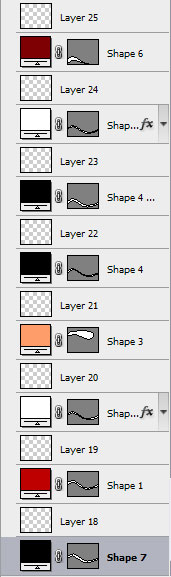
Repeat this operation for each layer containing the shape.

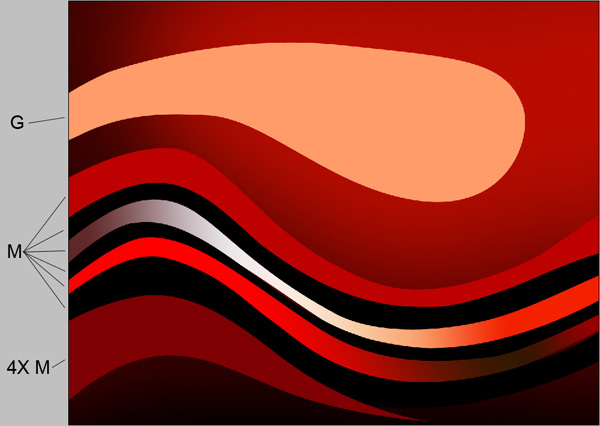
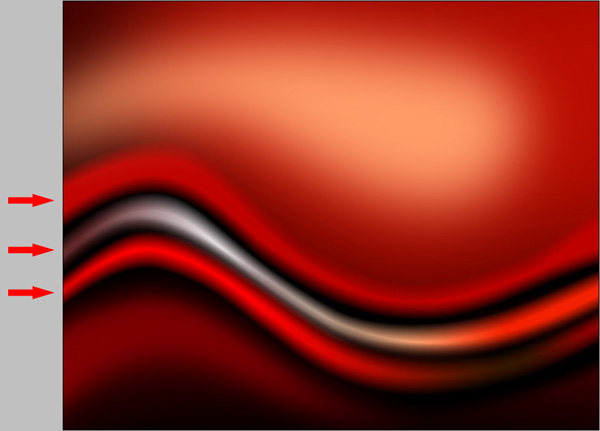
On the marked shapes that you may see below, apply the next filters – Gaussian blur for (G), Motion blur for (M) and for (4X M) – the multiple applying of the Motion blur filter.
Settings for Filter>Blur>Gaussian blur:

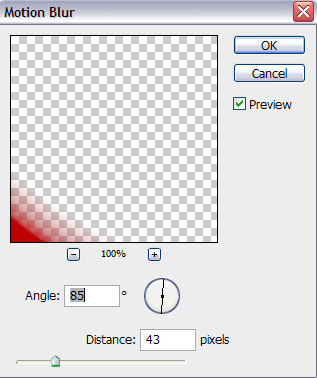
Settings for Filter>Blur>Motion blur:
We’ve got the next result:

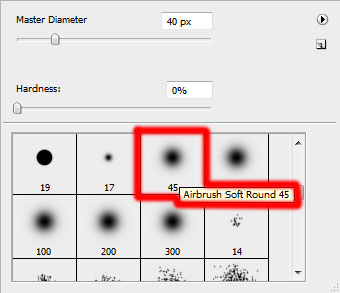
Insert the mask on the marked shapes’ layers below by choosing Add layer mask on the bottom part of the Layers panel and choose the Airbrush Soft Round brush of black color (set Opacity to 20% in Options bar).
Use this brush to paint in the mask to hide the edges, the same way demonstrated next picture.

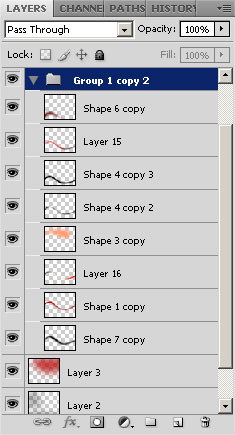
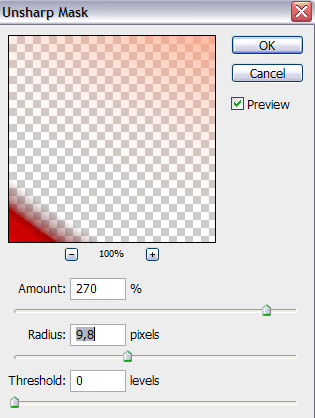
Put together the layers containing the shapes into a single one layer. In this case hold Ctrl button to select the shapes’ layers and then press Ctrl+E to Merge Down. Select for the new layer that we’ve got the next filter: Filter>Sharpen>Unsharp mask
We’ve got the next result:

Choose the Pen Tool (P), set the drawing mode on Shape Layers in Options bar and try to draw several shapes of white color. This will compose a fir tree silhouette.


Next step we’ll download set of brushes for Adobe Photoshop, named: stars_and_blinks . Create after that a new layer and select the next brush of white color from stars_and_blinks set.
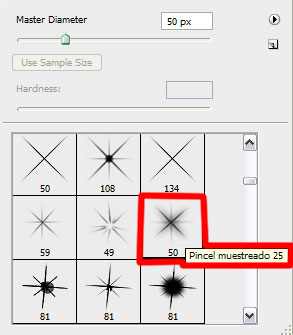
Use this brush to add the snowflakes. The snowflakes must be situated between the horizontal shapes, belonging to the fir tree. Using the next brush shown below, it’s possible to insert on our Christmas tree a shining star of white color that must be placed on the very top of the fir tree.

We’ve got the next result:

This is the final result!
View full size here.
Page: 1 2
Comments