
Christmas Snowflake
Take the Ellipse Tool (U) and make another circle of white color, situating it in the picture the way it is indicated next:

Set Fill option on 30% instead of 100%.

Make a lot of copies of the last made circle:


Now it’s time to download out of Internet a set of ready to apply brushes, named dw_flake. The next step, we have to create a new layer, choose the brush on its number 85 and introduce on our picture several snowflakes:
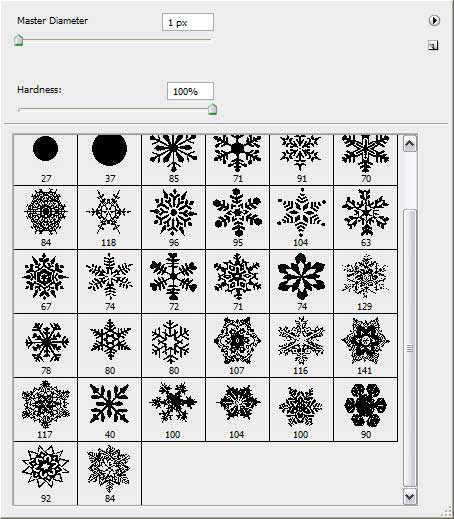

Create another layer, select the brush on its number 70 and picture several more snowflakes the way it is pictured below:

Continue by creating one more new layer and represent on it the snowflakes, choosing the brush number 92 for this manipulation:

Next we have to create a new layer again and select the brush number 80 to insert the snowflakes of the following shape:

On the new layer we’ll apply the brush number 118.

The last step includes downloading our of Internet also a set of ready to use brushes, named blitzahGrungePack002_by_blitzah and choosing out of this set the brush on its number 195 to insert the stars that you may see below:

Our lesson is finished, so is the wallpaper!
View full size here.
Download brushes here.
Page: 1 2
Comments