
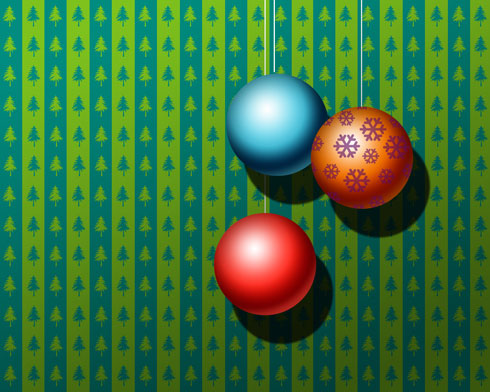
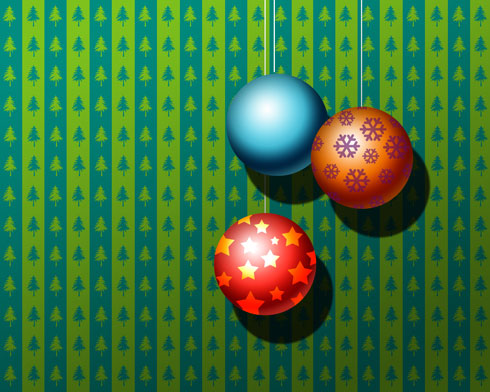
Christmas ornament balls
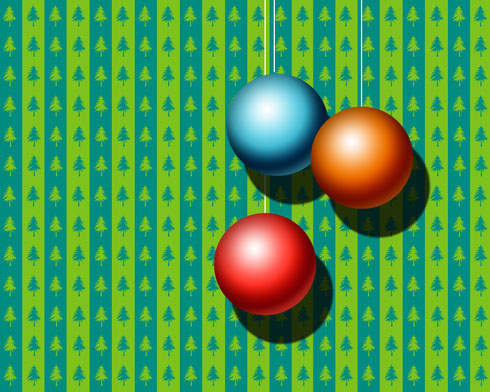
All the balls are already made:

Take now the Line Tool (U) and represent the toys’ threads:
Select the Rectangle Tool (U) and stretch out the figure on the whole canvas. Fill 0% on the layer on the layers’ panel and set the next demonstrated Blending Options:
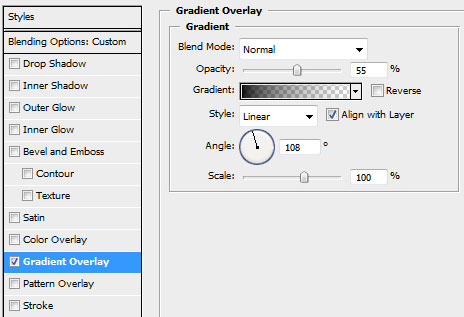

The new layer we’ve got must be situated under the layers containing the balls and the threads:
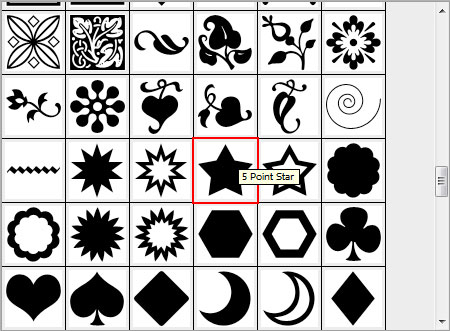
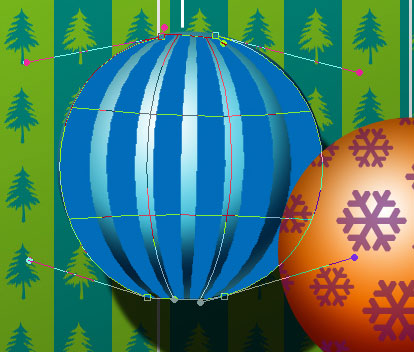
Now let’s decorate the balls. Select again the Custom Shape Tool (U) and choose on the top panel the star and the snowflake figures:
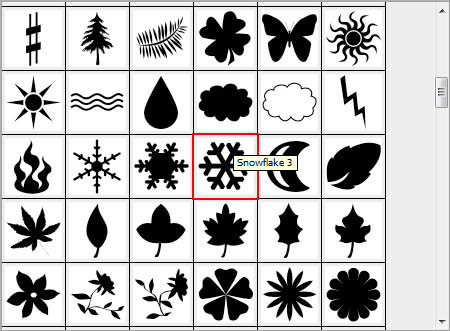
Select for the beginning the snowflake and represent a kind of decoration like the next one. Its color’s code is #5E0B61. Mark out all the layers with the snowflakes applying the (Ctrl+Left Click) on the layers’ palette. Then press Ctrl+E for the layers to be put into a single one. Erase the elements coming outside the ball’s edges, applying the Eraser Tool (E).
Next, let’s place the stars on the picture:
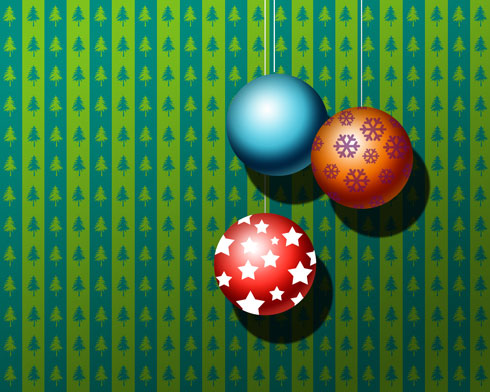
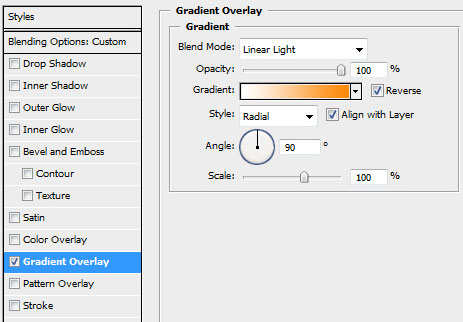
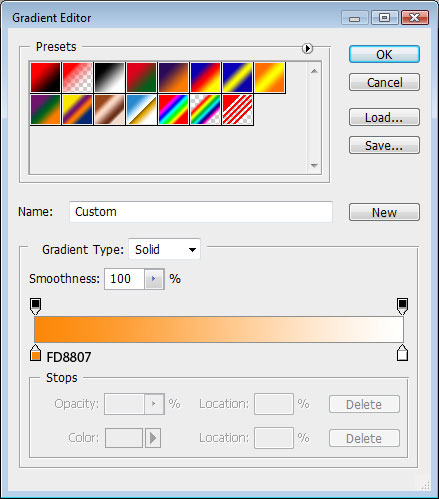
Put together all the layers containing the stars as we did with the snowflakes’ layers. Set the next gradient’s parameters:
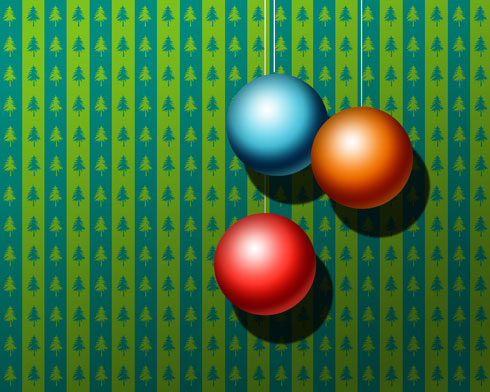
The unnecessary elements should be erased. You should get the next picture on this stage:
Now let’s make several lines we as we did with the wallpapers. The color’s code is #0B296F. Put together all the layers, applying the next transformation (Ctrl+T). Click on the right mouse’s buttons, choosing the Warp option. Fill 40% on the layers and select Blending mode-Linear Light

The final result!
View full size here.
Page: 1 2
Comments