
Christmas Design in Adobe Photoshop CS6 – Red and Gold Christmas Ball on Stars Background
Next we’ll insert several more ellipses, using the Ellipse Tool (U) of the color – #CBA095.
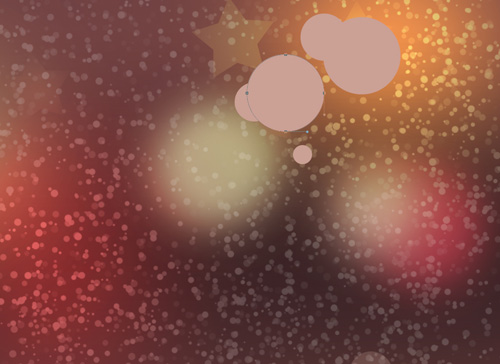
Set Fill to 23% for each layer containing the last made ellipses:
Using the Ellipse Tool (U), we’ll represent one more ellipse of the color #CBBC95.


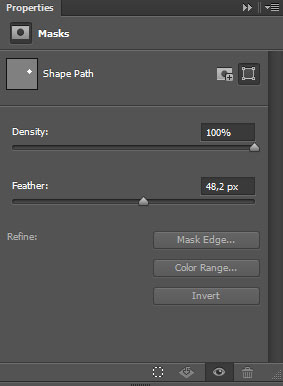
Go to the Mask Panel and set Feather to 48px for ellipse (in case if you can find Mask Panel on the right side just activate it on main menu Windows > Masks):
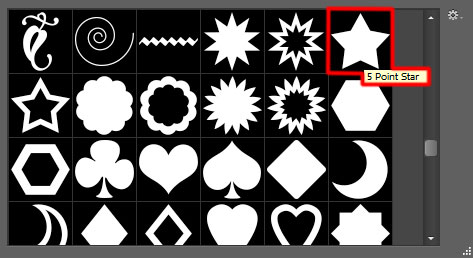
Next we’ll add more stars on the background, select the Custom Shape Tool (U) in the Tools bar, in the Options bar click the Shape to open the selection menu. Find 5 Point Star at the bottom of the menu, and then double-click a shape thumbnail to select it.
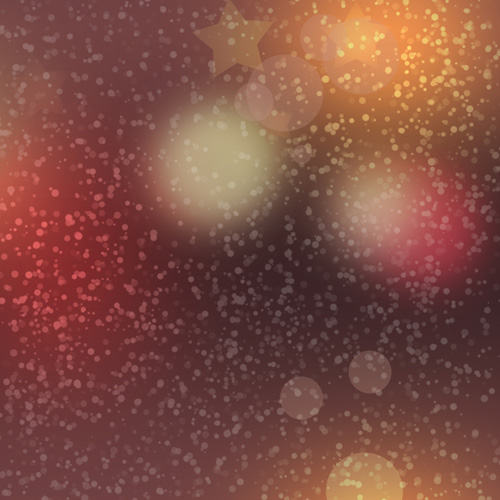
Click and drag to draw the stars as shown:

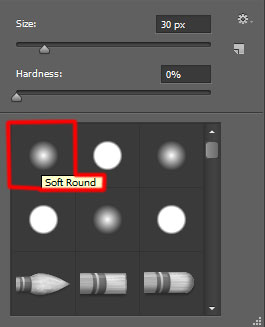
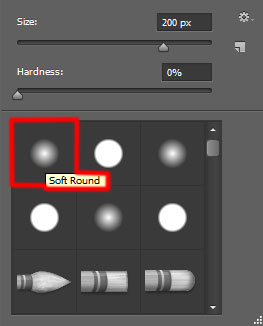
Next we’ll insert the mask on each layer with the star on it, the way described above. Invert the color on the mask (CTRL+I) and select the Soft Round brush of white color, paint in the mask to make visible those parts we need on the stars. Apply the brush with a different Opacity values.
Set Fill to 29% for the layer containing the white star.

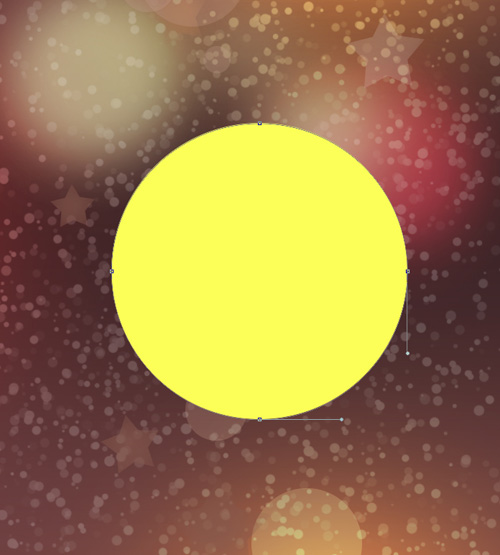
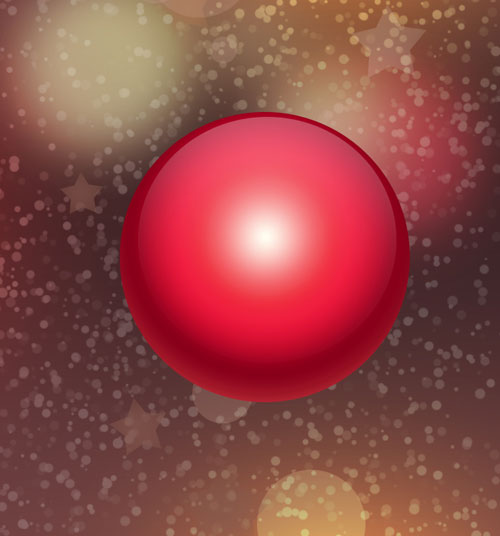
Next we will represent a Christmas ball, take the Ellipse Tool (U) to draw an ellipse.
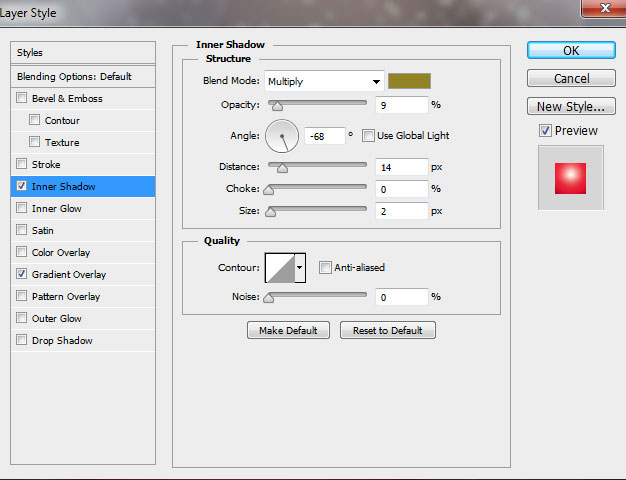
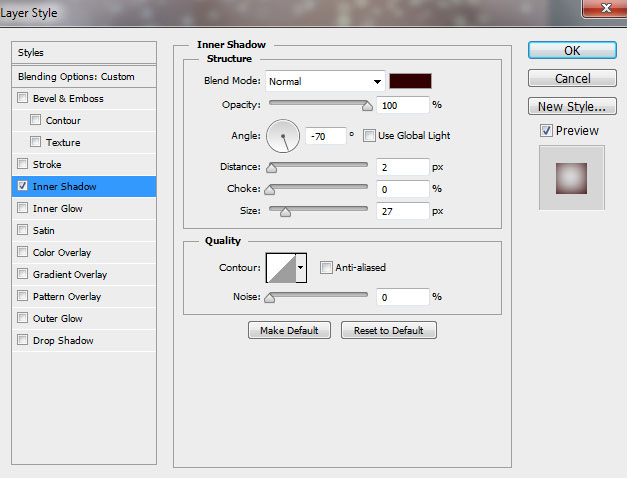
Click on Add a layer style icon from bottom part of the Layers panel and select Inner Shadow:
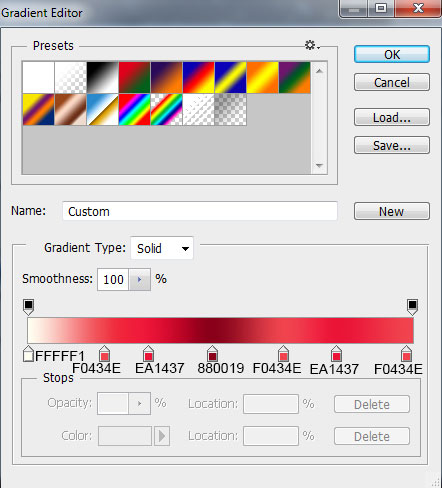
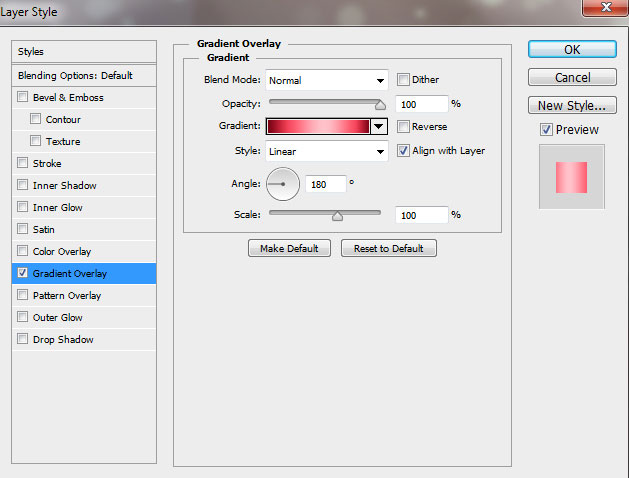
Apply Gradient Overlay:
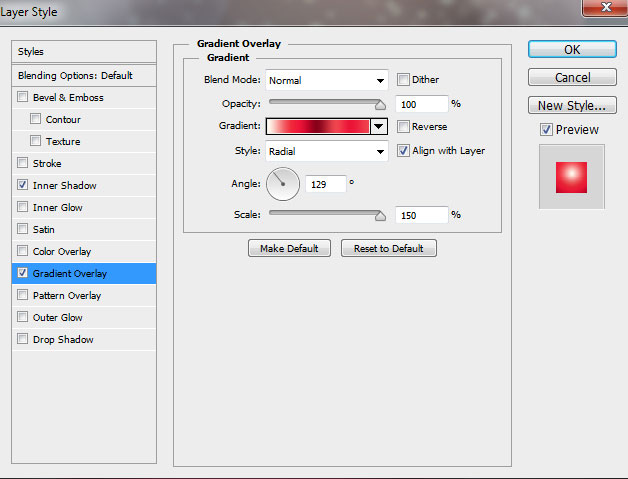
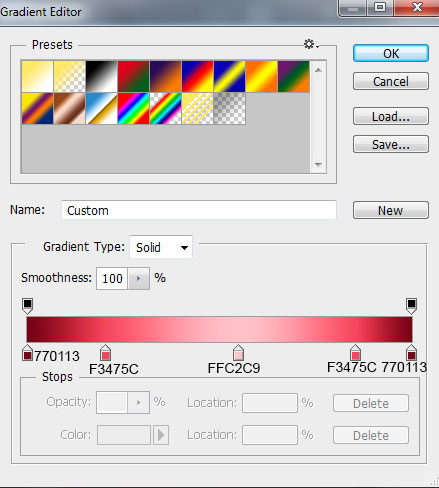
Click in the color bar to open the Gradient Editor and set the color stops as shown. Click OK to close the Gradient Editor dialog box.
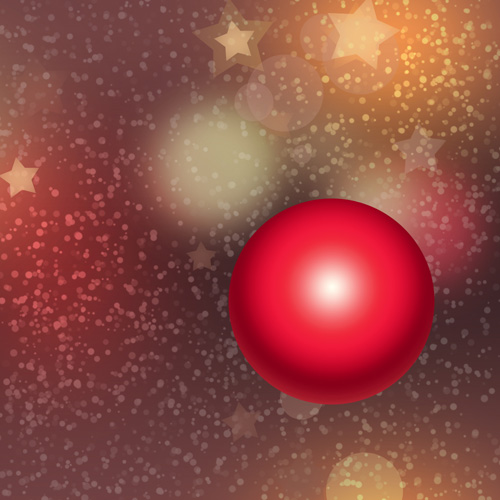
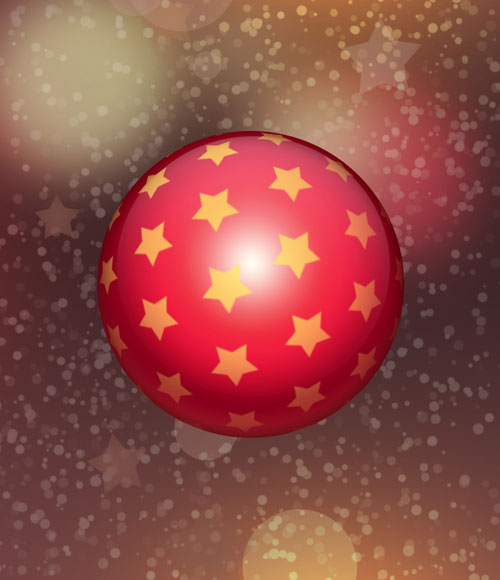
We’ve got the next result:
Next we’ll draw a highlight on the Christmas ball, using the same Ellipse Tool (U).
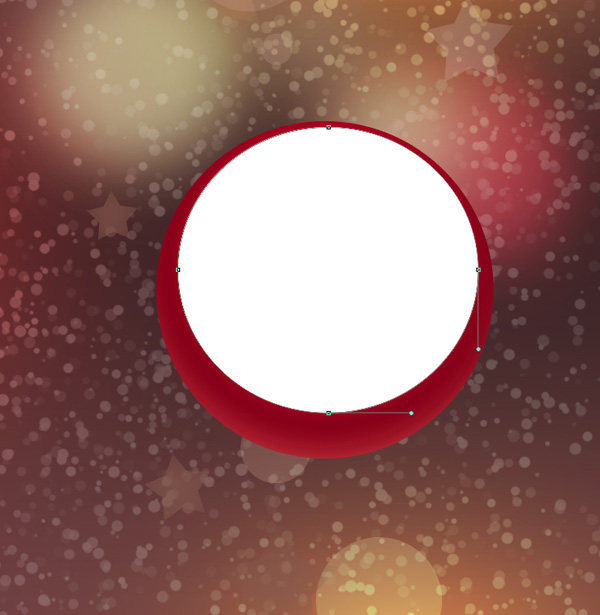
Set Fill to 36% for this layer.
Insert the mask on the layer by choosing Add layer mask on the bottom part of the Layers panel and choose the Soft Round brush of black color (set Opacity to 80% in Options bar).

Paint in the mask using this brush to hide the bottom part of the highlight as it is shown below:
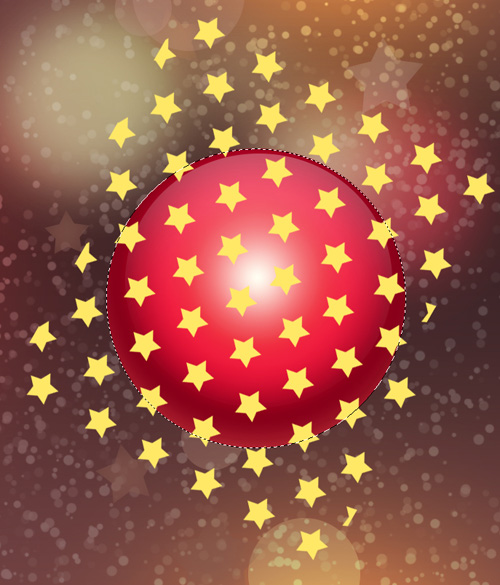
Next we’ll represent the ornamental texture for the Christmas ball, applying the Custom Shape Tool (U) to represent many stars of the same shape, colored with #FFE866.

Now to get the best result we need to combine in a group all the stars layers (press CTRL button to select the necessary layers and hold on the left mouse’s button while dragging the selected layers on Create a new group icon from bottom part of the Layers panel).
Now we need to rasterize the group by selecting it in Layers panel and then pressing CTRL+E to Merge Down.
Using the Free Transform (Ctrl+T) command, we can make smaller the rasterized layer with the stars and incline it on thirty degrees to the right. Make a copy of the rasterized layer and select the Free Transform (Ctrl+T) command to put together the ornament.

Put together both rasterized layers containing the stars into a single rasterized layer (press CTRL button to select the layers in Layers panel and then press CTRL+E to Merge Down)
Then select the layer containing the Christmas ball in Layers panel, hold the CTRL button and click on this layer. We’ll get the next selection:
Apply on the rasterized layer with the stars the next filter: Filter > Distort > Spherize.
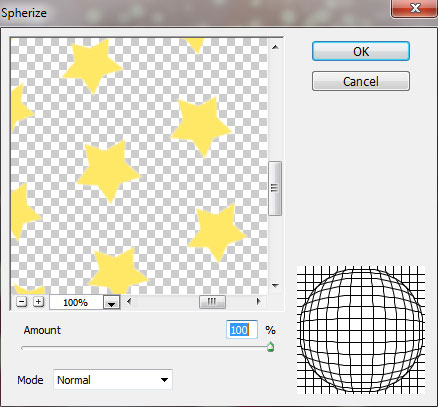
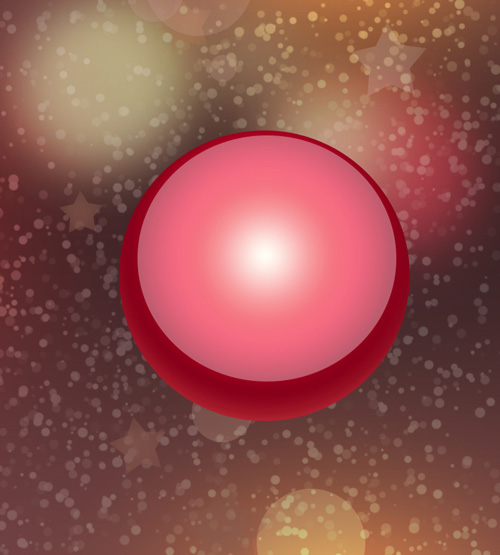
We’ve got the next result:

Click on the bottom part of the Layers panel on Add layer mask to cut out everything beyond the selection.

Set Fill to 75% for this layer and change the Blending mode to Linear Dodge.

The recently made layer must be rasterized with the new one. In this case create a new layer above the stars’ layer in Layers panel, select both layers and press CTRL+E to Merge Down.
Insert the mask on the got layer the same way described above. Then press CTRL+I on the mask to Invert the color and apply the Soft Round brush of white color to make visible the middle part of the stars, leaving a dark zone along the ball’s edges.
We’ve got the next result:

Make a copy of the ball’s layer and remove all the Layer’s styles out of it. Place the copy’s layer above all the layers in Layers panel, set Fill to 0% for this layer.

Click on Add a layer style icon from bottom part of the Layers panel and select Inner Shadow.
We’ve got the next result:
Next we’ll represent the support element on the Christmas ball, applying the Rectangle Tool (U) draw the next rectangle. Place the layer under the ball’s layers.

Click on Add a layer style icon from bottom part of the Layers panel and select Gradient Overlay.
Click in the color bar to open the Gradient Editor and set the color stops as shown. Click OK to close the Gradient Editor dialog box.
We’ve got the next result:

Add the next element on the support, choosing the Ellipse Tool (U) represent the next ellipse with the color #FFF799.

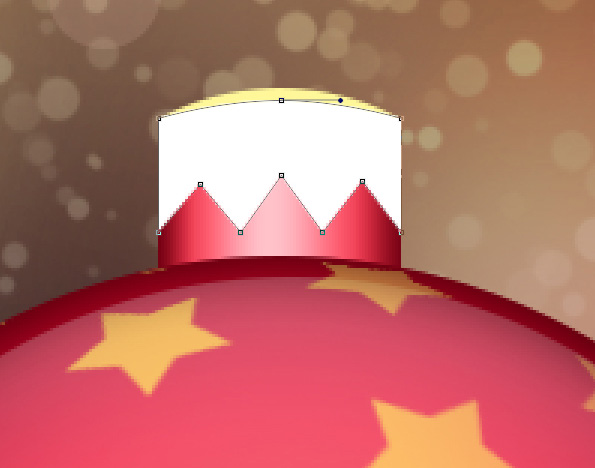
Next we’ll draw the next element of the support part. Using the Rectangle Tool (U) for the beginning, we may represent the basis, and then select the Add Anchior Point Tool to add an anchior point on the upper bound and five more anchior points on the lower bound. Adding anchor points can give you more control over a path. The path may be corrected with the Convert Point Tool.
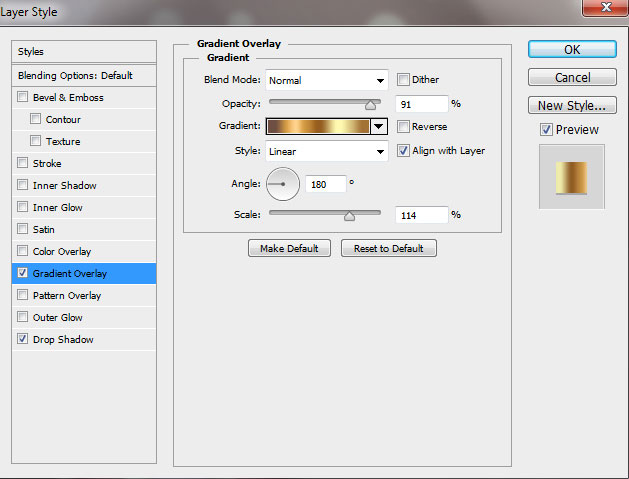
Click on Add a layer style icon from bottom part of the Layers panel and select Gradient Overlay.
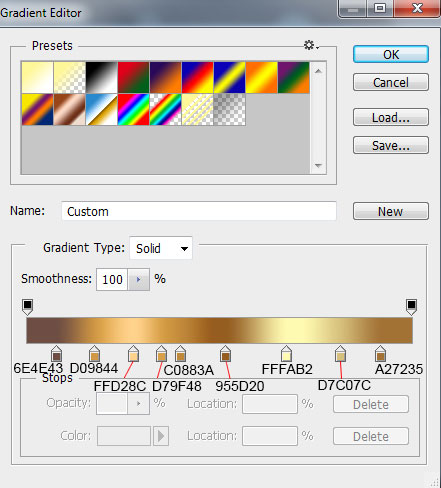
Click in the color bar to open the Gradient Editor and set the color stops as shown. Click OK to close the Gradient Editor dialog box.
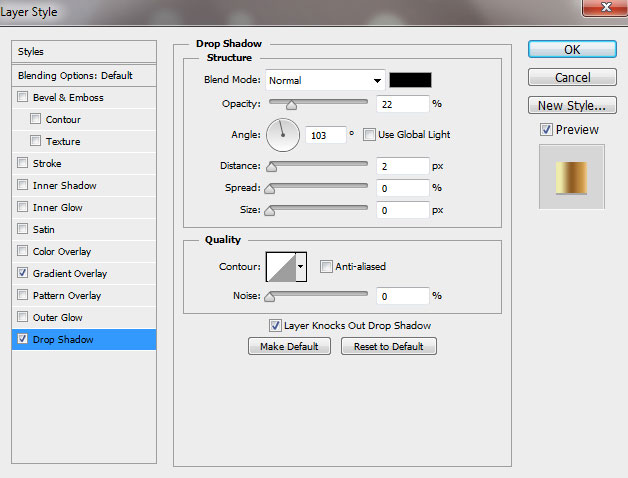
Apply Drop Shadow:
We’ve got the next result:

Comments