
Chat Icon
April 24, 2007 | 0 comments

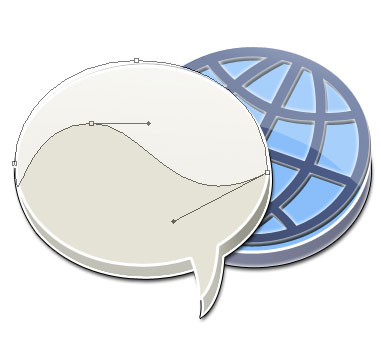
Make a copy of the recently made layer and delete those parameters that we don’t need anymore, changing the color on E5E3D6. Move the figure aside, selecting the same Free Transform option.

The layer’s parameters:
Blending Options>Stroke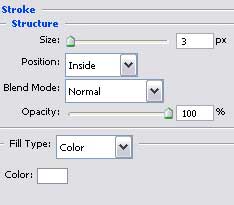
The last step includes creating a flare on the next side of the icon, applying the same Ellipse Tool (U) and moving the lower top the way we did earlier.

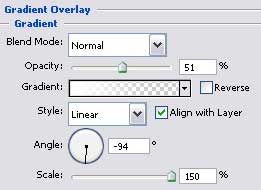
Change the layer’s parameters with those indicated below and Fill 50% on the layers.
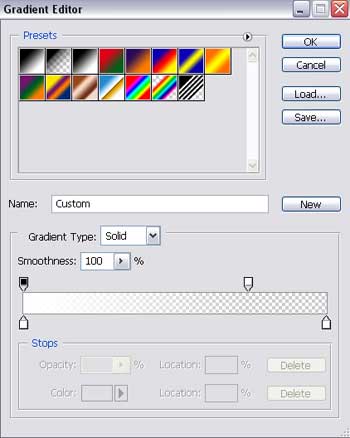
Blending Options>Gradient Overlay
Gradient’s parameters:

The icon is finished!
Comments