
Brain cells effects
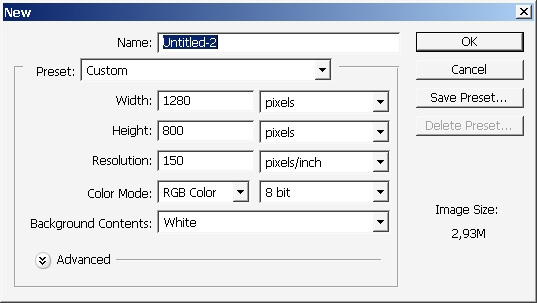
I welcome you in making brain cells tutorial. In this tutorial we will (actually) create a happy looking interpretation of brain cells. We will use multiple gradient overlaying and a lot of transforming as a technique. So we’ll basically create a picture out of multiple shapes. So let’s begin.
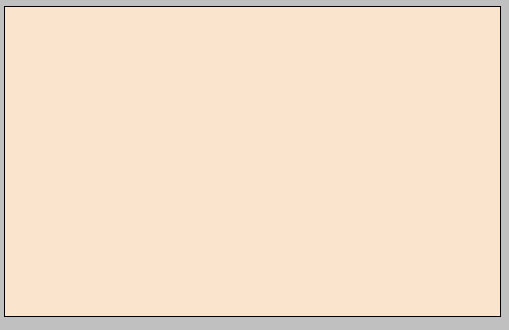
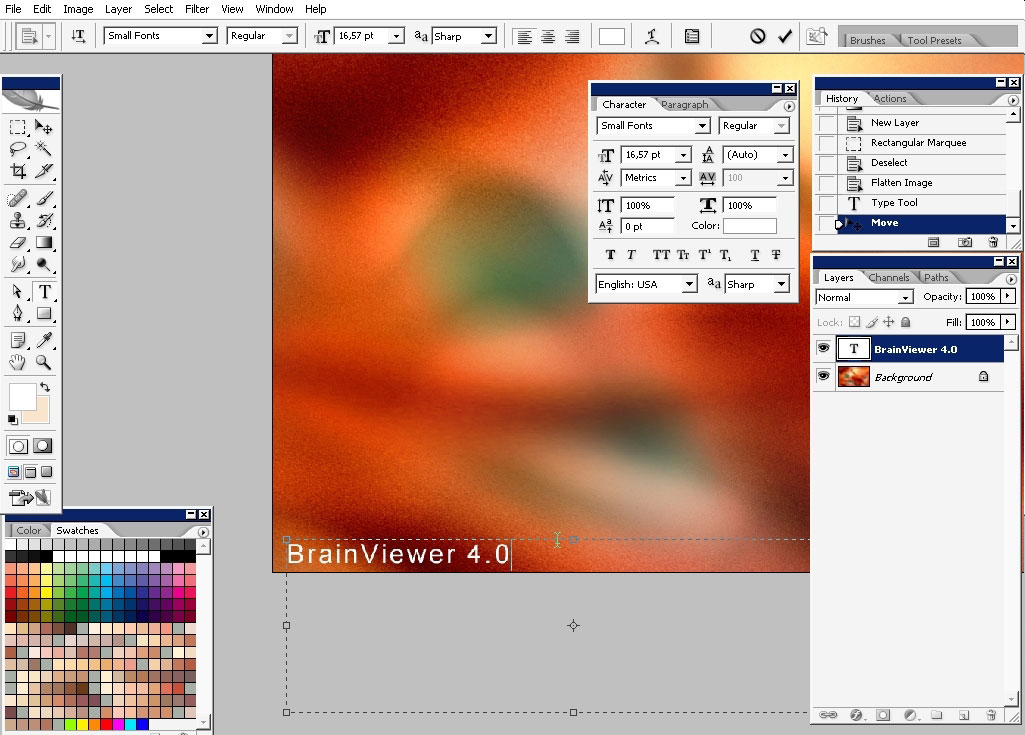
Overlay the layer with such color.
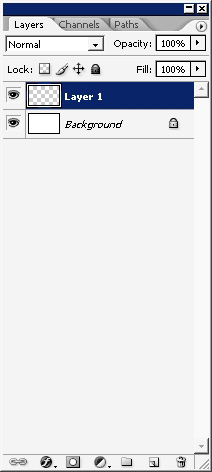
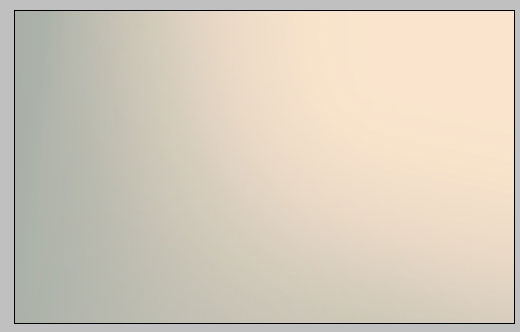
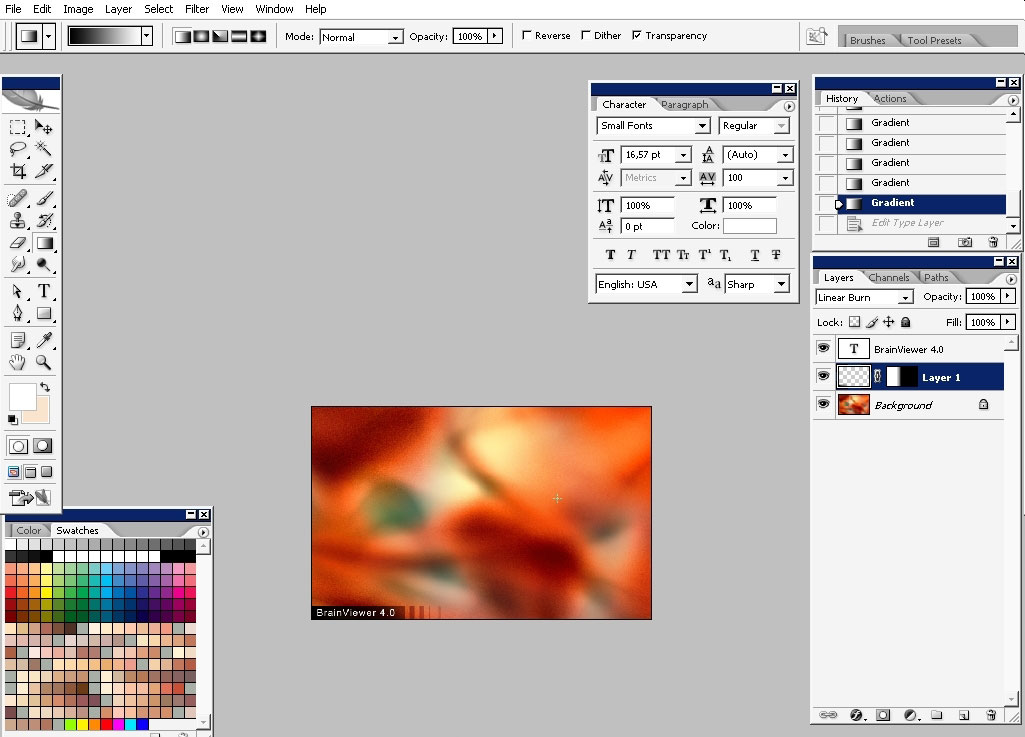
Create another layer. This layer we will fill with gradient.


I’ve chosen the color of the gradient not to push the contrast.
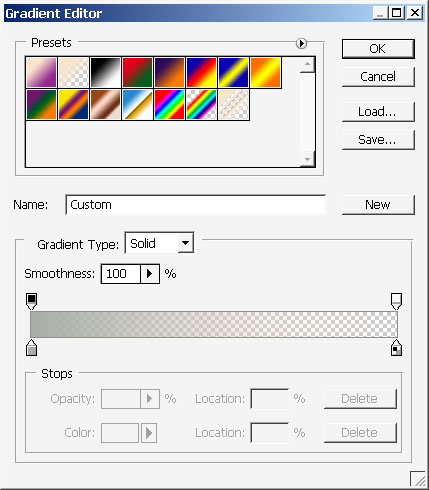
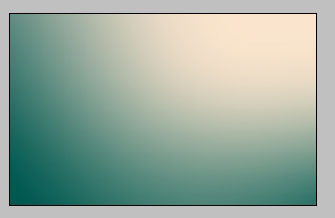
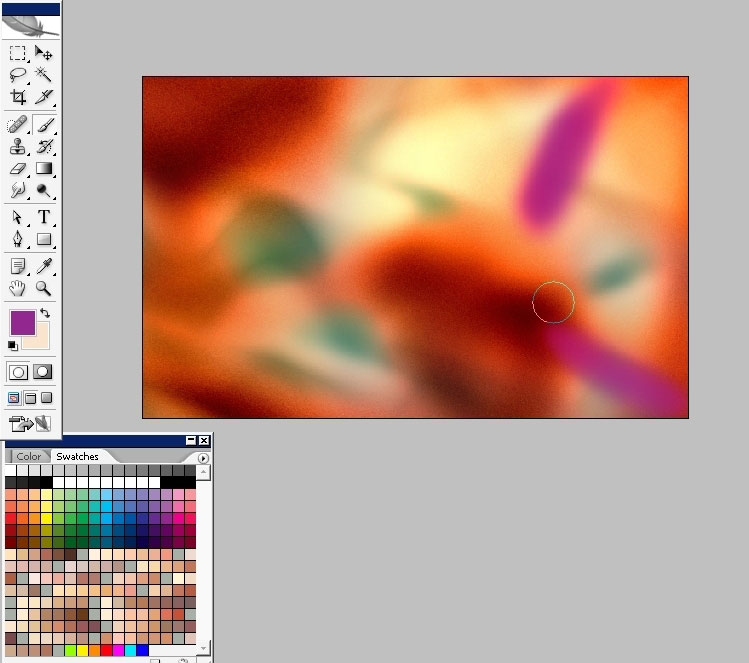
Create another layer. This time I’ve picked the color of the gradient to push the contrast.
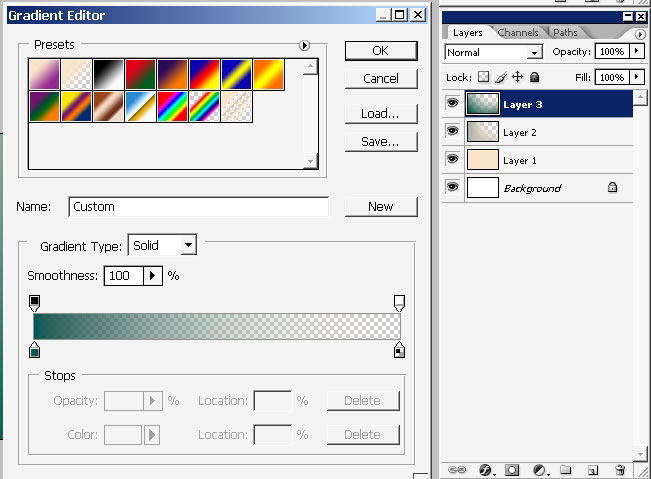
I’m still staying in the warm colors.
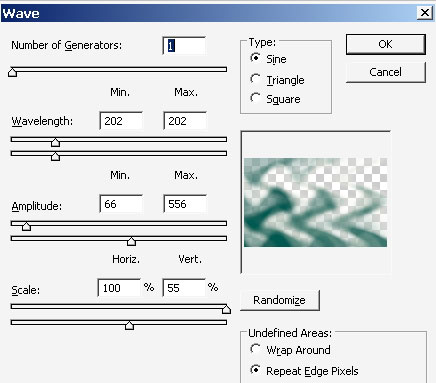
Next stage: Creating waves.
SO we need some pattern and less straight line blending here. I will use wave filter on the green layer, the layer that has green gradient spilled over it) .
Here are my wave filter settings.
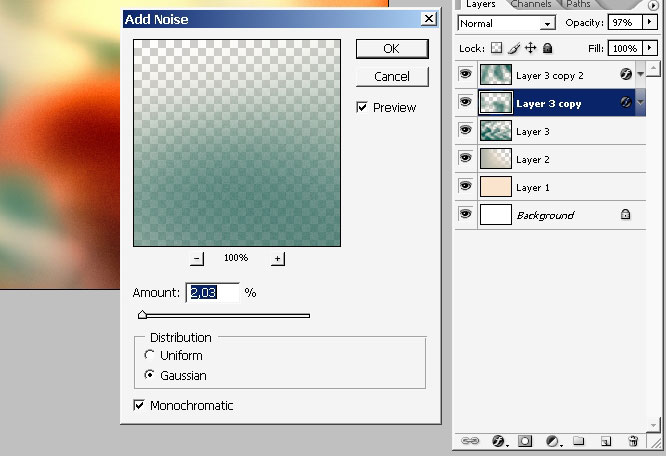
I always create a copy of the layer if I want to text some filters or color variations. I think it’s better to delete the layer then to tap Ctrl+Shift+Z all the time, and not only this.
I’ve tried to get something out by transforming the wave top copy.
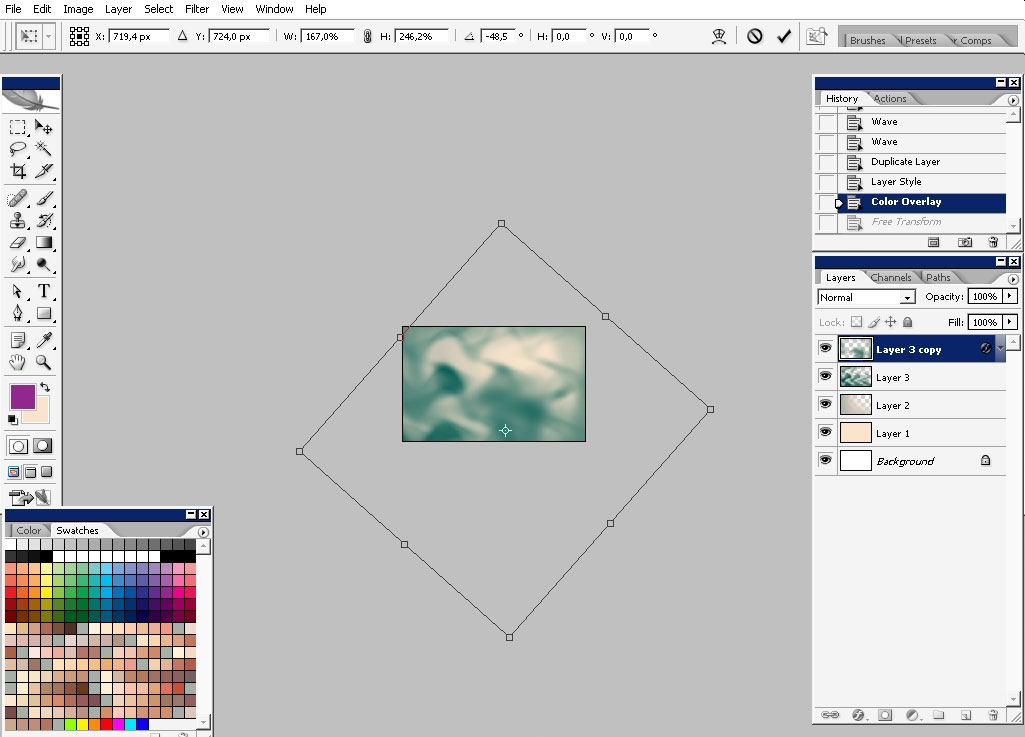
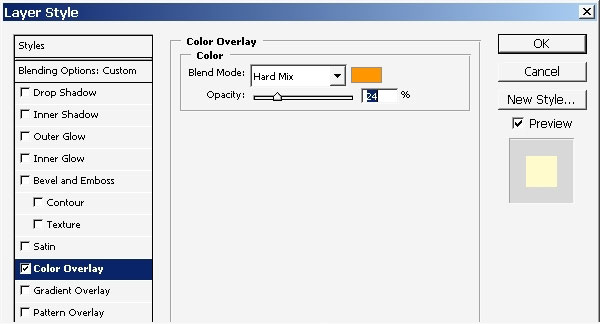
To add some color tones I’ve overlaid the wave top layer with red color using layer styles.
Here are the settings.
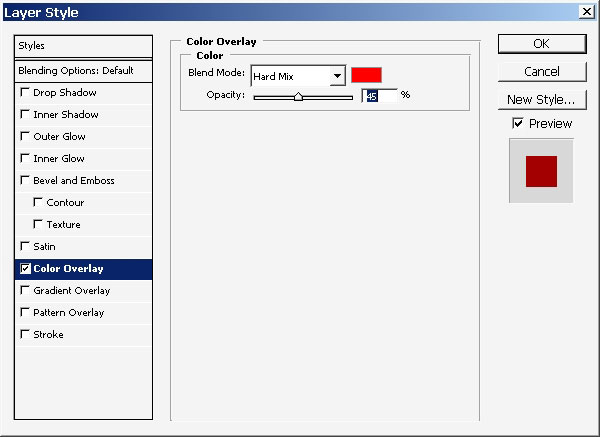
And here is the result.
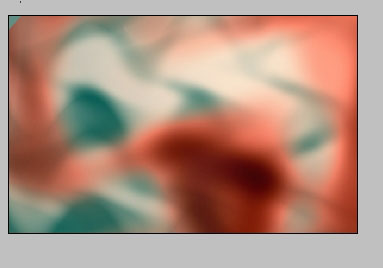
I think that red is a good color to use here, so I will continue.
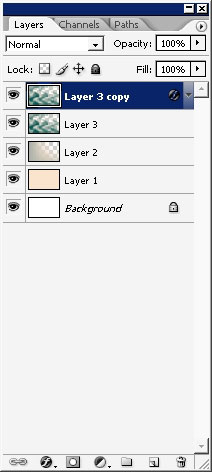
Create a copy of this very layer we’ve overlaid color with just now.
Only this time we’ll change the tone and definition of our layer style.
Result:
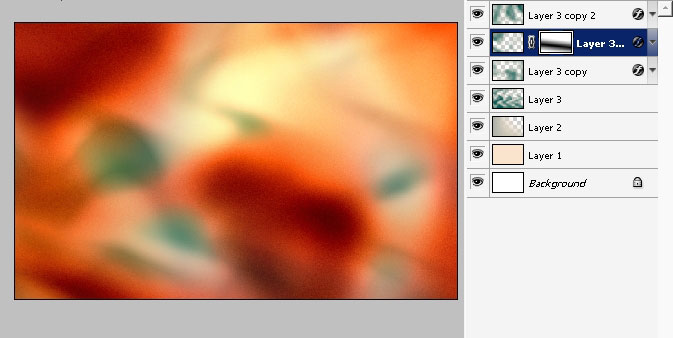
Choose the initial layer that has RED color overlay in layer styles and apply some blur on it.

We need this to spread the effect a little bit more; this time color overlay.
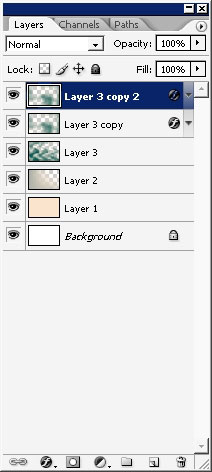
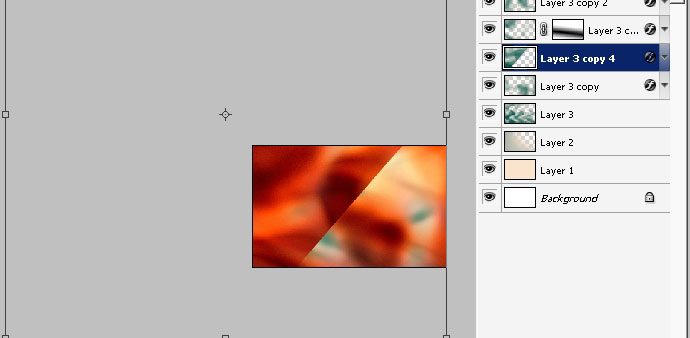
Make another copy of the layer3 copy.
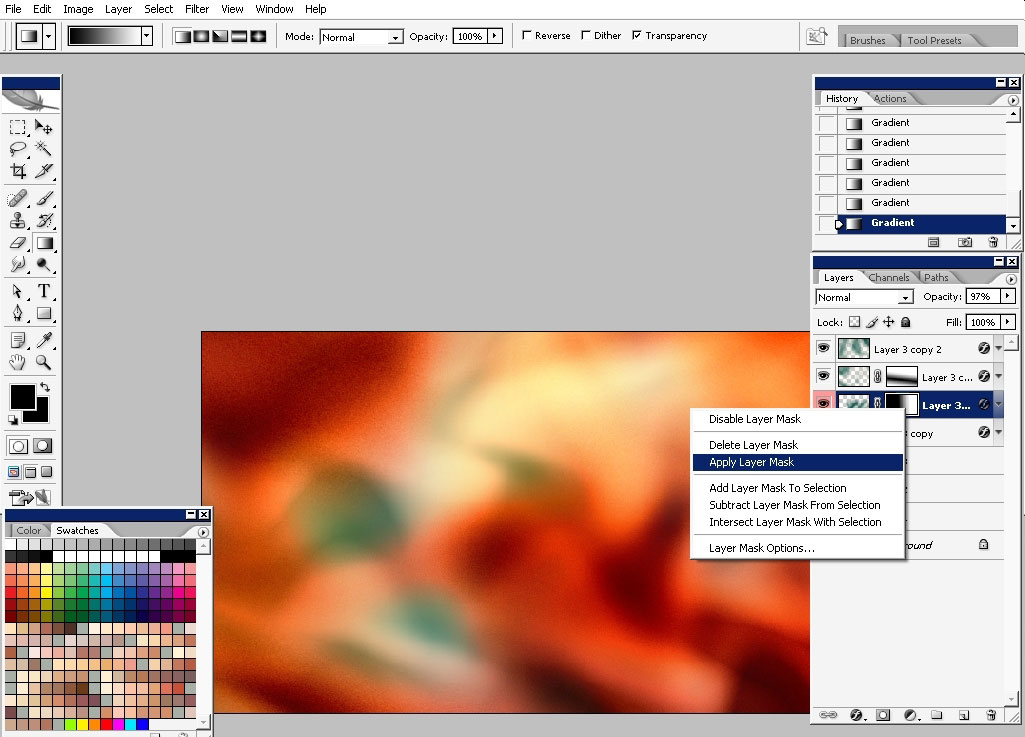
Make some transformations on the both of the layers.
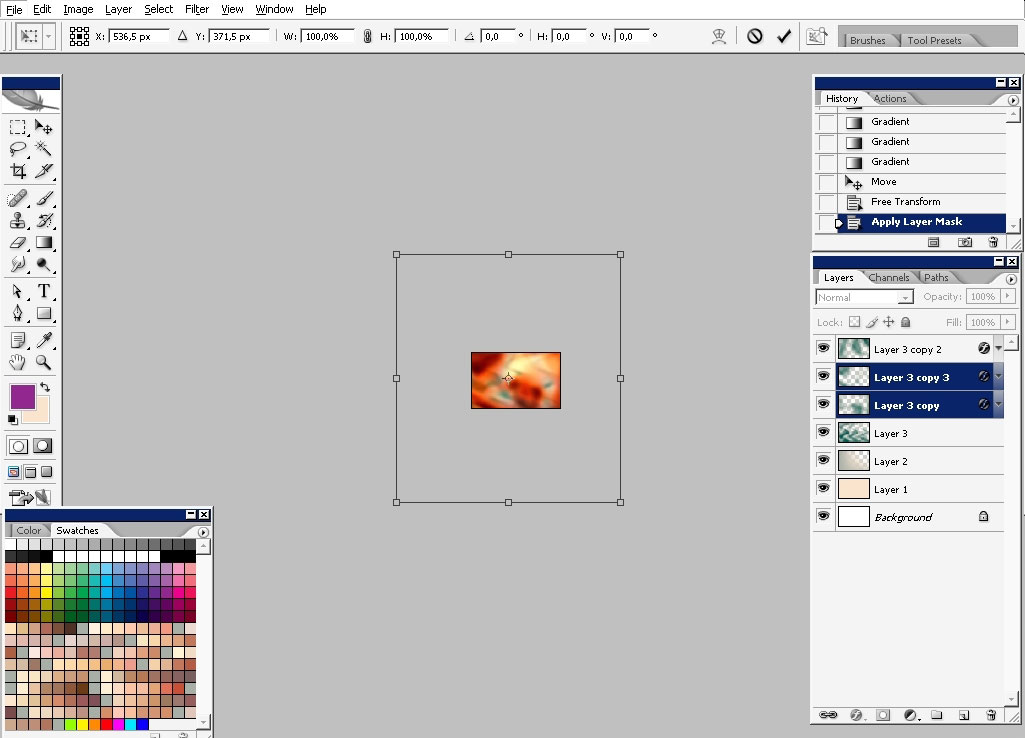
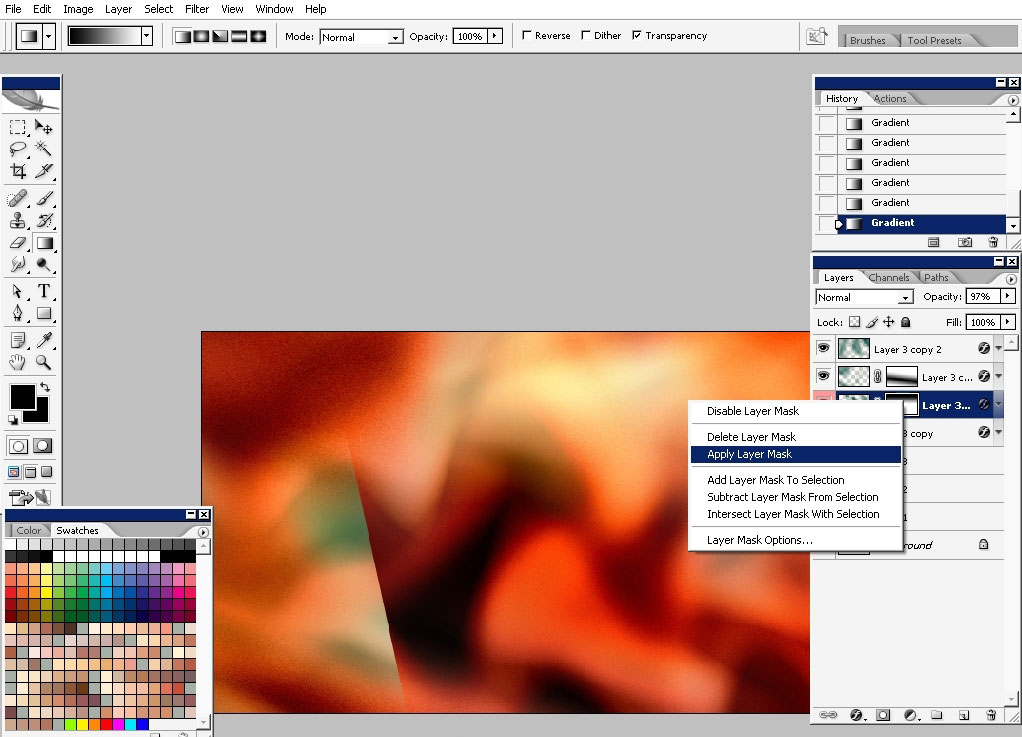
And apply layer mask with gradient on it, hiding the parts of the effect in the center area.
Somewhere here I’ve realized that I want to create something that reminds of brain cells…. or something.
So we have to create something like cell canals or don’t really know the name of it.
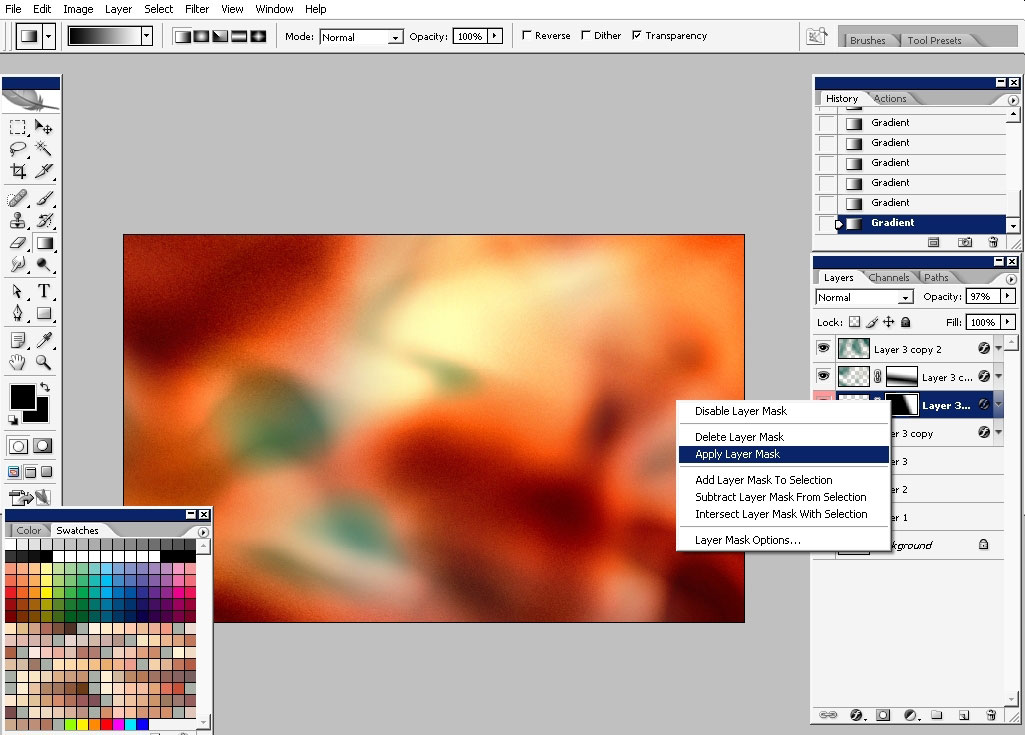
For creating these I will use only the layers we have already and masks to hide the parts of the layer I want.
Here is another copy of the layer 3 copy.
The canal should be somewhere around here.
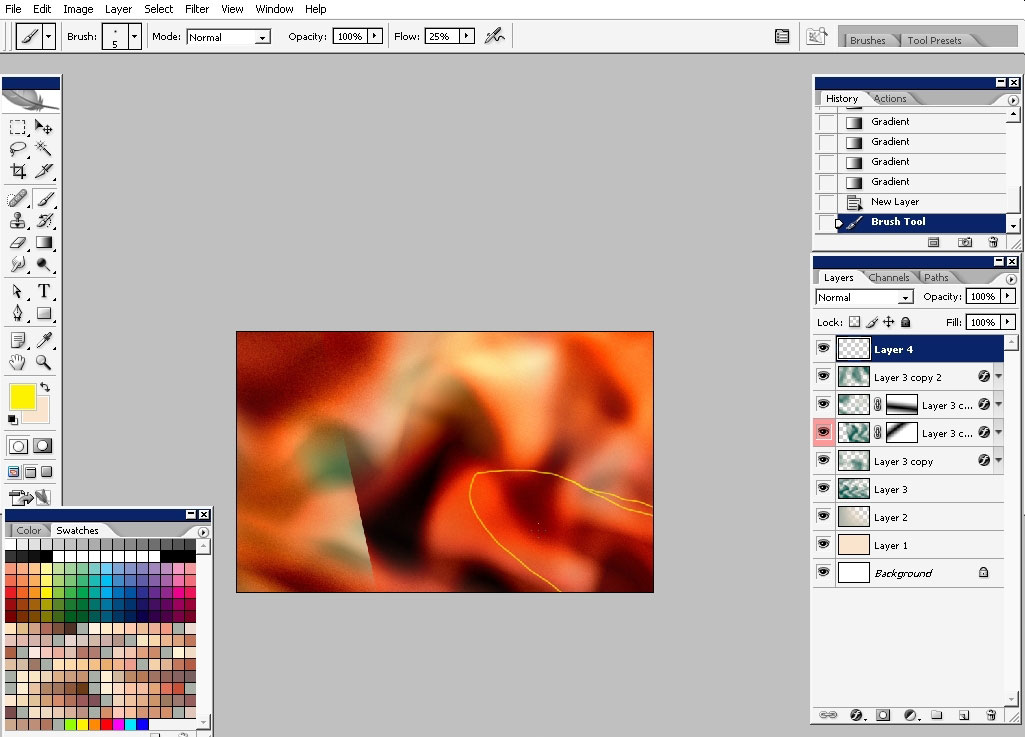
So we’ll just pick up the layer, turn on some part of our imagination engine) and apply a lot of masks to leave only the parts we want.
You can create thousands of masks on one layer, only apply the previous mask to create next one.
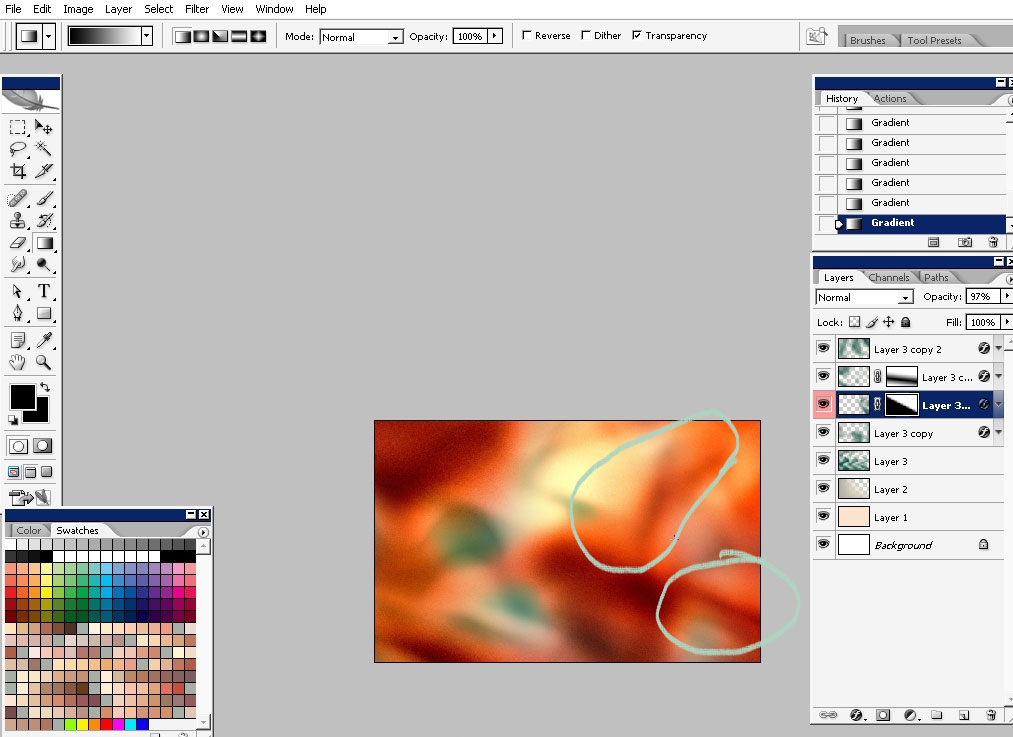
Make the parts to fit the whole picture.
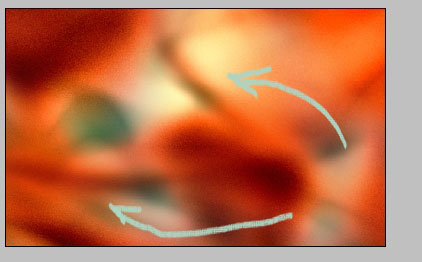
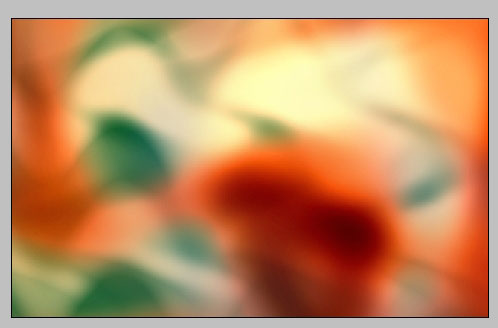
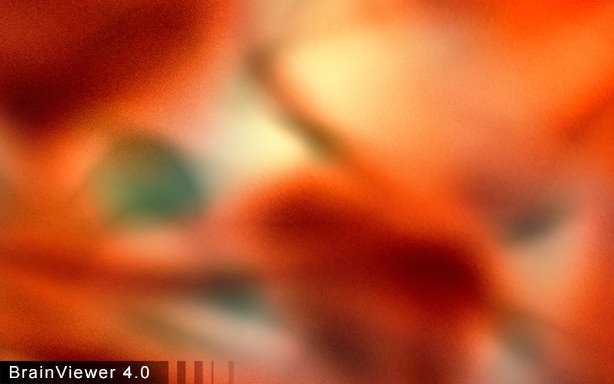
Some text for better understanding what is going on here and here we have our picture done. It is a little bit blurry so you can apply unsharpened mask or just sharpen the image. Anyway it is better to view from the side.
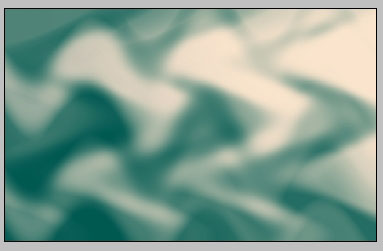
The final image:
Comments