
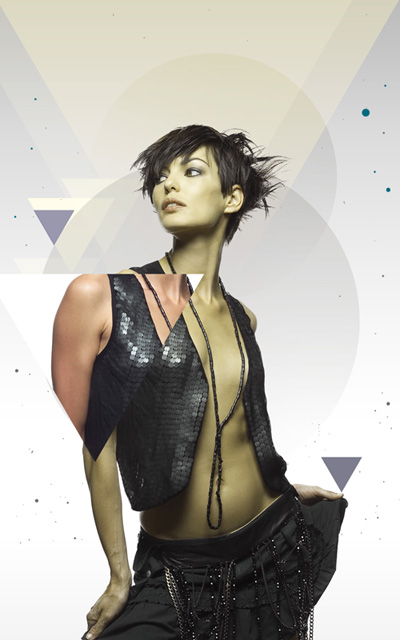
Blending fashion image with Photoshop CS5 custom shapes
Make a copy of the layer with the girl on it and apply the Free Transform (Ctrl+T) command to place the layer the same way as below:

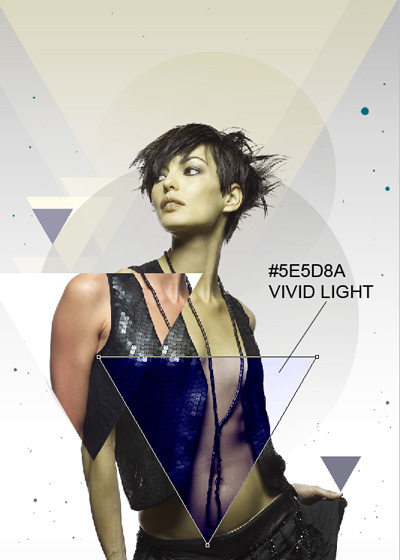
Let’s create a clipping mask to make the content of the layer containing the girl only visible within the content of the triangle layer. Hold down Alt (Windows) or Option (Mac OS) and click between layer with girl and the layer with triangle shape (on the Layers panel).

We’ve got the next result:
Continue representing the triangles, applying the Custom Shape Tool (U).
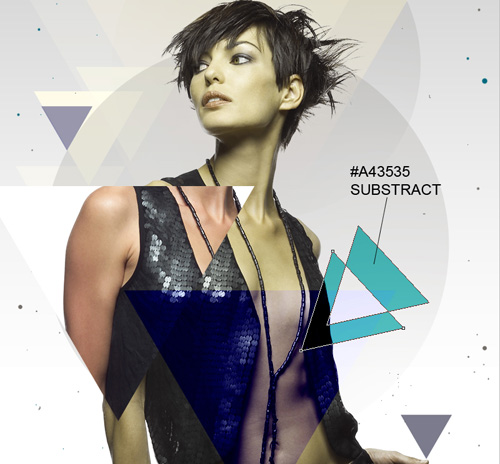
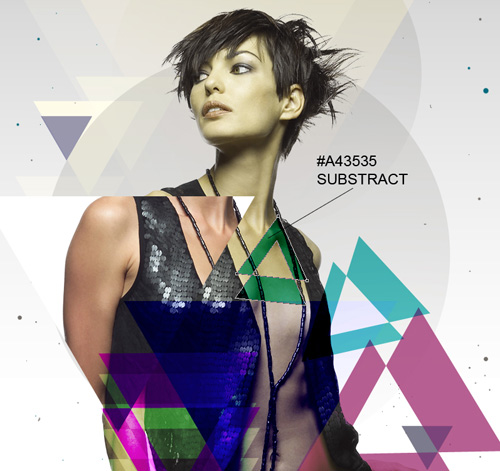
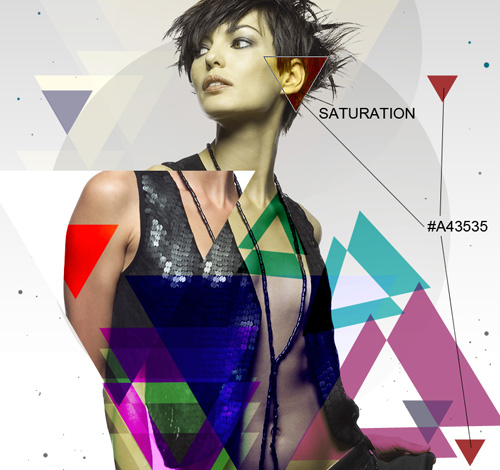
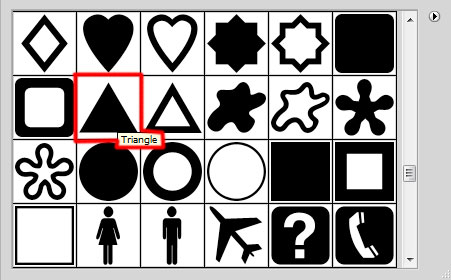
Next we’ll try to draw multiple shapes in a layer. Select again the Custom Shape Tool (U) in the Tools bar, in the Options bar click the Shape to open the selection menu. Find Triangle shape at the bottom of the menu, and then double-click a shape thumbnail to select it. Click and drag to draw a triangle of #A43535 color. Select Exclude overlapping shape areas option from Options bar, press SHIFT button and drag to draw another triangle in the same layer as shown. Set the Blending mode for this layer to Substract (its new feature in Photoshop CS5, the Subtract blending mode. You can watch a video about New blending modes in Photoshop CS5).
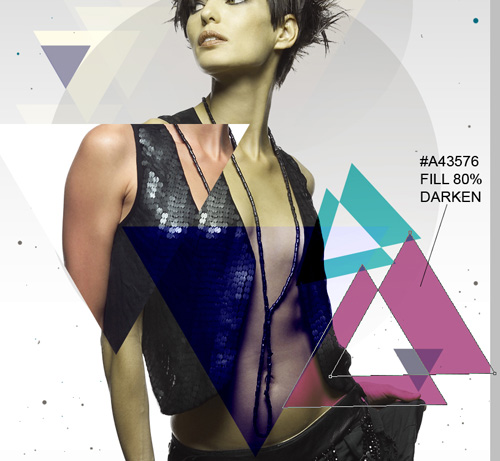
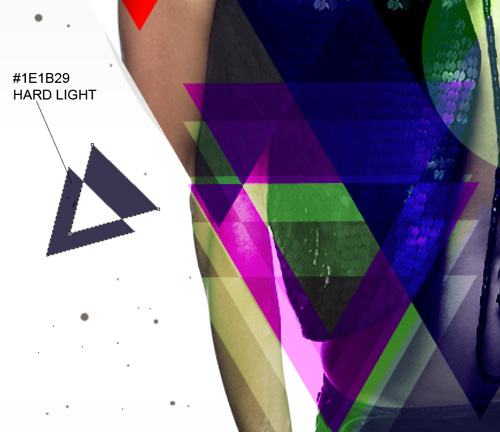
Using the describe method draw another custom shape as shown.

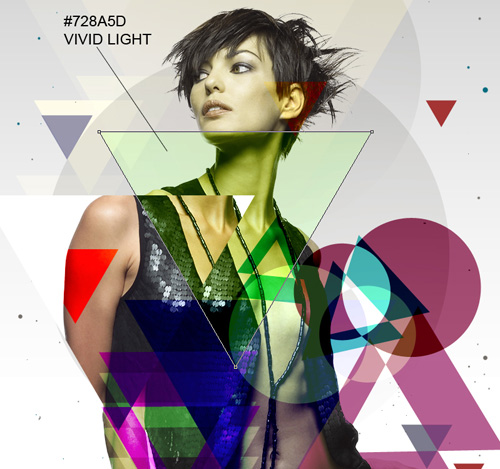
Make a copy of the last made layer and apply the Free Transform (Ctrl+T) command to turn over the copy’s layer to get the same image as below and select also the next Blending Mode for this layer.
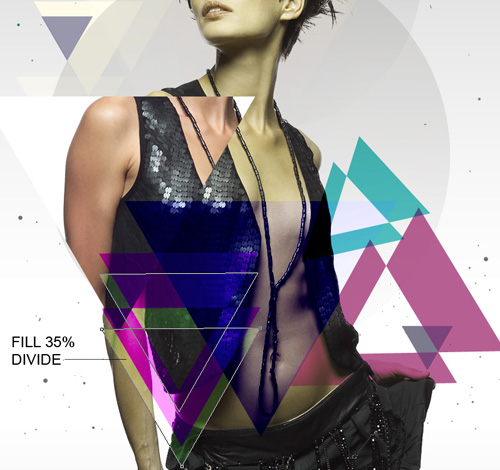
Make one more copy of the triangles’ layer and choose the Free Transform (Ctrl+T) command to place the copy the same way demonstrated below and set the Blending mode to Divide for this layer (its new feature in Photoshop CS5, the Divide blending mode).
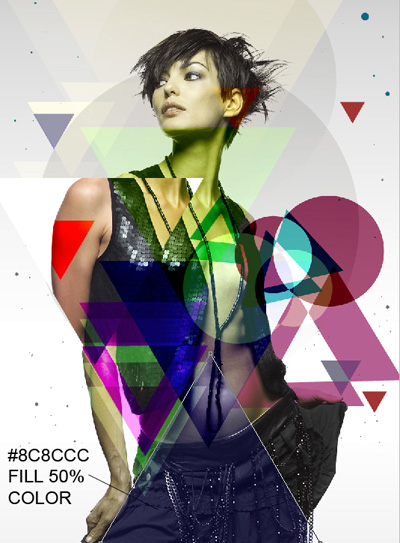
Make a copy of the last made layer and apply the Free Transform (Ctrl+T) command to move the copy’s layer as it is indicated below:

Make one more copy of the triangles’ layer and use the Free Transform (Ctrl+T) command to turn over the copy’s layer, getting the same result as below. We have to change also the Bending Mode to Substract.
Using the Custom Shape Tool (U), let’s draw more triangles.

Make three copies of the last made layer and apply the Free Transform (Ctrl+T) command to place the copies as it is shown below:
Next we have to apply the same method of drawing the multiple triangles in a layer to represent a couple of ellipses. Select Ellipse Tool (U) and draw the first ellipse. Click the Exclude overlapping shape areas in Options bar, press SHIFT button and drag to draw another ellipse in the same layer as shown.

Make a copy of the last made layer and choose the Free Transform (Ctrl+T) command to turn the copy’s layer.
Use again the Custom Shape Tool (U) to represent other triangles.
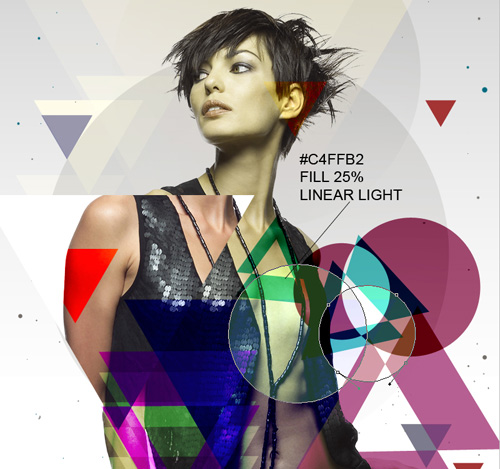
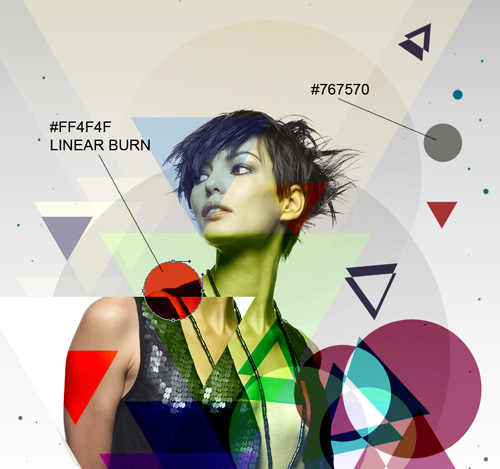
Click and drag to draw the triangle shape. The color and Blending mode for this layer are indicated in the next picture.
Make a copy of the last represented layer. Use Free Transform (Ctrl+T) command to place the shape as shown.
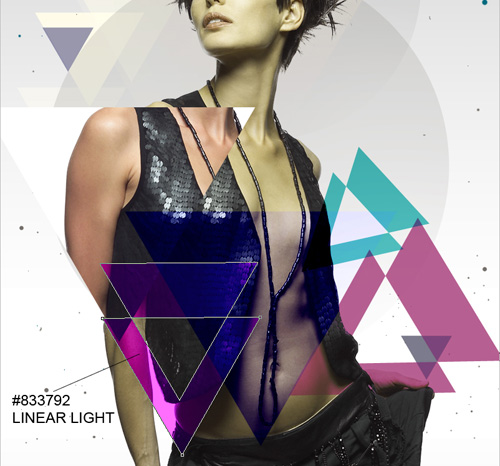
Let’s represent now multiple triangles in a layer again. Use Custom Shape Tool (U) to represent the first triangle. Click the Exclude overlapping shape areas in Options bar, press SHIFT button and drag to draw another triangle in the same layer as shown.
Make a copy of the last made layer and select the Free Transform (Ctrl+T) command to change the size and placement of the copy.

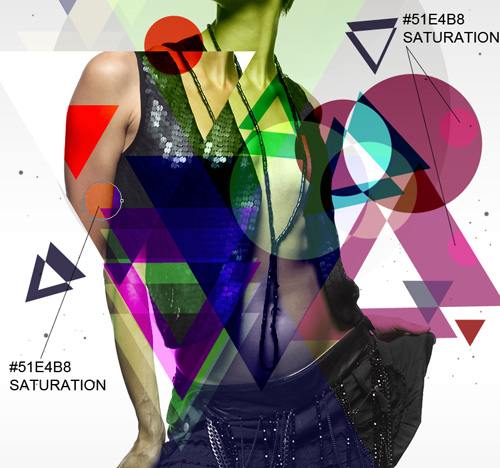
Let’s draw another couple of triangles, using the Custom Shape Tool (U).

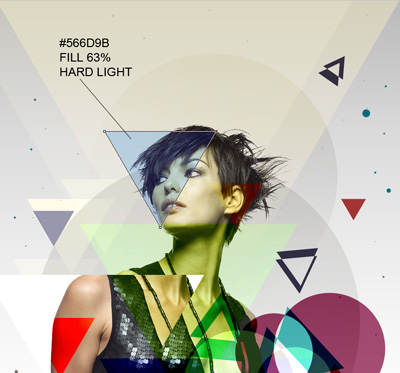
Draw the next triangle shape with the Custom Shape Tool (U). Set Fill to 63% and change the Blending mode to Hard Light for this layer.
Using the Ellipse tool (U), we’ll represent more ellipses. The ellipses colors and Blending mode are indicated in the next picture.
Finally add the last ellipses as shown.

Finished!
View full size here.
Download free Layered PSD file.
Page: 1 2
Comments