
Artistic Filtering – Page 4
Artistic Filtering
The next filter I used was Underpainting (Filter > Artistic > Underpainting). Remember to select the background copy layer in the Layers palette before applying the filter.
The effects of this filter really don’t show up on an image this small at JPG medium compression. However, you can see that I corrected the “nose problem.”
In this case, I got rid of the unwanted nose coloration by using the eraser on the Colored Image Outline layer. You can erase parts that you find you don’t want accentuated after all. Since this layer was created via Copy, and not via Cut, erasing the copied layer simply reveals the original layer below.
If you need to do a lot of reworking of the Outline layer, you’d be better off going back to square one and recreating your Black Outline layer.
With the Underpainting filtered image, as with the Watercolor filter on the first example I used, the effect was so strong that the Colored Image Outline layer was overpowered no matter the blend mode. Therefore, as I did with Watercolor, I added a copy of the Colored Image Outline layer and set the blend mode of the top copy to Overlay at 60 % opacity. The lower copy used the Normal blend mode, and was at 100 % opacity.
Here is the Layers palette for the Underpainting filtered image.
And, shown first below, you can see the results of this filter.
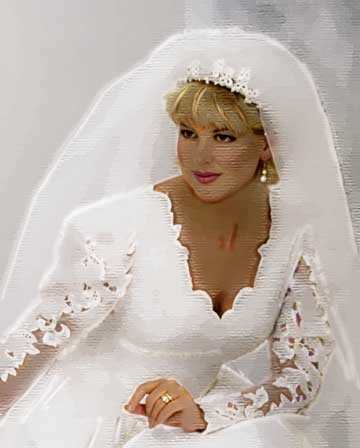
Underpainting with Overlay 60 %
Smudge Stick with Overlay
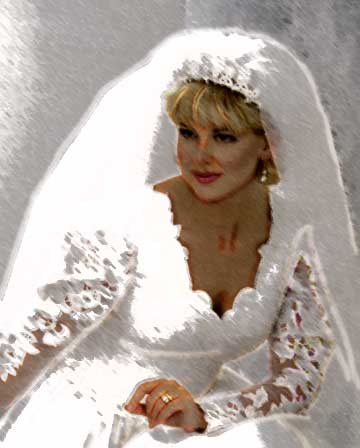
The next filter I applied to the bride image was Filter > Artistic > Smudge Stick. I changed the blend mode of the Colored Image Outline layer to Overlay. Note that this example did not use a second copy of the Colored Image Outline that was used for the Underpainting filter.
The last example I’ll show you with this photo was made by applying Filter > Blur > Smart Blur. In the Smart Blur dialog box, I used settings of Radius – 17, and Threshold – 50. The blend mode of the Colored Image Outline layer was changed to Soft Light.
At the bottom of the page, I’ve added the original, unfiltered image for comparison.
I’ll use a male portrait, next, and then a picture of a flower.

Smart Blur filter with Soft Lights
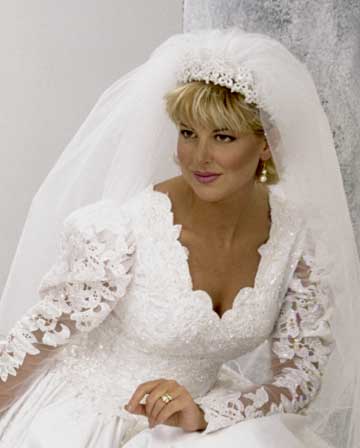
original, unfiltered image

Comments