
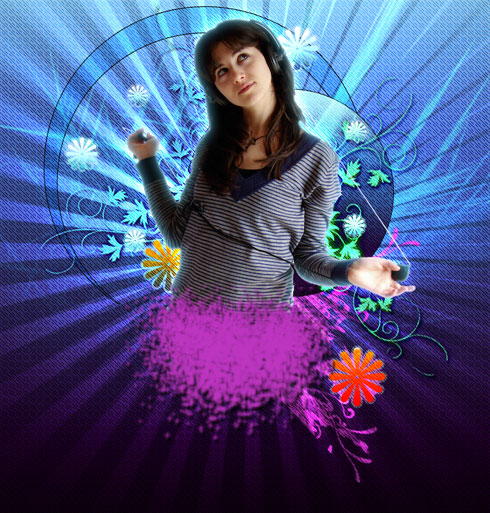
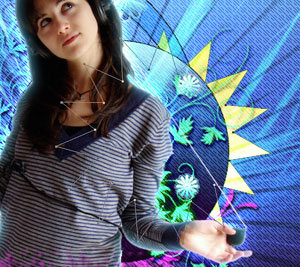
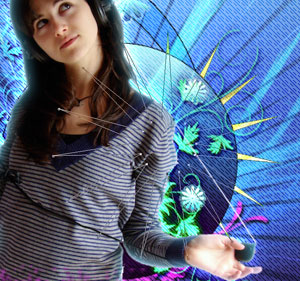
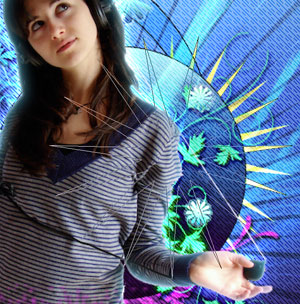
April 2009 calendar wallpaper
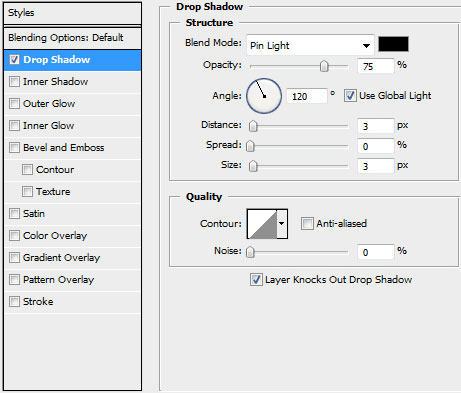
The layer’s parameters: Blending Options>Drop Shadow
Make a copy of the last made layer and use again the Free Transform option to turn around the copy, placing it the next way:

Represent the rays, placing their layers behind the earlier made circle. The color this time is #EBFF79 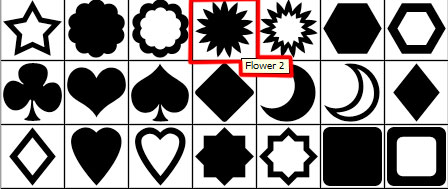
Mark out the inside element’s tops and choose the Convert Point Tool for this operation (holding the SHIFT button, press CTRL+T and then press Maintain aspect ratio to move them uniformly to the central part):
Make a copy of this layer and use the Free Transform option to turn the copy by axe:
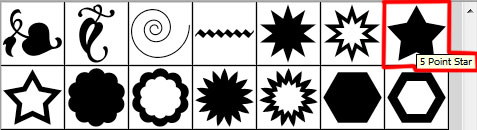
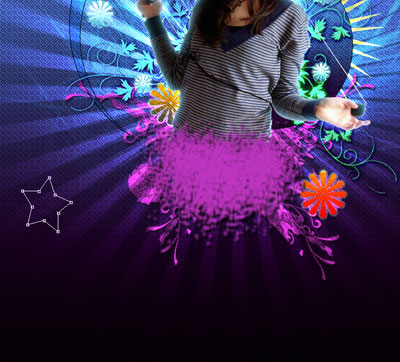
Let’s draw a small star under the layers containing the yellow rays, applying the Custom Shape Tool (U).
Change a little the star’s shape, choosing again the Free Transform option.
The layer’s parameters: Fill 0%, Blending Options>Gradient Overlay
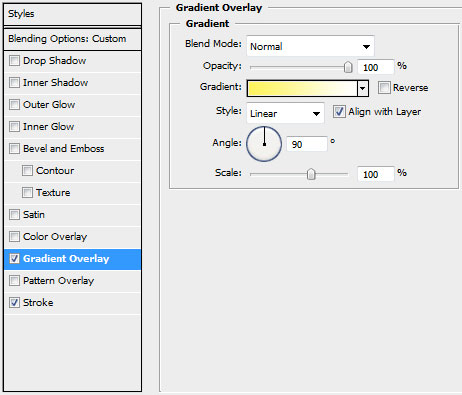
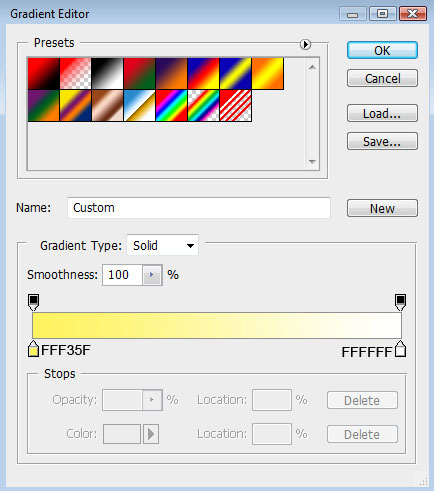
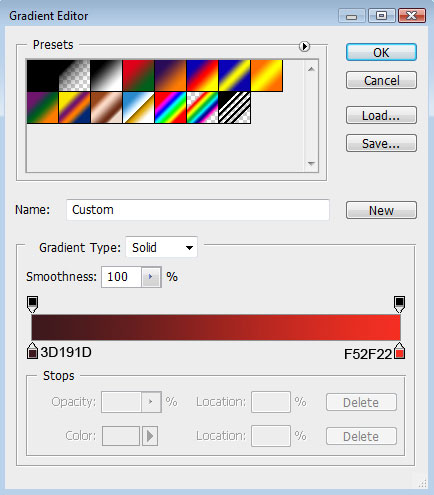
Gradient’s parameters:
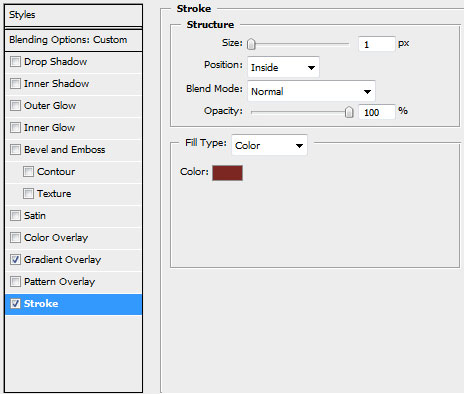
Blending Options>Stroke 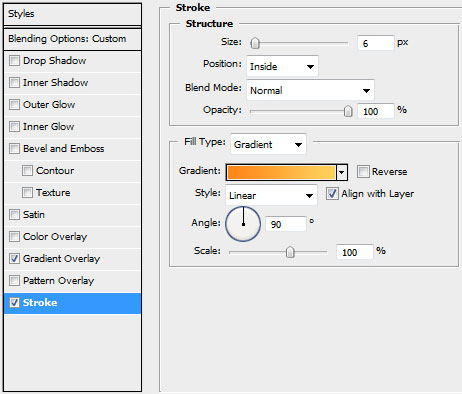
Gradient’s parameters: 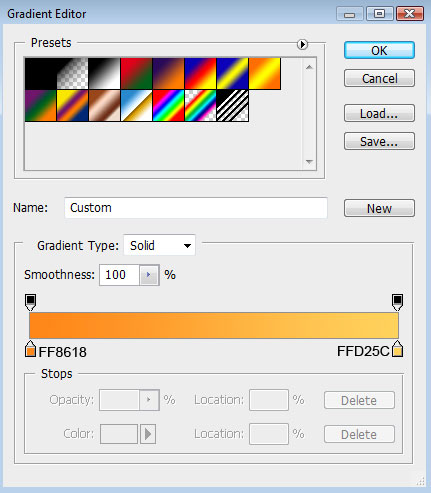
Make three copies of the layer containing the star and select the Free Transform option to change the copies’ sizes and their placement.

Using the Pen Tool (P), try to make a kind of train under each layer containing the star:

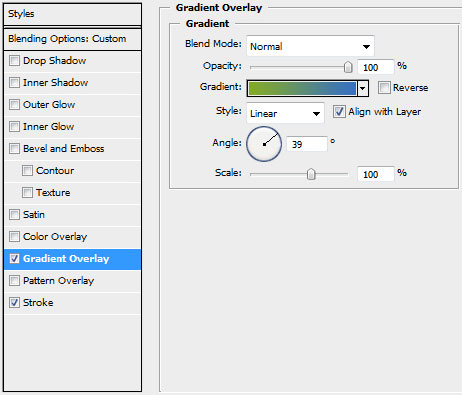
The layer’s parameters: Fill 0%, Blending Options>Gradient Overlay 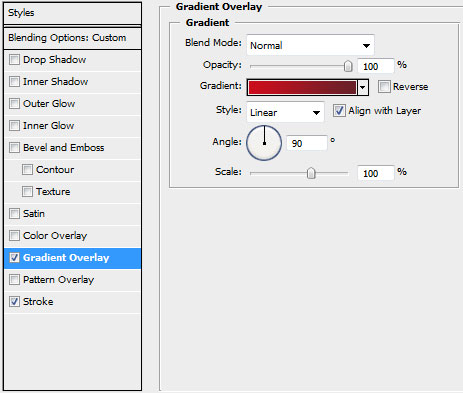
Gradient’s parameters: 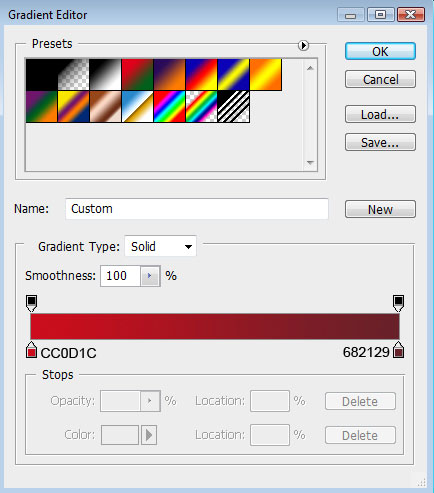
Blending Options>Stroke


Using the same tool, let’s picture the next train:

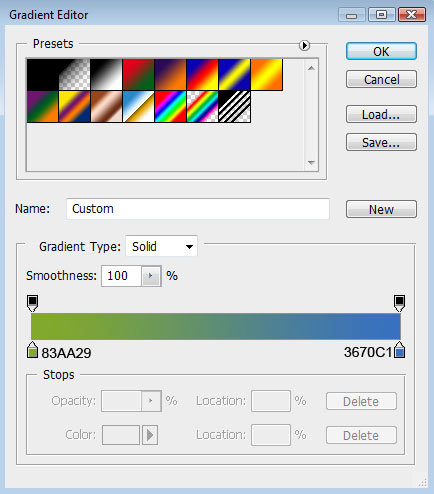
The layers’ parameters: Fill 0%, Blending Options>Gradient Overlay
Gradient’s parameters:
Blending Options>Stroke


The layer’s parameters: Fill 0%, Blending Options>Gradient Overlay
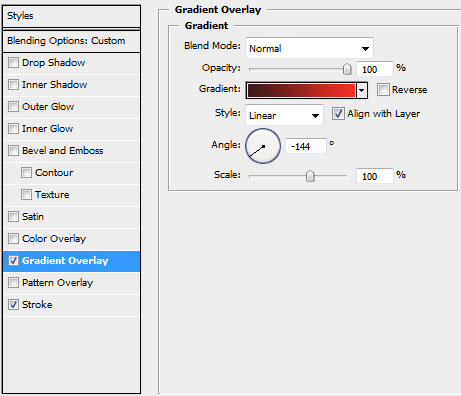
Gradient’s parameters:
Blending Options>Stroke
Comments