
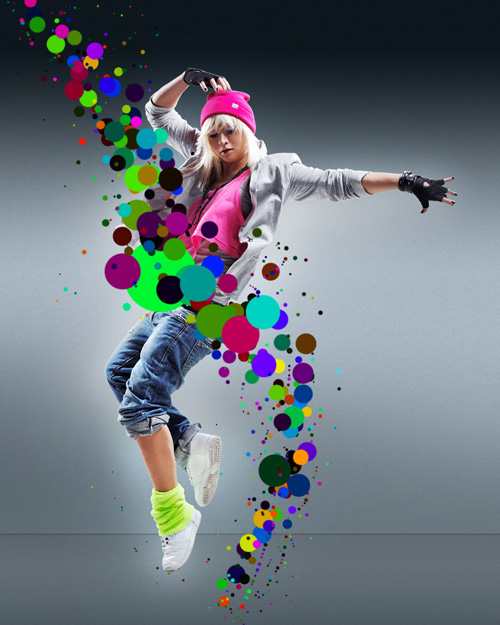
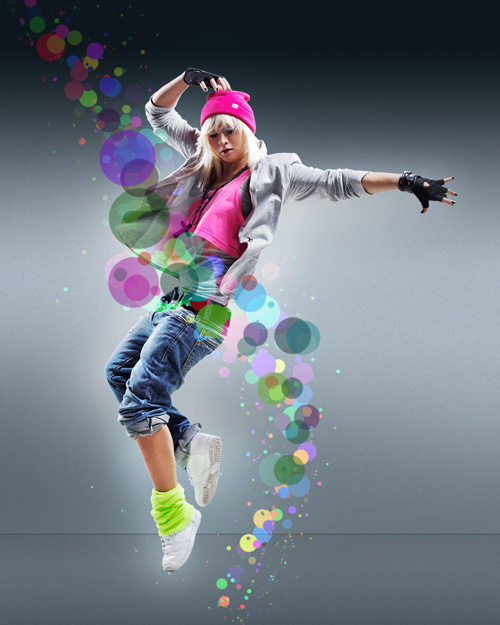
Apply a Fantastic Lighting and Coloring Effect on Images with Photoshop CS5
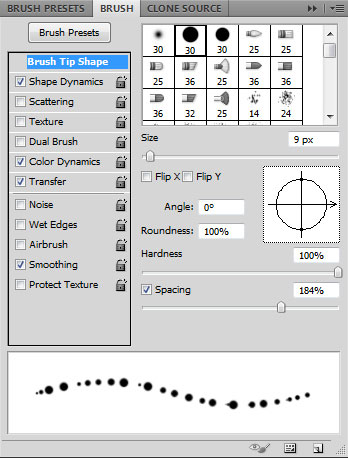
Select Hard Mechanical brush and customize the brush in Brushes panel (F5), select the Brush Tip Shape. Click and drag any of the sliders to change the size and the brush spacing as show. The Preview window displays the changed brushstroke.
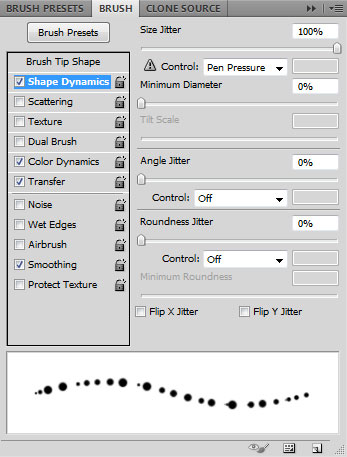
Go to Shape Dynamics:
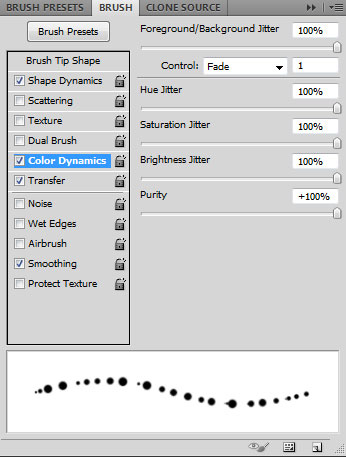
Go to Color Dynamics:

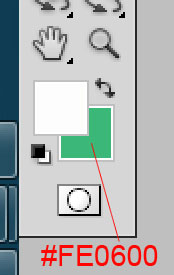
Also set the colors correctly on the Tools bar.
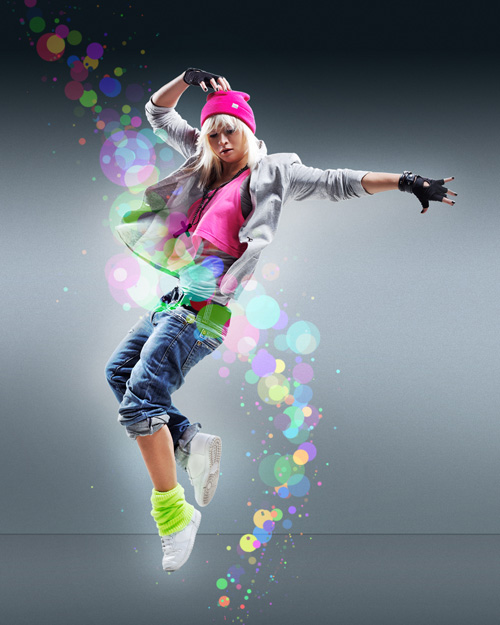
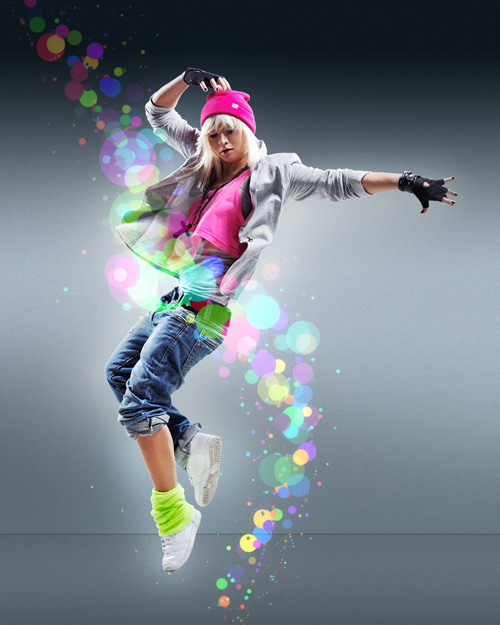
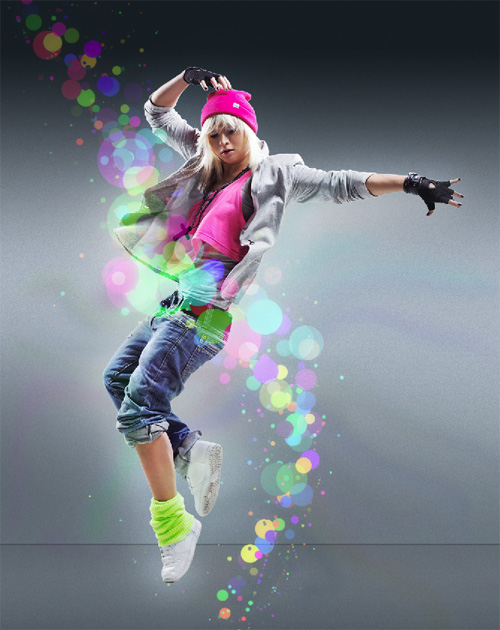
Create a new layer and paint here with selected brush using different brush sizes to represent many colored small circles. The brush itself will change the colors.
Set the Blending mode for this layer to Screen.
Insert the mask on the layer by choosing Add layer mask on the bottom part of the Layers panel and choose the Soft Round brush of black color (set Opacity to 15% in Options bar).
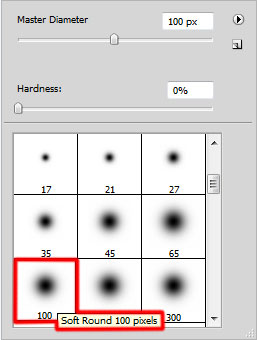
Paint in the mask using this brush to hide the circles edges as shown:
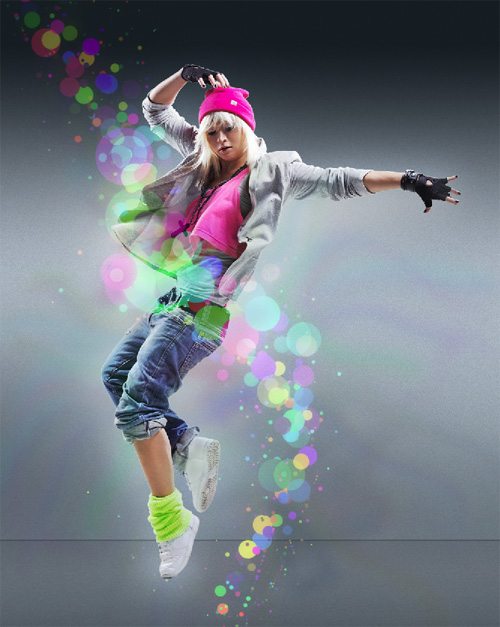
Create a new layer and apply here the earlier brush (Opacity – 20%) to insert more circles of bigger diameter:
Set the Blending mode for this layer to Linear Dodge.
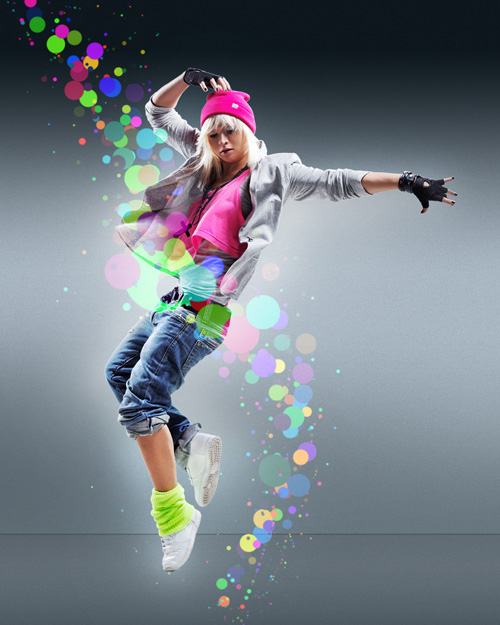
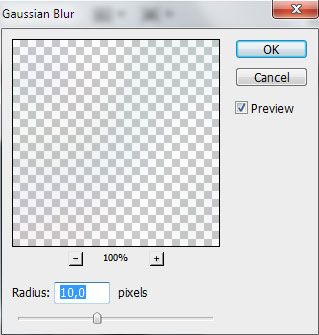
Make a copy of the earlier made circles’ layer (with mask) and place it above all the layers. Apply for the copy’s layer the next filter: Filter>Blur>Gaussian blur.
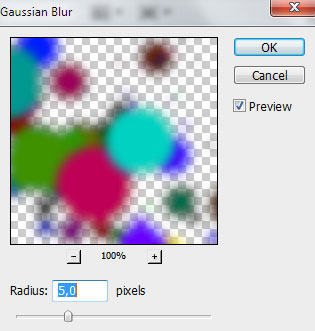
We’ve got the next result:
Set Fill to 0% for this layer and change the Blending mode to Color Dodge.
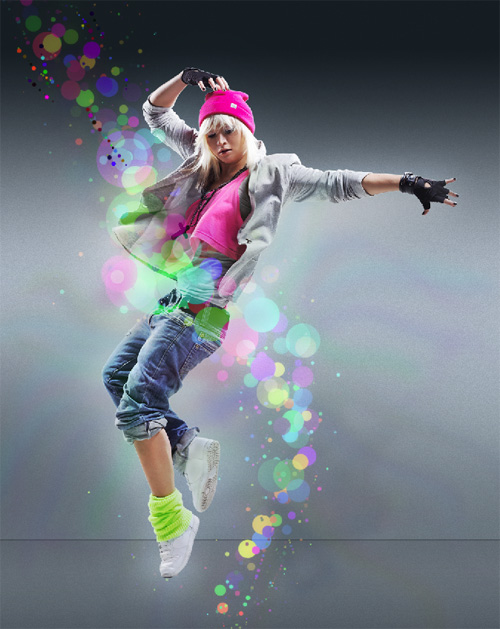
Make a copy of the recently made layer. Rasterize the copy’s layer by creating a new layer above the copy’s layer and press CTRL button when select both layers and press CTRL+E to Merge Down. Now apply the Smudge Tool (R) to smudge the circles laterally.
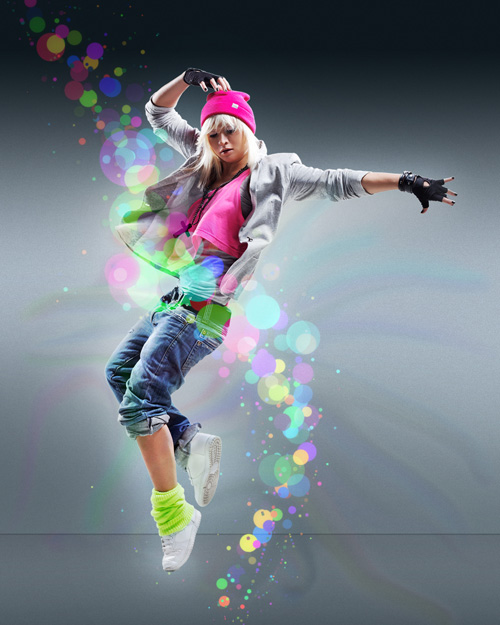
Make a copy of the last made layer and apply the same tool selected previously to process it the same way we did before.
Make a copy of the last made layer and select for it the next filter Filter>Blur>Gaussian blur.
We’ve got the next result:
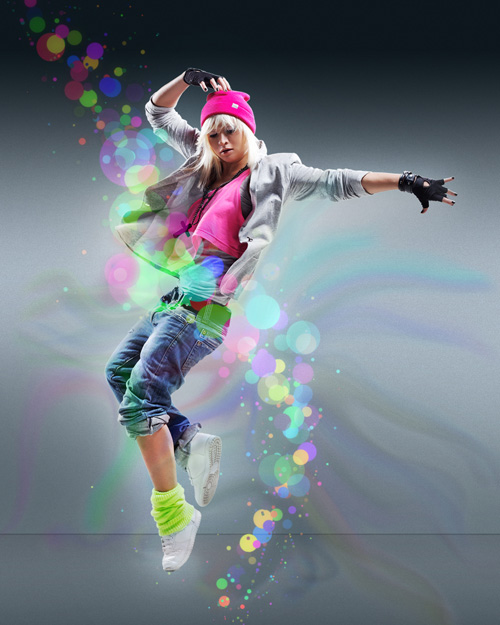
Make a copy of the last made layer and choose the Free Transform (Ctrl+T) command to turn over horizontally the copy’s layer.
Create a new layer and choose the earlier brush of small diameter to represent many colored small circles.
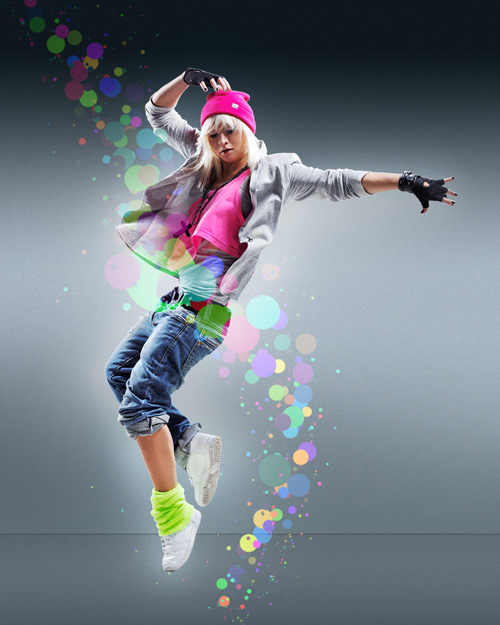
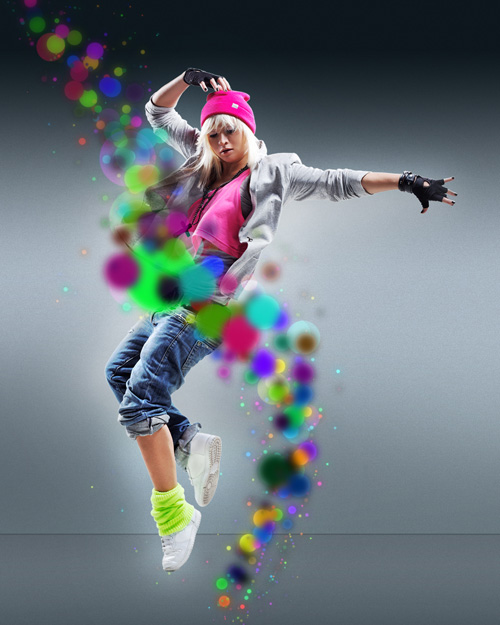
Click Create new fill or adjustment layer from bottom part of the Layers panel and click to Curves to adjust the curve shape as shown to make a little color corrections.

We’ve got the next result:
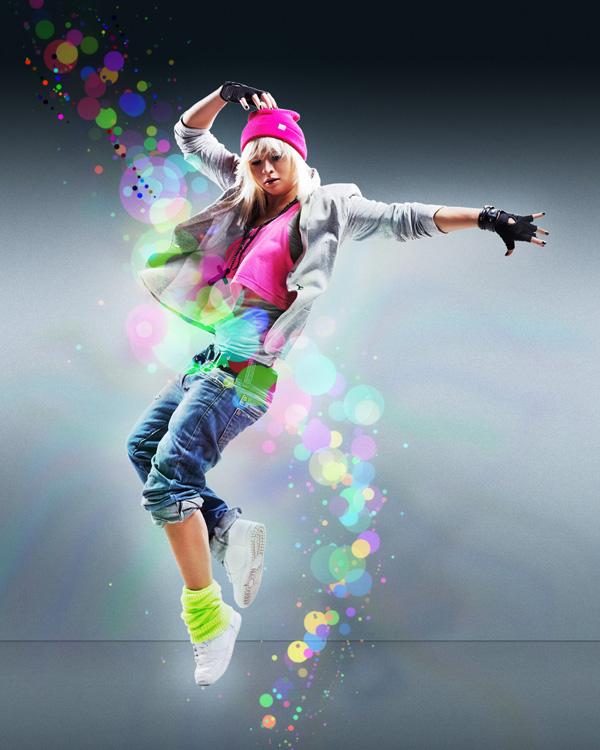
Finished!
View full size here.
Page: 1 2
Comments