Animating the 3D layer
Animating the 3D layer
To give you a greater understanding of the 3D layer option, give your star some dimensionality by animating it in 3D space. Animation in After Effects is similar to animation in Flash; it depends on keyframes. To animate a layer with keyframes, you must first activate the stopwatch beside the layer property that you intend to change. By activating the stopwatch, you set the initial keyframe of the animation. The Keyframe Navigator icon appears next to the layer property.
Before you start animating your star along the z-axis, give it a 3D dimensional look by rotating it around the x-axis:
- To rotate the star along the x-axis, set the value of the x rotation to -72.0 degrees.
- Make sure that the current-time indicator is at the first frame of the Timeline.
- Click the stopwatch next to the Z Rotation property to enable animation for that property and set the first keyframe.
- Go to the last frame of the Timeline and rotate the star 360 degrees around the z-axis. You can either set the degree value of the z rotation to 360 or set the revolutions value to 1.
-
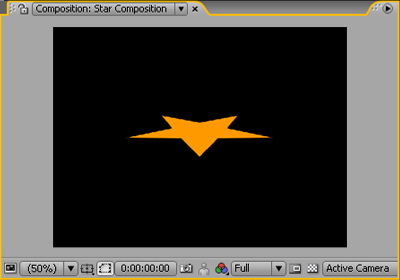
Drag the current-time indicator at the top of the Timeline panel to see how the star rotates in 3D space (see Figure 5).

Figure 5. Star animation in the Composition panel
You can apply the above 3D properties and animation in the 3D space to other objects like text, shapes, images, or compositions


Comments